How to Set Up Your First Raised Garden Bed for Easy, Beginner Friendly Gardening
Setting up a raised garden bed is a practical way to grow your own vegetables, herbs, or flowers, even if your outdoor space is limited. This method helps improve soil quality and can make gardening easier to manage by elevating the planting area.
A raised garden bed allows you to maximize your growing space while offering better control over soil conditions and drainage. Whether you’re new to gardening or looking for a more organized setup, this approach can fit your needs and make gardening more enjoyable.
Choose the ideal location with at least 6 hours of sunlight
You want to pick a spot that gets at least 6 hours of sunlight daily. Most vegetables and flowers need this much sun to grow well.
Make sure the sun reaches both sides of your garden bed for even growth.
Choose a level, well-drained area to keep your plants healthy. It’s helpful if the location is close to your kitchen or where you spend time, so watering and harvesting are easy.
If possible, orient your raised bed north to south to maximize sunlight exposure throughout the day. This way, your plants get consistent light and grow more evenly.
Select durable materials like cedar or composite wood for the bed frame

When choosing the material for your raised garden bed, durability matters. Cedar is a strong option because it naturally resists rot and insects, so your bed will last longer without extra chemicals.
Composite wood is another good choice. It’s made from recycled materials and often requires less maintenance than regular wood.
Both materials provide a sturdy frame that holds soil well, making it easier for your plants to thrive. Choosing either will save you time and effort in repairs down the road.
Decide on bed dimensions (commonly 4×8 feet) for manageable access

A 4×8-foot raised bed is a popular choice because it fits well in most yards and patios. This size offers plenty of planting space without being overwhelming.
You’ll find it easy to reach the center from either side, so you don’t need to step into the bed. This helps keep the soil healthy and your plants happy.
Choosing this rectangular shape also makes planting, weeding, and harvesting more convenient. With a width of about 4 feet, you can comfortably tend your garden without stretching too far.
Prepare the site by clearing grass and weeds before assembling
Start by removing all grass and weeds from the area where your raised bed will sit. This helps prevent unwanted plants from growing up through your garden soil and competing with your plants.
You can use a shovel or garden fork to loosen and pull out roots. Another easy method is to cover the spot with cardboard or plastic for a few weeks to smother the grass.
Make sure the ground is level and clear of debris. This will give your raised bed a stable base and improve drainage for your plants.
Construct the frame ensuring corners are secured tightly
Start by positioning your boards to form the shape of the bed. Align each corner carefully to make sure the frame will be square.
Use screws or bolts to fasten the corners securely. This will help your raised bed stay sturdy over time.
If possible, use corner brackets or metal plates for extra support. This keeps the frame tight and reduces wobbling.
Check the corners again after fastening to confirm everything lines up. A solid frame sets the foundation for a successful garden.
Elevate soil 12-18 inches for proper root growth and drainage
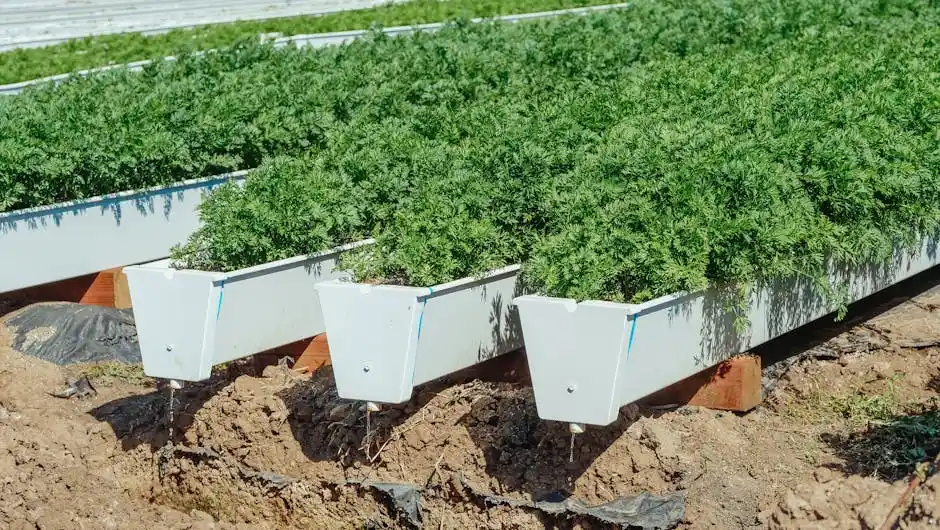
When setting up your raised garden bed, aim for a soil depth between 12 and 18 inches. This range gives most plants enough room for their roots to spread and grow strong.
Deeper soil helps with water drainage, so your plants won’t sit in soggy soil. Good drainage also keeps roots healthy and reduces the chance of rot.
For plants with deeper roots, like carrots or beets, having closer to 18 inches allows them to develop fully. Shallow soil, under 12 inches, may limit growth and make watering less effective.
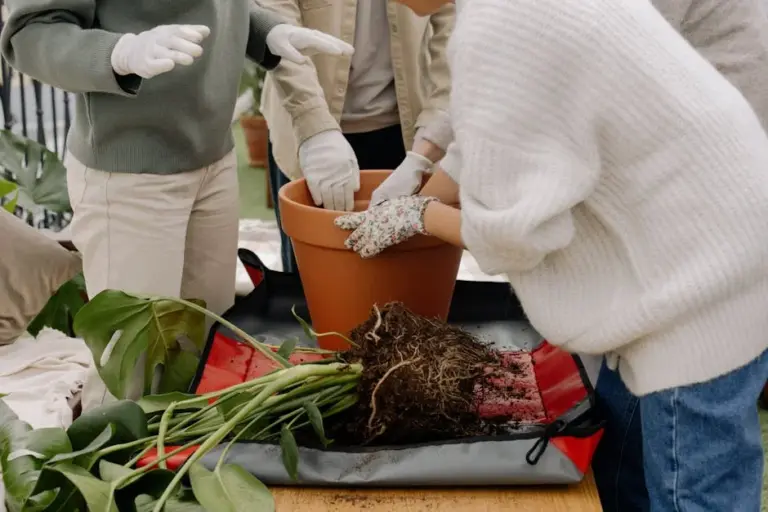
Fill the bed with a mix of quality topsoil, compost, and organic matter
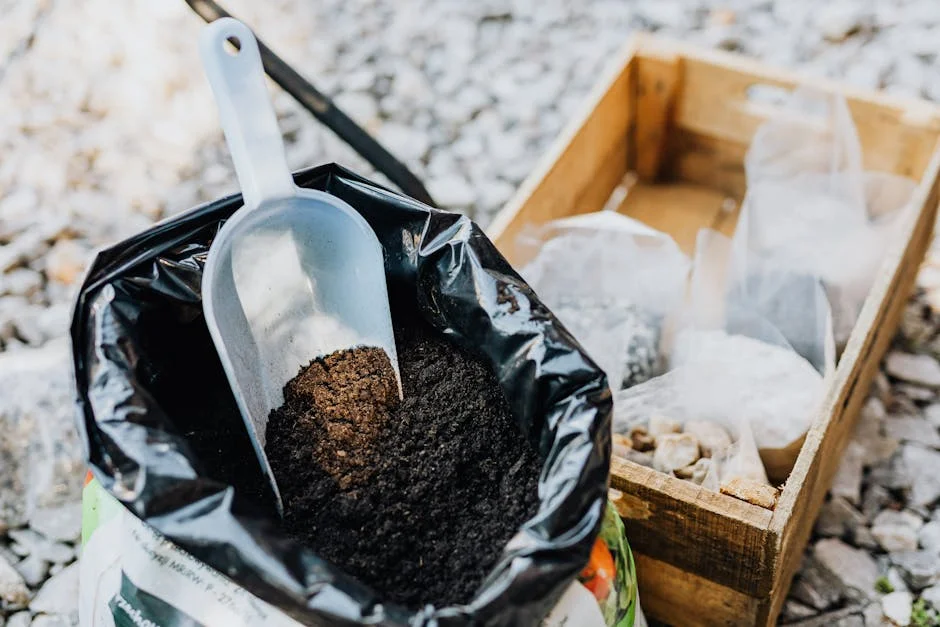
Start by adding quality topsoil as the base for your raised bed. This provides a solid foundation for your plants to grow strong roots.
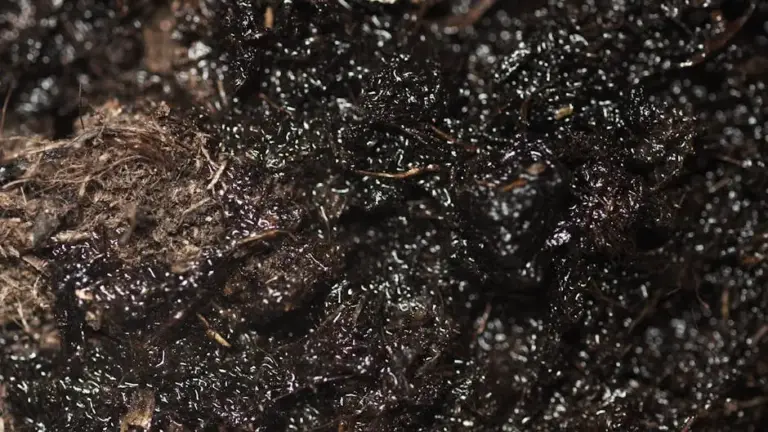
Next, mix in plenty of compost. Compost adds essential nutrients and improves soil structure, helping your plants thrive.
Include organic matter like leaves, grass clippings, or small sticks. This helps with drainage and increases beneficial microbial activity.
Avoid using just one soil type. A balanced mix keeps your garden bed healthy and supports steady plant growth over time.
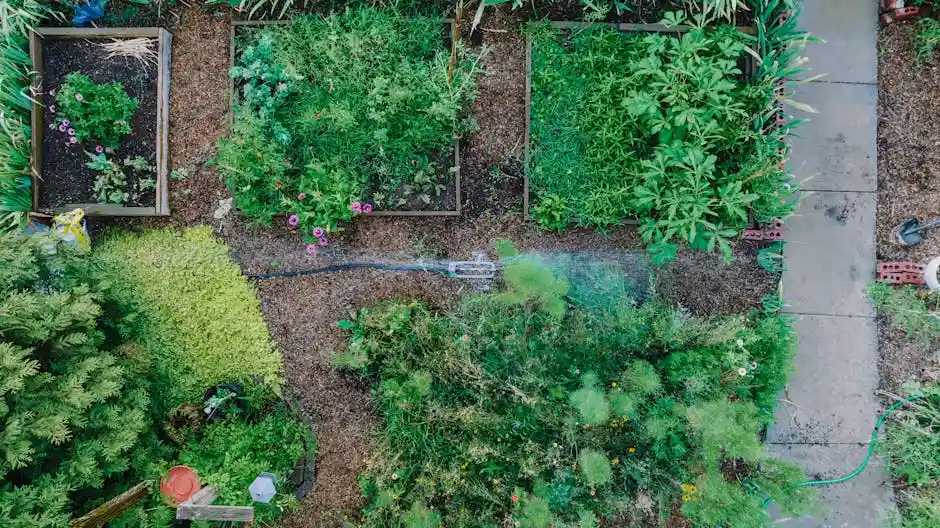
Plan your planting layout using square-foot gardening method
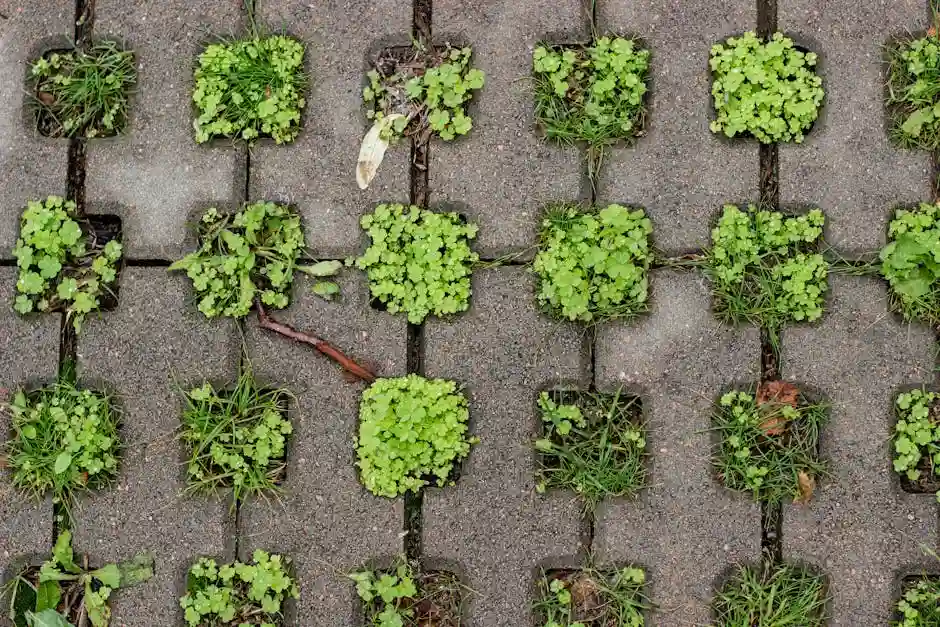
Start by dividing your raised bed into a grid of one-foot squares. This helps you organize where each plant will go and makes the most of your space.
You’ll plant different crops based on how much room they need. For example, larger plants take a whole square, while smaller ones can share a square with several others.
This method keeps your garden neat and manageable. It also helps you plan companion plants and rotate crops easily, which can promote healthier growth.
By using this technique, you make gardening less overwhelming while growing more in a compact area. It’s a great way to get comfortable with your first raised bed.
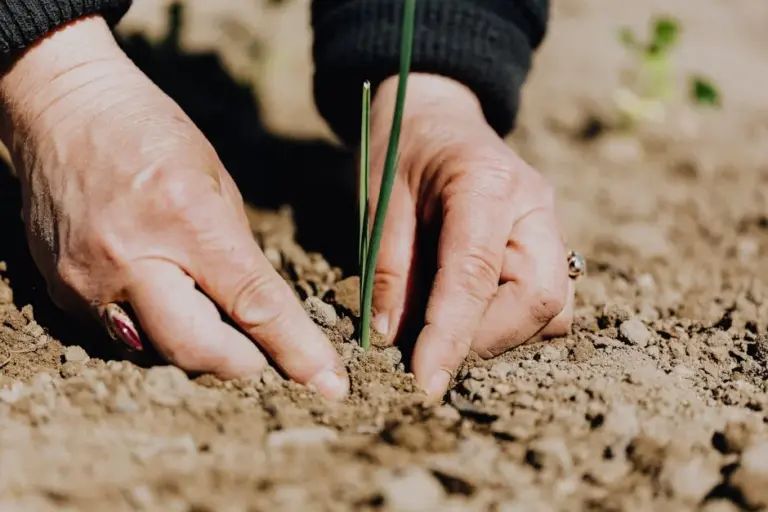
Start with easy-to-grow vegetables like lettuce, radishes, and herbs
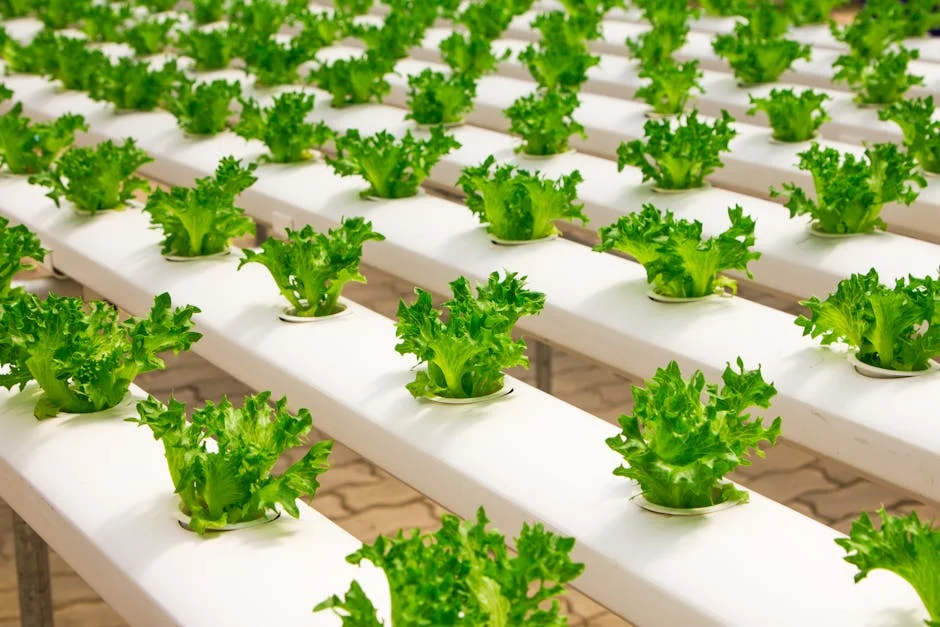
Choose vegetables that are simple to grow when starting with raised beds. Lettuce is a great option because it grows quickly and doesn’t need much space.
Radishes are another beginner-friendly choice. They mature fast, so you’ll see results in just a few weeks.
Herbs like basil, parsley, and chives also do well in raised beds. They require little care and add fresh flavor to your meals.
Starting with these easy vegetables helps you build confidence and enjoy gardening without too much hassle.
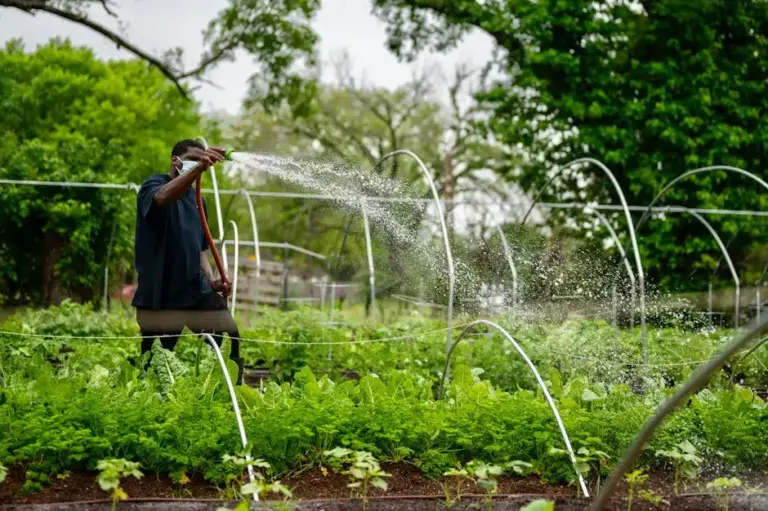
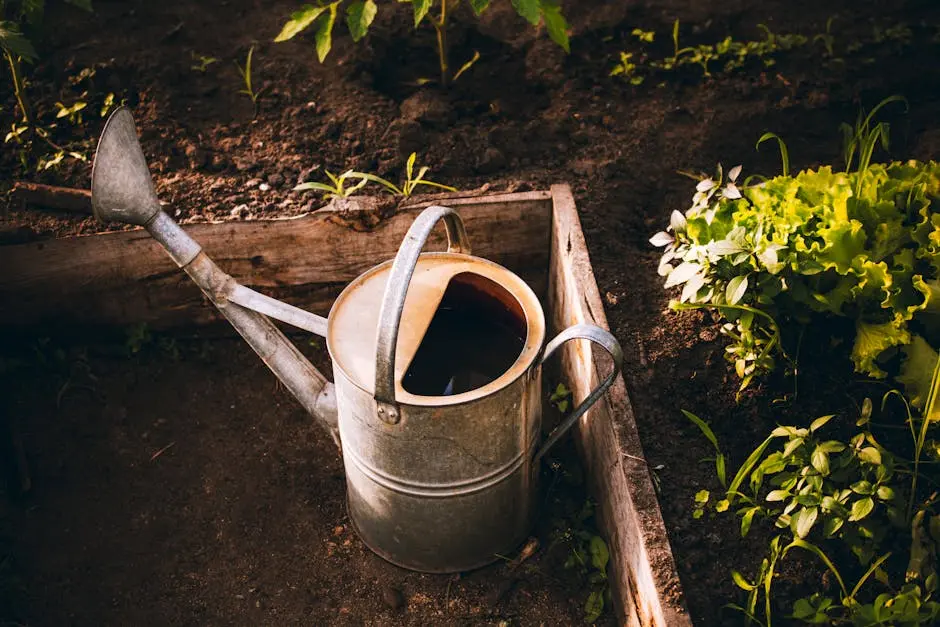
Water consistently to keep the soil moist but not soggy
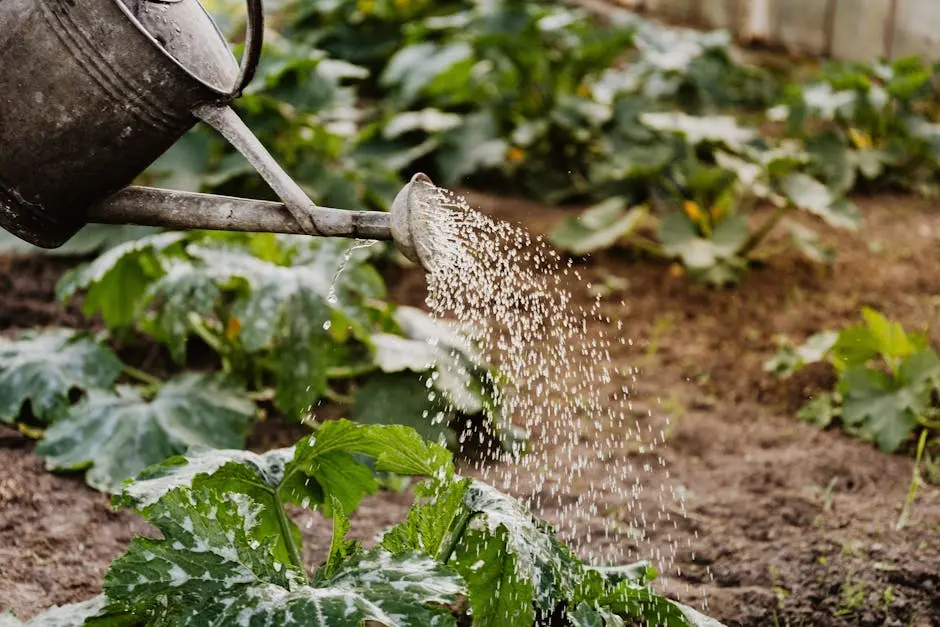
You want to keep your raised bed soil evenly moist to help your plants grow strong. Water regularly, especially during hot or dry weather, but avoid overwatering. Too much water can cause soggy soil, which hurts roots.
Check the soil with your fingers before watering. If the top inch feels dry, it’s time to water.
Set a routine that fits your local climate and plant needs. Using mulch can help keep moisture in the soil longer and reduce how often you need to water.