Step-by-Step Guide to Starting Your First Garden Made Easy and Fun
Starting your first garden can feel overwhelming, but it doesn’t have to be complicated. By choosing the right spot, preparing your soil, and picking easy-to-grow plants, you can create a thriving garden step by step. Gardening is a rewarding way to connect with nature, enjoy fresh produce, and enhance your outdoor space.
Whether you have a small balcony or a backyard, this guide will help you build a garden that fits your needs and skill level. You’ll learn practical tips that make the process straightforward and enjoyable, so you’ll be growing your own vegetables, herbs, or flowers before you know it.
Gardening is about experimenting and learning as you go, and this guide will walk you through what you need to start confidently. Getting started is easier than you think, and the satisfaction of seeing your garden grow is well worth it. For more detailed steps, check out this comprehensive guide to starting a garden.
Choosing the Right Garden Location

Your garden’s success starts with where you put it. Key factors include how much sunlight the spot gets, the quality of the soil beneath, and how easy the location is to reach and stay safe in. Paying attention to these details will make planting and maintaining your garden much smoother.
Assessing Sunlight and Shade

Most vegetables and flowers need at least six hours of direct sunlight daily to thrive. Ideally, pick a place that gets 8-10 hours for the best growth.
Observe your yard throughout the day to see where sunlight falls and for how long. Watch for shadows from trees, buildings, or fences that might block light during key growing hours.
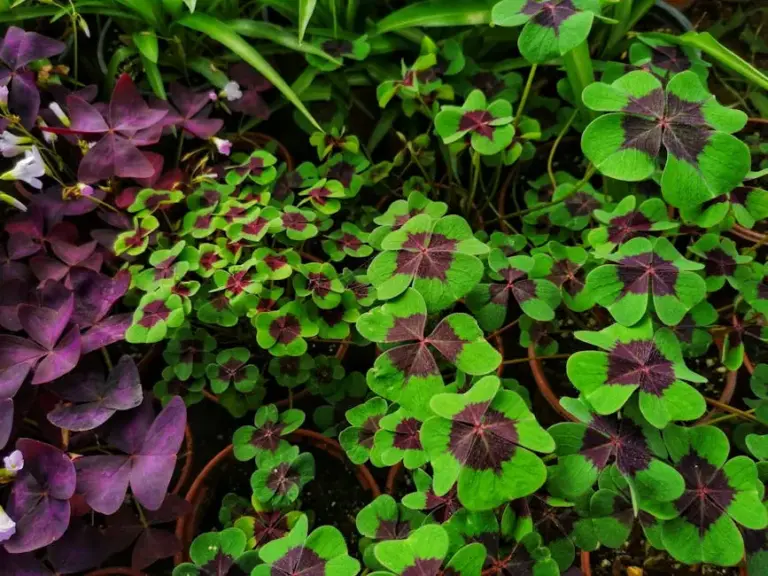
If you only have shady spots, consider growing plants that tolerate partial shade, like leafy greens or herbs, rather than sun-loving veggies. Sunlight is the main driver for photosynthesis, so prioritizing light will help your garden flourish.
Considering Soil Quality

Healthy soil needs good structure, proper drainage, and enough nutrients to support your plants. Start by testing your soil’s texture—loamy soil is ideal because it holds moisture but drains well.
Look for soil that’s dark and crumbly with earthworms, which is a sign of fertility. Avoid places where water pools after rain, as soggy soil can harm roots.
You can improve poorer soil by mixing in compost or organic matter. This boosts nutrients and helps retain moisture without waterlogging the roots.
Selecting Safe and Accessible Spots
Choose a garden space that’s easy for you to reach regularly. You’ll want quick access for watering, weeding, and harvesting without too much hassle.
Avoid areas near busy roads or contaminated soils, especially if you’re growing edibles. If you suspect contamination, test the soil or use raised beds with clean soil.
Make sure the area is safe from pets or wildlife that might trample plants. Accessibility also means having a flat or gently sloping spot to make working easier and prevent erosion.
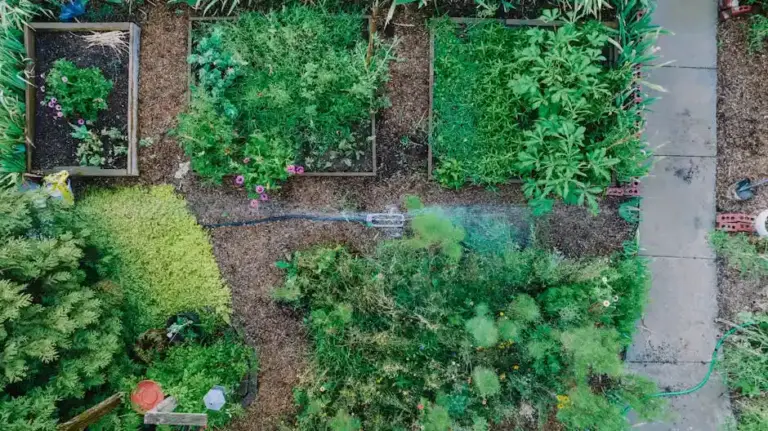
Planning Your Garden Layout
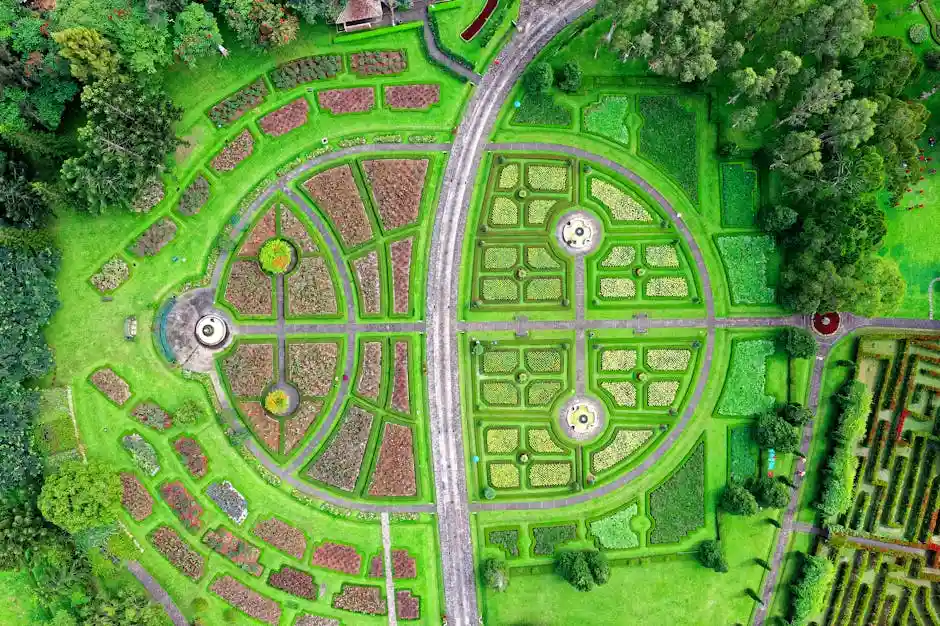
Before you start digging, it’s important to think through your garden’s setup carefully. You’ll want to choose crops that suit your environment, arrange them so they get enough light and space, and make sure plants have room to grow without crowding.
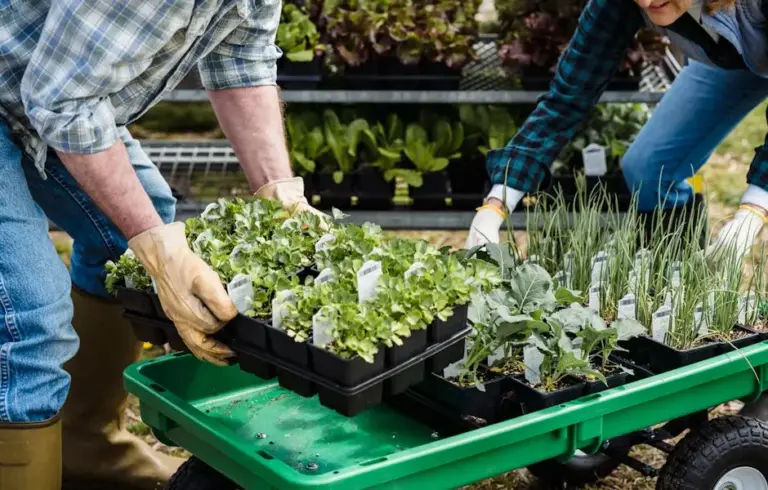
Deciding What to Grow

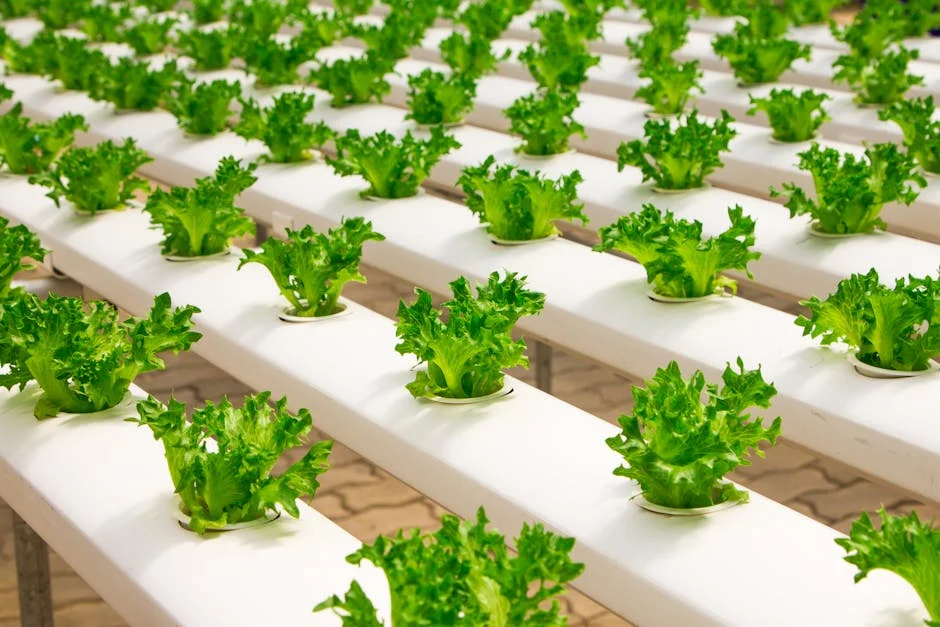
Choose plants based on your climate, soil type, and the space you have. Start with vegetables and herbs that are easy to grow and fit your taste, like lettuce, tomatoes, or basil. Consider plants that mature quickly if you want a faster harvest.
Check the hardiness zone for your area to avoid plants that won’t survive your local climate. Also, think about how much time you can spend maintaining your garden. Some crops require more care, so pick ones that match your availability.
Creating an Easy-to-Follow Design

Sketch your garden layout to visualize where each plant will go. Use graph paper or digital tools, measuring your space accurately (1 square = 1 foot works well). This helps you avoid overcrowding and keeps paths clear for easy access.
Group plants together by their water and sunlight needs. For example, place sun-loving plants in the brightest spots, while shade-tolerant ones get less direct sun. Raised beds or container gardens can help organize smaller spaces neatly.
Understanding Plant Spacing
Give each plant enough room to grow by following recommended spacing guidelines. Crowded plants compete for water, nutrients, and light, which can reduce yields and increase disease risk.
Spacing varies by plant type—leafy greens need less space than sprawling squash. For example:
| Plant | Space Between Plants | Space Between Rows |
|---|---|---|
| Lettuce | 6-12 inches | 12-18 inches |
| Tomatoes | 18-24 inches | 36-48 inches |
| Carrots | 2-3 inches | 12-15 inches |
Adjust your layout accordingly to help your garden thrive.
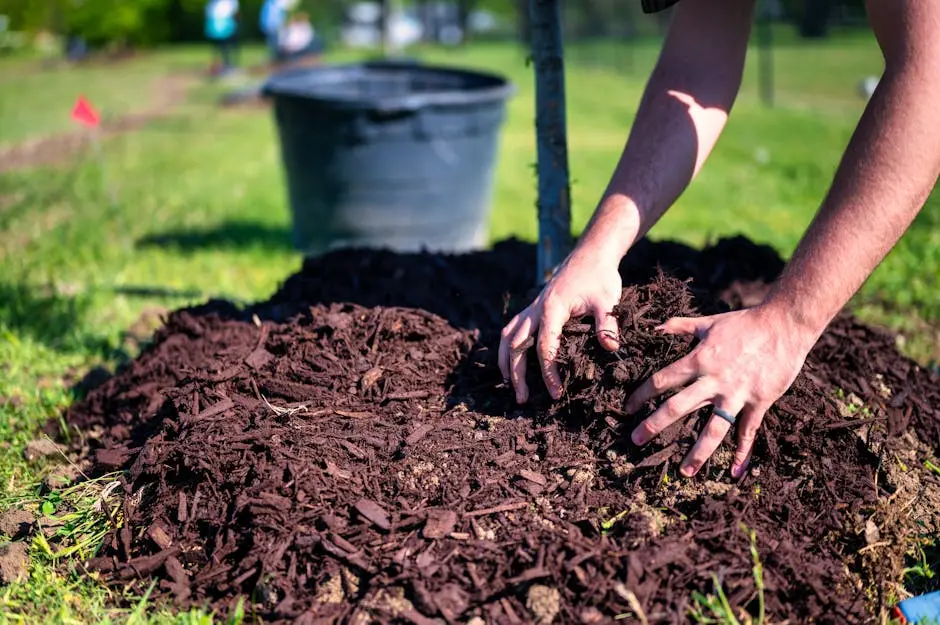
Preparing the Soil

Good soil is the foundation of a thriving garden. You’ll want to make sure your soil has the right nutrients, is free of weeds and debris, and is rich in organic material to support healthy plant growth.
Testing and Amending Soil
Start by testing your soil’s pH and nutrient levels. You can use a home test kit or send a sample to a local extension service. Most vegetables grow best in soil with a pH around 6.0 to 7.0.
If your soil is too acidic or alkaline, you can adjust it by adding lime to raise the pH or sulfur to lower it. Nutrient imbalances can be improved with organic fertilizers.
Regular testing helps you understand what amendments your soil needs to support strong roots and vigorous plants.
Removing Weeds and Debris
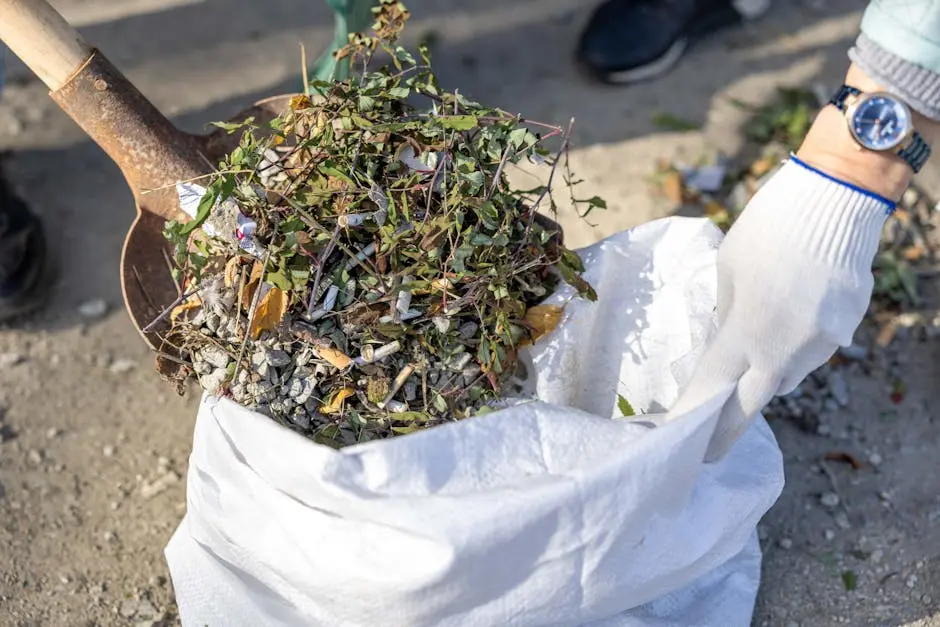
Clear your garden area by removing all weeds, rocks, and old roots. You can pull weeds by hand or use tools like a hoe or cultivator.
This step prevents competition for nutrients, water, and space. Removing debris also improves soil aeration and makes tilling easier.
Keep in mind that breaking up compacted soil will help roots penetrate deeper. Aim to loosen the soil to at least 8 inches deep for most plants.
Adding Compost or Fertilizer
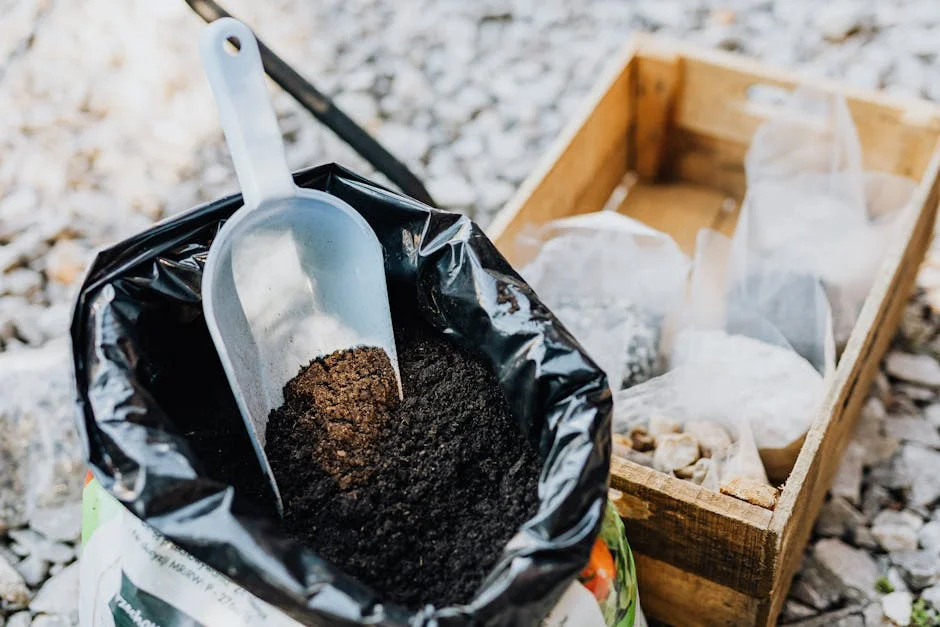
Incorporate compost or well-rotted organic matter to boost soil fertility and moisture retention. A 2-3 inch layer spread over your garden bed, then tilled or forked in, improves soil structure.
You can also add organic fertilizers to supply essential nutrients. Choose products that support beneficial soil microbes.
Adding organic matter regularly helps improve soil biology, making nutrients more available to your plants and promoting healthy growth.
For detailed tips, see how to prepare soil using organic matter and compost.
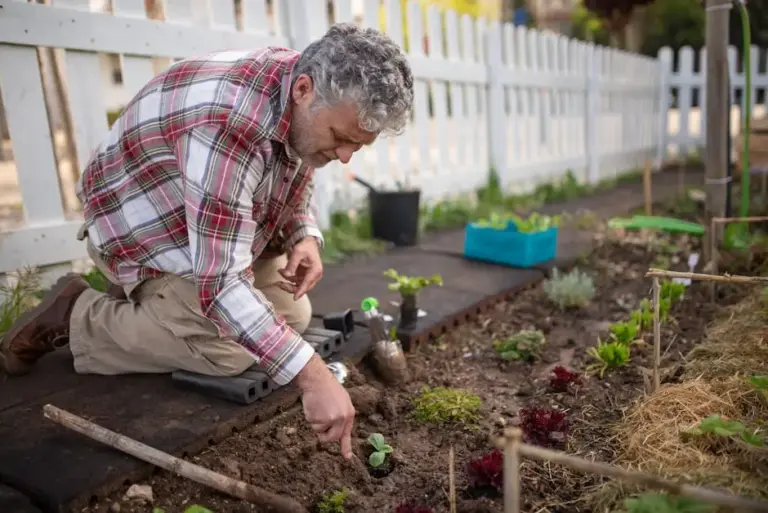
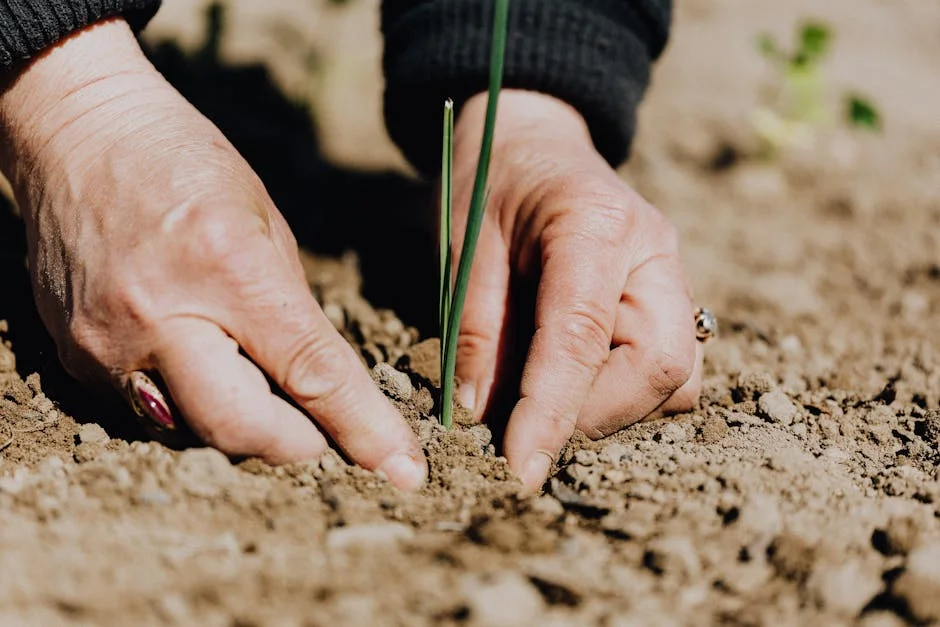
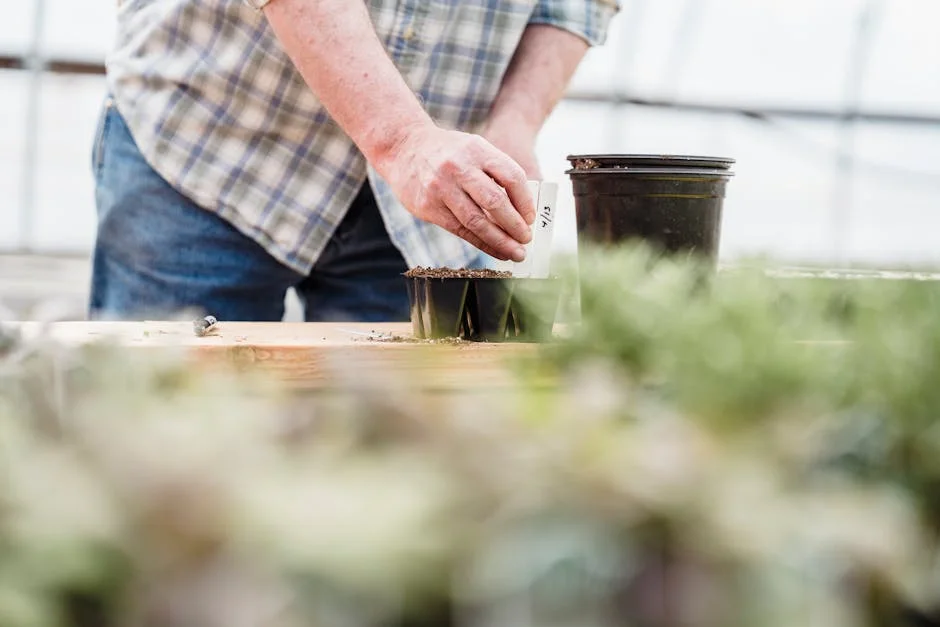
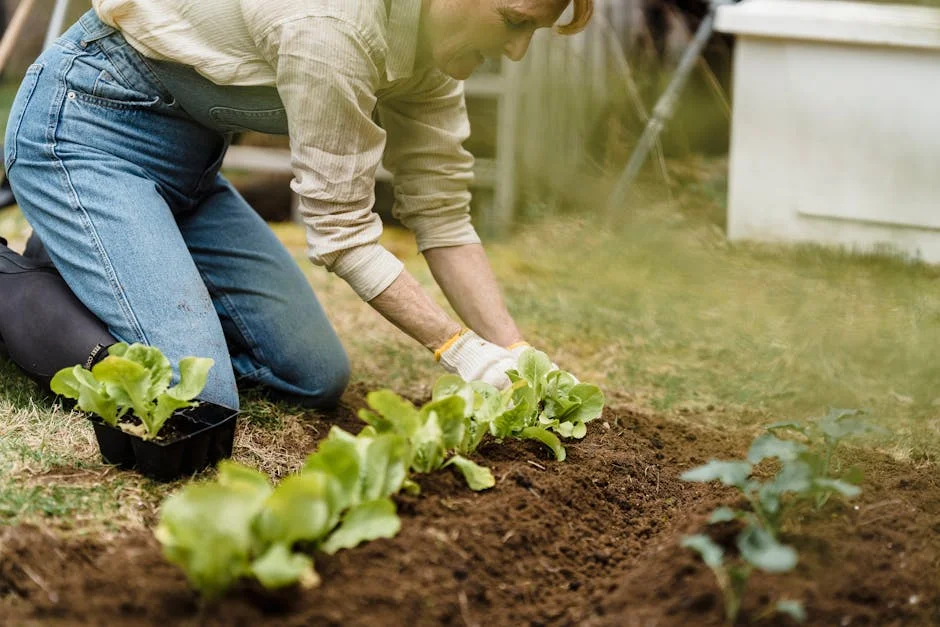
Planting Your First Seeds and Seedlings
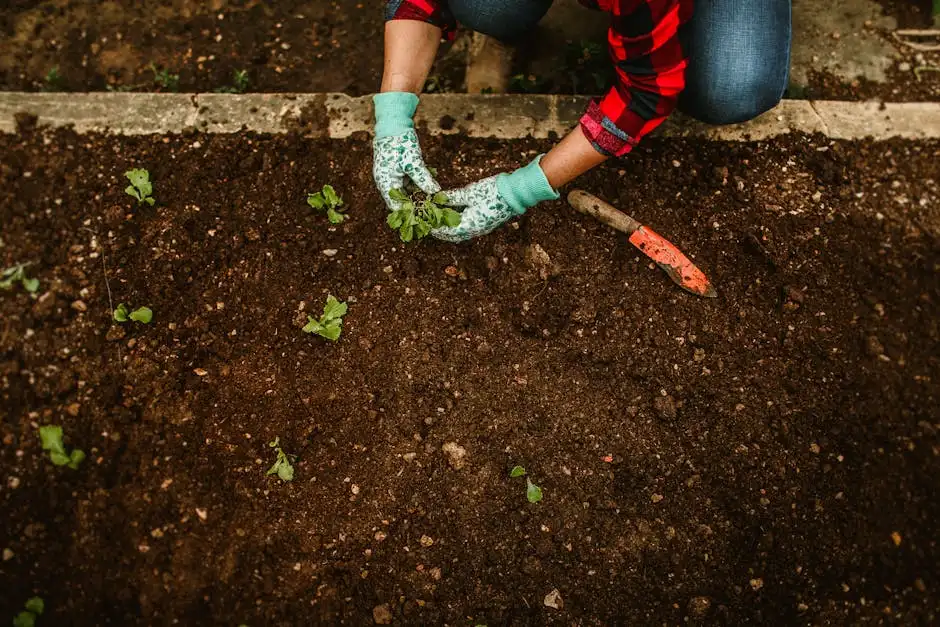
Starting seeds or planting seedlings requires attention to timing, proper watering, and support to help your plants grow strong. You’ll focus on when and how to plant, ensuring you water correctly, and providing support as your plants develop.
When and How to Plant
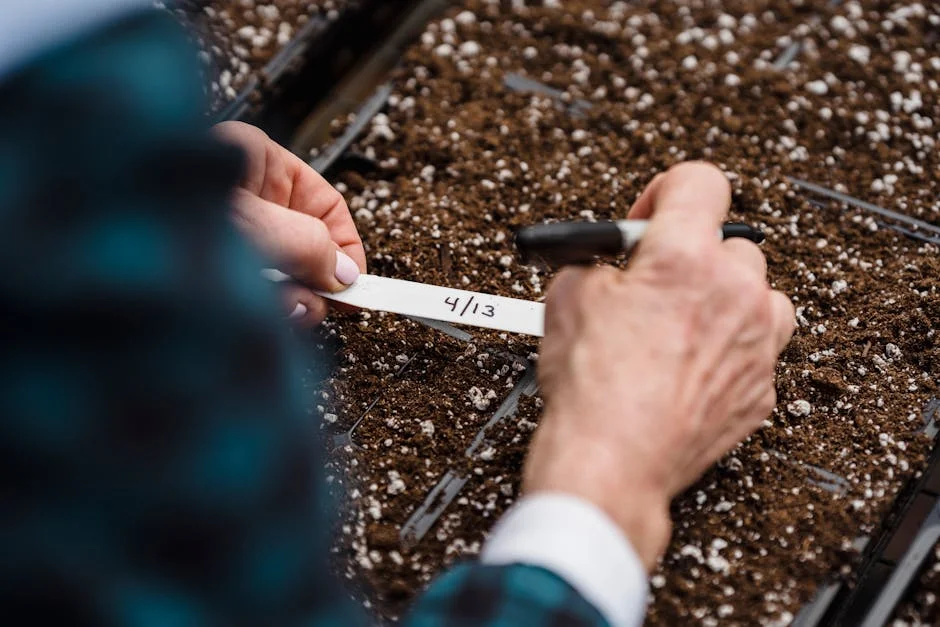
Timing depends on the type of vegetable or flower and your local climate. Check seed packets for the best planting dates, often after the last frost.
For seeds, start indoors 6-8 weeks before your final frost date. Use seed trays with loose soil, moistened but not waterlogged. Plant seeds at the depth listed on the packet—usually 2-3 times as deep as the seed’s diameter.
Transplant seedlings outside once they have 2-3 true leaves and the weather is stable. Harden them off by gradually exposing them to outdoor conditions for about a week.
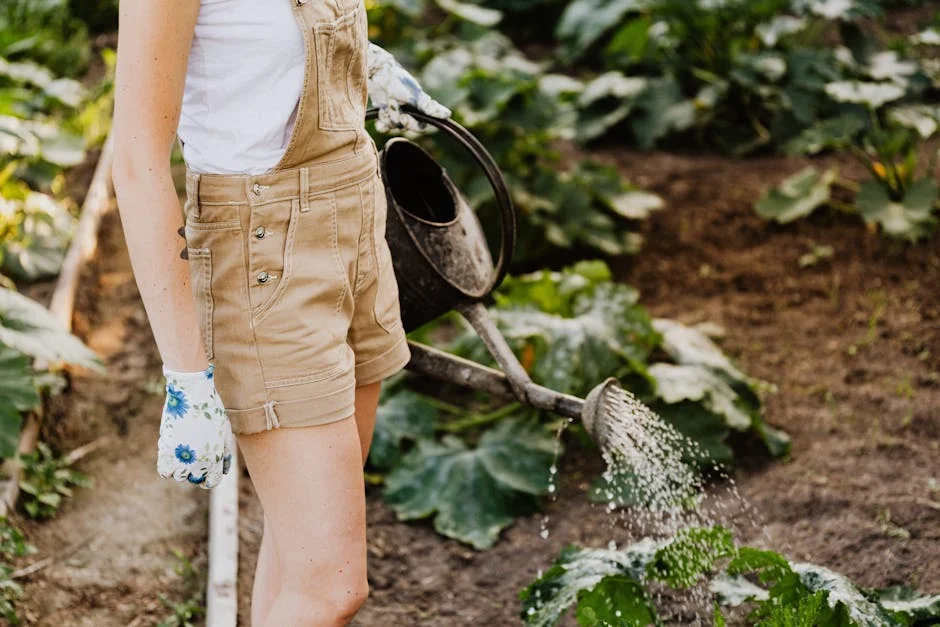
Watering for Healthy Growth
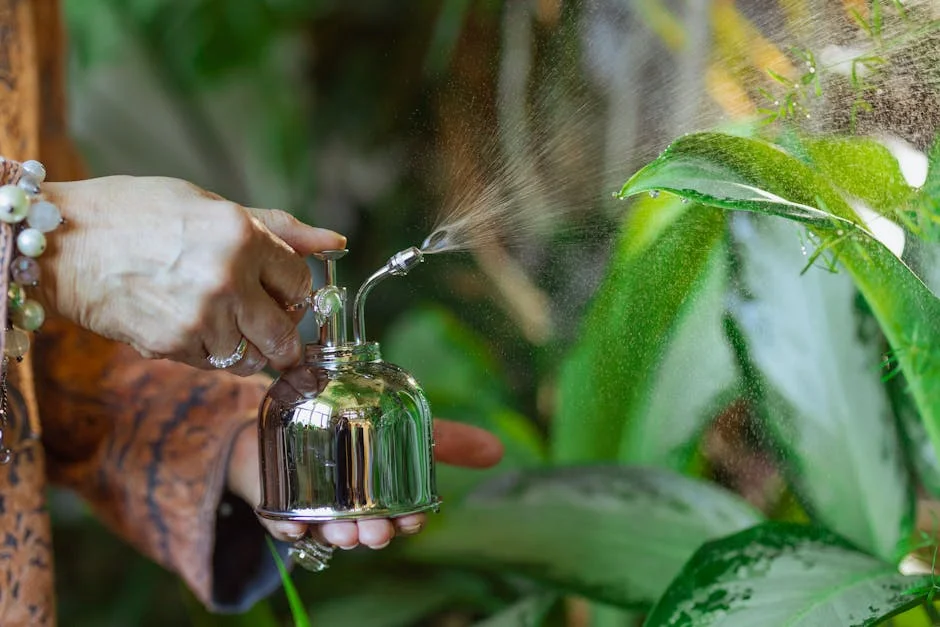
Consistent moisture is key, but avoid overwatering—it can drown roots or cause disease. Water seeds and seedlings gently to keep soil moist but not soggy.
Use a spray bottle or watering can with a fine rose to prevent washing seeds away or damaging young roots. Water early in the day to reduce evaporation and allow leaves to dry before night, minimizing fungal risk.
Check soil daily; if it feels dry an inch below the surface, it’s time to water again. Adjust watering frequency as plants grow and weather changes.
Supporting Young Plants
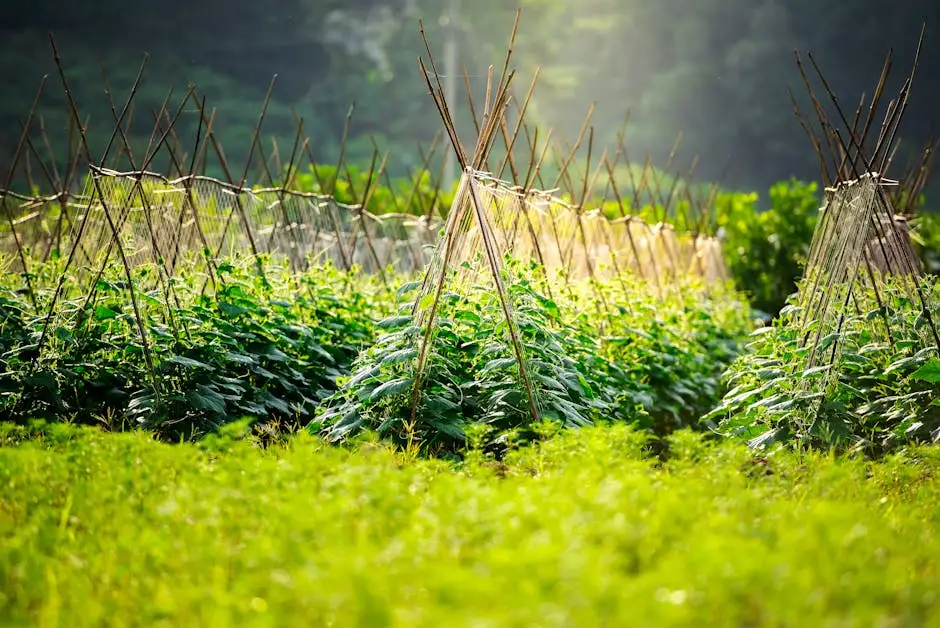
Some seedlings need physical support to grow upright and strong. You can use small stakes, cages, or trellises depending on the plant type.
Insert supports gently to avoid root damage. Tie plants loosely with soft ties or cloth strips.
Removing lower leaves that touch soil helps prevent disease. Also, thin out crowded seedlings to give remaining ones enough space to grow.
Providing support early encourages healthy structure as your plants mature.
For more detailed seed-starting techniques, check this Seed Starting 101 guide.
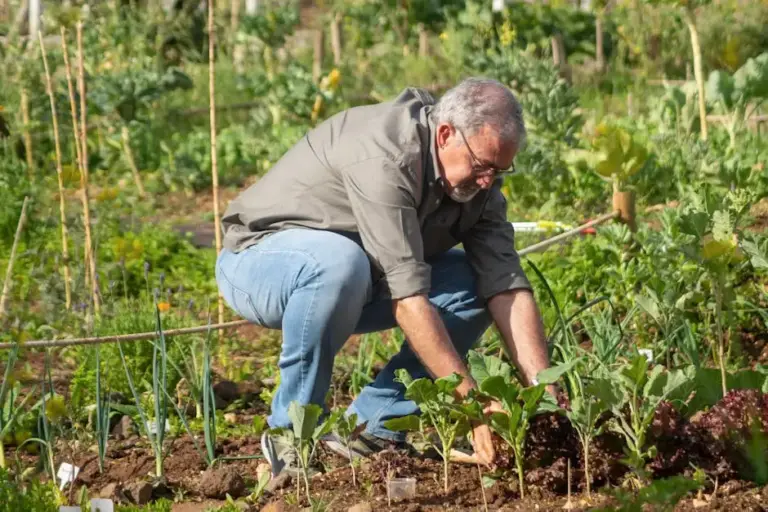
Caring for Your New Garden
Your garden will need ongoing attention to thrive. Consistent watering, pest control, moisture preservation, and encouraging healthy growth will keep your plants strong and productive.
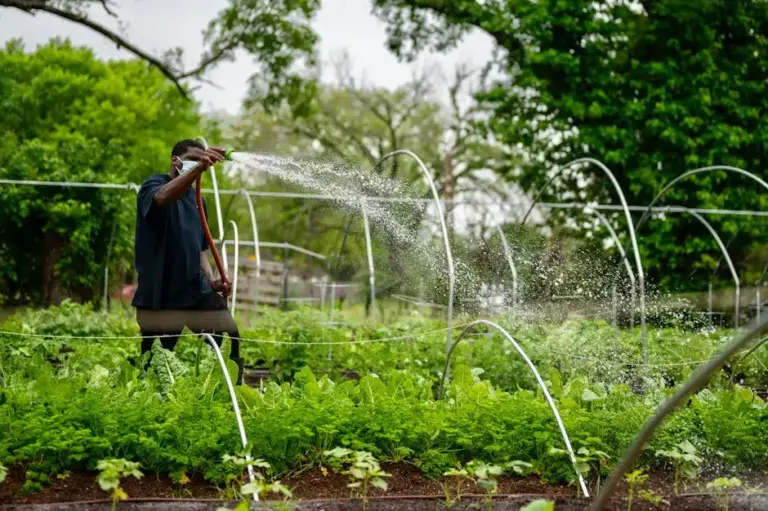
Regular Watering Tips
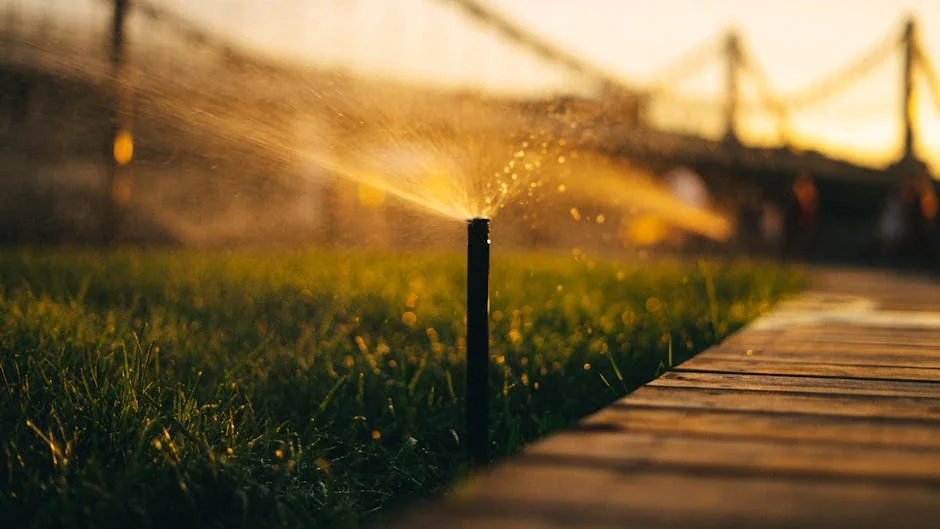
Water your garden early in the morning or late in the afternoon to reduce evaporation. Aim for deep watering—about 1 inch per week—to encourage strong root growth.
Use a soaker hose or drip irrigation to deliver water directly to the soil, minimizing wet foliage that can attract diseases. Check the soil moisture regularly by sticking your finger an inch into the soil; if it feels dry, it’s time to water.
Avoid overwatering, which can cause root rot and attract pests. Adjust your watering schedule based on rain and temperature changes to meet your plants’ needs.
Managing Pests and Diseases
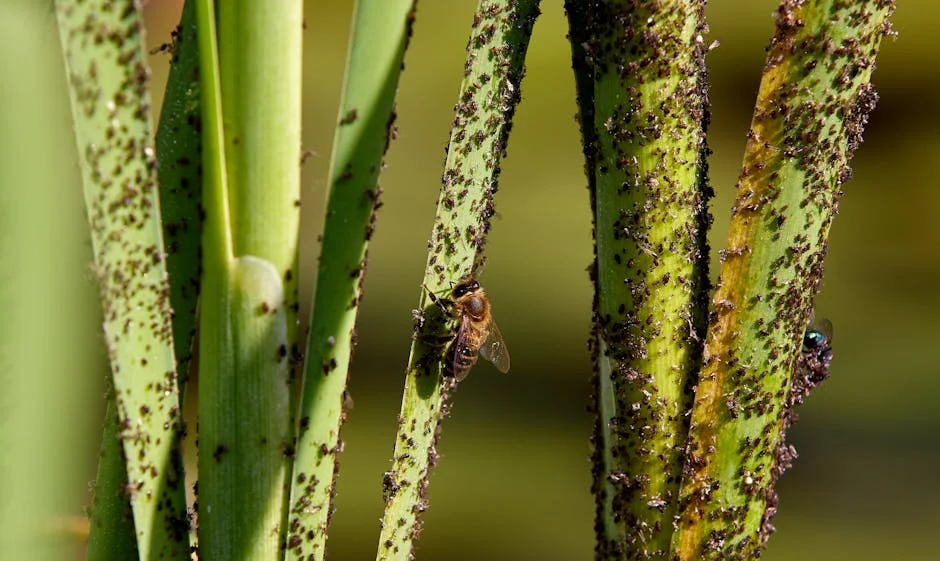
Inspect your plants frequently for signs of pests or diseases like yellow leaves, holes, or webs. Early detection helps prevent larger infestations.
Use natural remedies such as neem oil or insecticidal soap to treat common pests. Encourage beneficial insects like ladybugs and lacewings by planting flowers nearby.
Remove diseased plant parts promptly to stop spread. Rotate crops each season to reduce soil-borne diseases. If needed, use organic or low-toxicity pesticides according to package instructions.
Mulching for Moisture Retention
Apply a 2-3 inch layer of organic mulch like straw, wood chips, or shredded leaves around your plants to retain soil moisture and regulate temperature.
Mulch helps prevent weed growth, which competes for water and nutrients. Keep mulch a few inches away from plant stems to avoid rot or pests.
Refreshing mulch annually improves soil structure as it breaks down. Mulching can reduce your watering frequency by preserving moisture and keeping soil cooler during hot weather.
Encouraging Healthy Growth
Feed your plants with balanced fertilizer or compost every 4-6 weeks depending on their type. Compost adds nutrients and improves soil texture.
Prune plants to remove dead or damaged leaves and encourage airflow, which helps prevent diseases. For vines or climbing plants, provide trellises or supports.
Rotate your crops and plant companion species to enhance growth and reduce pests. Watch your plants closely and adjust care based on how they respond to sunlight, water, and nutrients.
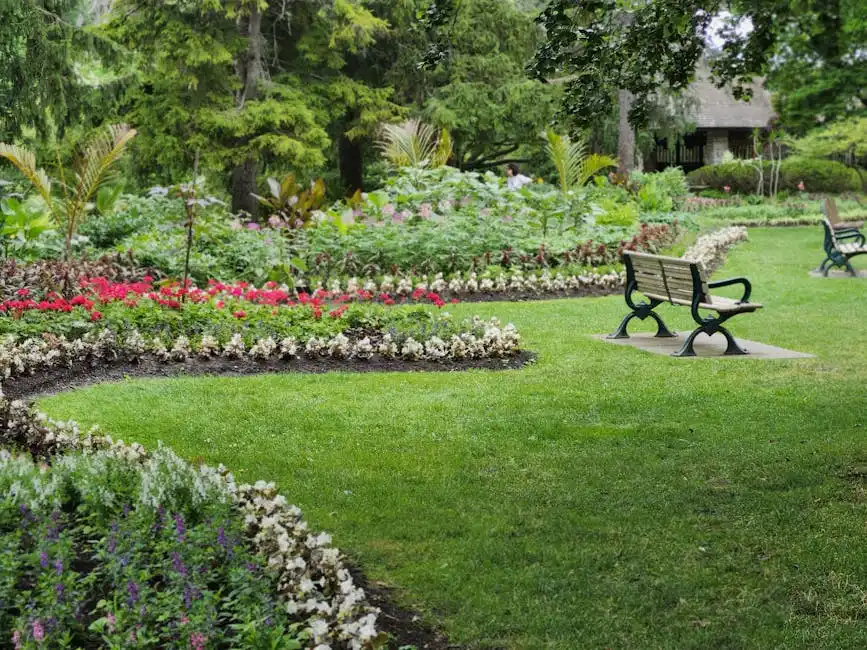
Enjoying and Expanding Your Garden

Taking care of your garden doesn’t stop once your plants grow. You’ll want to know when to harvest, how to keep your soil healthy by rotating crops, and ways to boost growth through companion planting.
Harvesting Your Produce
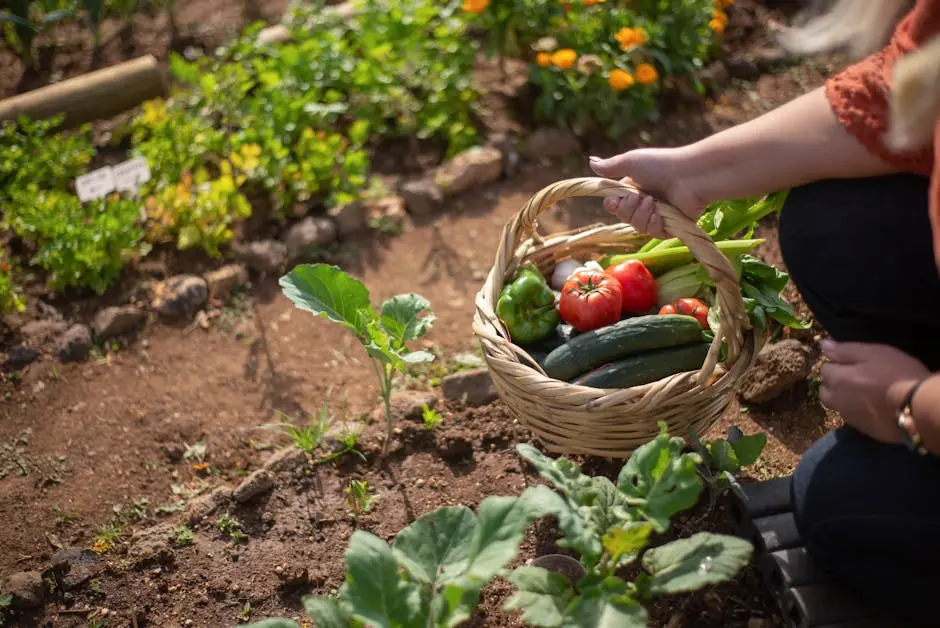
Knowing the right time to harvest is key. Most vegetables are best picked when they reach full size but before they over-ripen. For example, tomatoes should be firm and fully colored.
Use clean, sharp scissors or pruners to avoid damaging plants. Harvest regularly to encourage more production. Some crops like lettuce and spinach can be cut leaf-by-leaf for ongoing harvest.
Store your produce properly. Leafy greens stay fresh in the fridge wrapped in a damp paper towel, while root vegetables do well in a cool, dark place.
Rotating Crops Each Season
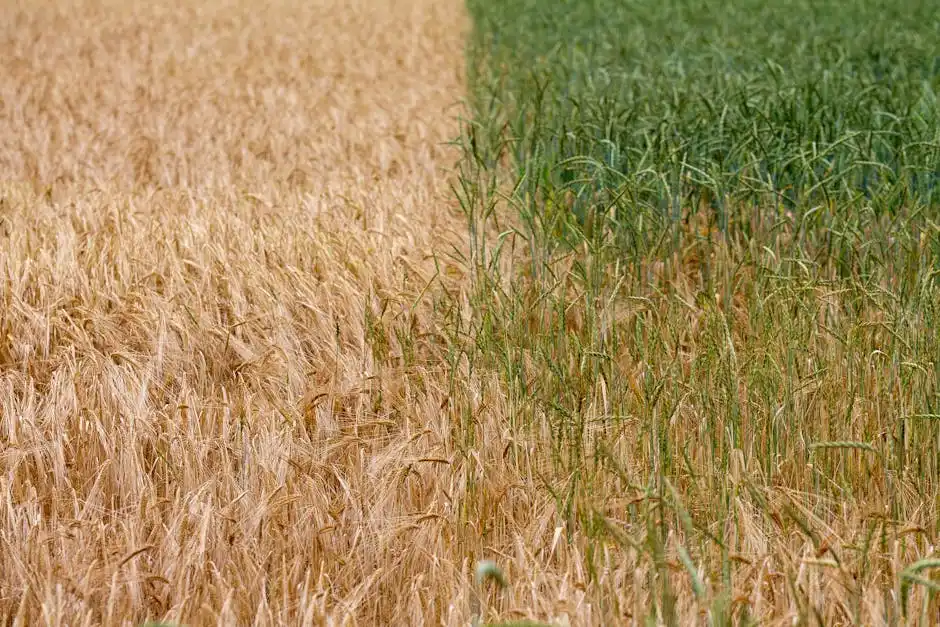
Rotating crops means planting different types of vegetables in different spots each season. This helps prevent soil nutrient depletion and reduces pests and diseases.
You can group plants by family (e.g., nightshades like tomatoes, peppers). Avoid planting the same family in the same area two seasons in a row.
Try this rotation cycle: legumes (peas, beans) to add nitrogen → leafy greens → root crops → fruiting vegetables. This maintains soil balance and encourages healthier plants.
Exploring Companion Planting

Companion planting is growing certain plants together for mutual benefit. Some plants improve growth or protect others from pests.
For example:
- Basil planted near tomatoes can improve tomato flavor and repel insects.
- Marigolds deter nematodes and beetles when interspersed with veggies.
- Beans add nitrogen to the soil, which helps nearby leafy greens.
Create a companion planting chart for your garden to plan efficient, pest-resistant layouts that maximize space and health.