Beginner’s Guide to Composting at Home: Easy Tips for a Greener Lifestyle
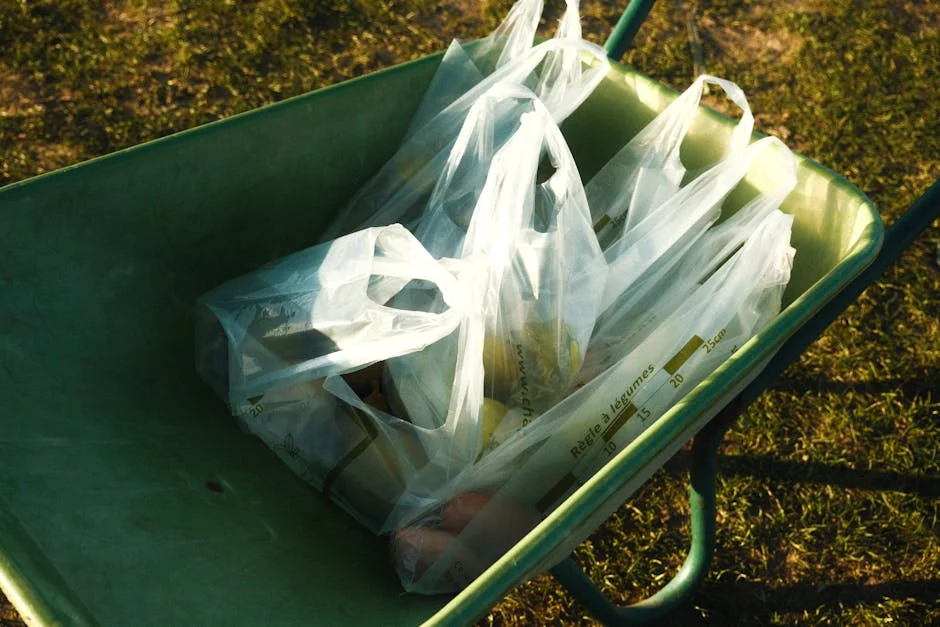
If you’re looking to reduce waste and create nutrient-rich soil for your garden, composting at home is a simple and effective way to do it. Composting is the natural process of breaking down organic materials, like kitchen scraps and yard waste, into valuable soil conditioner that helps your plants grow healthier. You don’t need fancy equipment or a big yard, just a little effort and some basic knowledge to get started.
You might wonder what exactly goes into a compost pile or how long it takes to see results. With the right mix of materials and a bit of regular care, you can turn everyday waste into “black gold” in just a few months. This guide will help you understand the essentials so you can start composting confidently and make the most of your kitchen and garden leftovers.
Getting started is easier than you think, and the benefits go beyond just gardening. Composting helps reduce landfill waste and even lowers your environmental footprint. Once you know how to manage your compost pile, you’ll wonder why you didn’t start sooner.
Understanding Composting Basics
Composting is a simple way to recycle organic waste and turn it into nutrient-rich material for your garden. It relies on natural processes and requires attention to moisture, oxygen, and the right mix of materials.
What Is Composting?
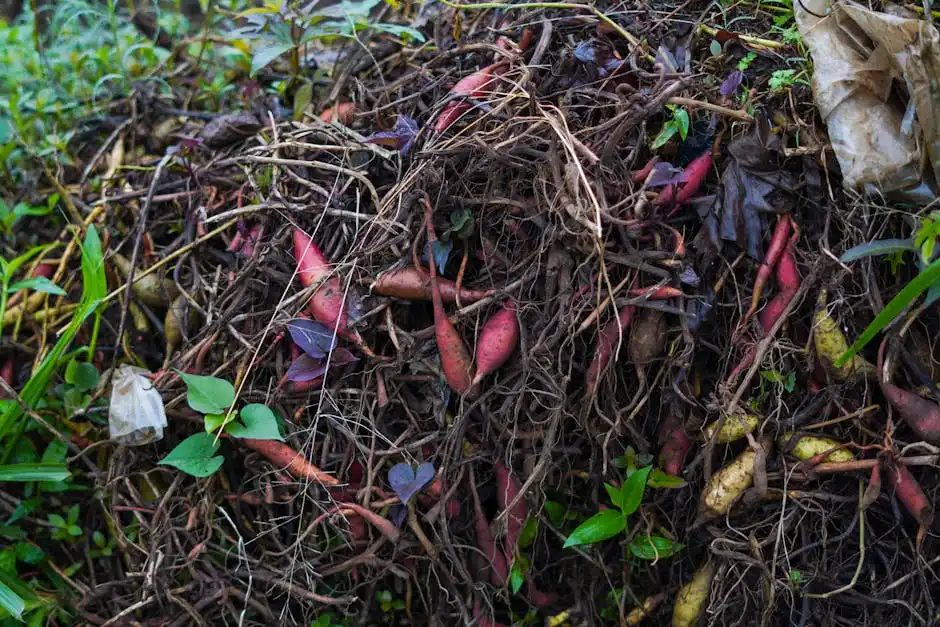
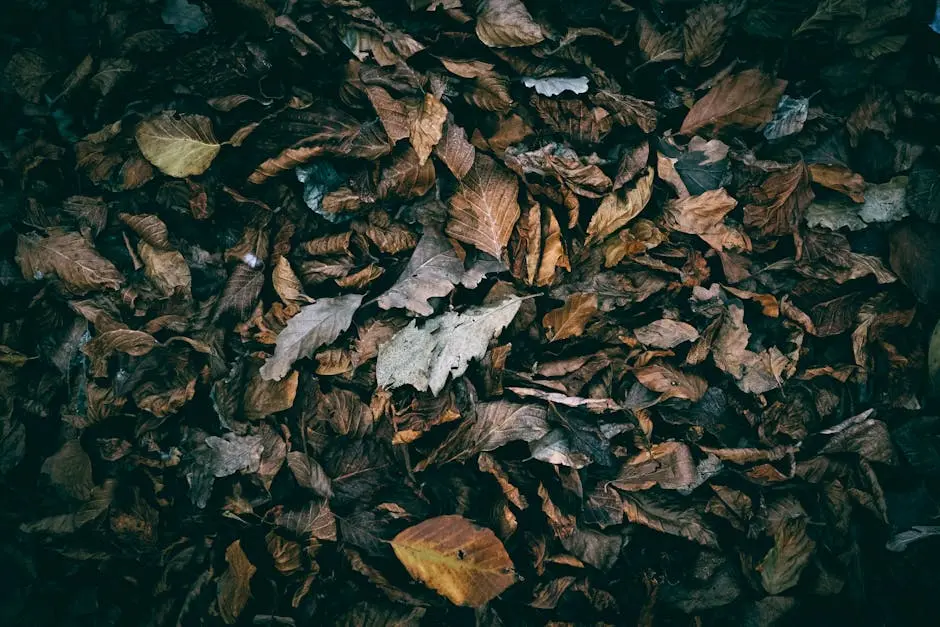
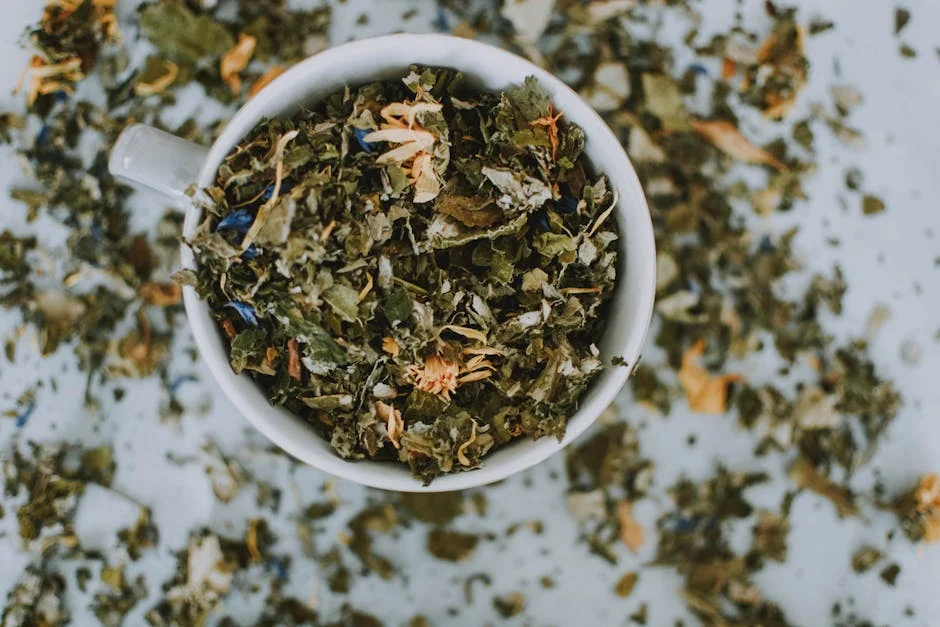
Composting is the natural process where microorganisms break down organic matter like food scraps, leaves, and grass clippings. These materials, which were once living, decompose into a dark, crumbly substance called compost.
This process happens in the presence of oxygen, which is why it’s called aerobic decomposition. Proper airflow is essential to keep the microbes active and prevent bad odors.
Compost is a valuable soil conditioner that improves texture, retains moisture, and supports plant growth by recycling vital nutrients back into your soil.
How Composting Benefits Your Home and Garden
By composting at home, you reduce the amount of waste sent to landfills. This helps lower your household’s environmental footprint.
Compost adds organic matter to your garden soil, making it richer and improving drainage. It encourages healthy root development and increases your plants’ resistance to pests and diseases.
You save money on commercial fertilizers and reduce water usage because compost helps soil hold moisture longer. Using compost boosts your garden’s overall health naturally and sustainably.
Key Principles of Effective Composting

To create good compost, you need to balance carbon-rich materials (like dry leaves, paper) and nitrogen-rich materials (like vegetable scraps, grass clippings).
Maintaining moisture at the level of a wrung-out sponge ensures microbes can thrive. Too wet or too dry slows down decomposition.
Finally, turning or aerating the pile regularly supplies oxygen to microorganisms, speeding up the process and avoiding unpleasant smells.
Following these principles helps you maintain a healthy, active compost pile that breaks down efficiently and produces quality compost.
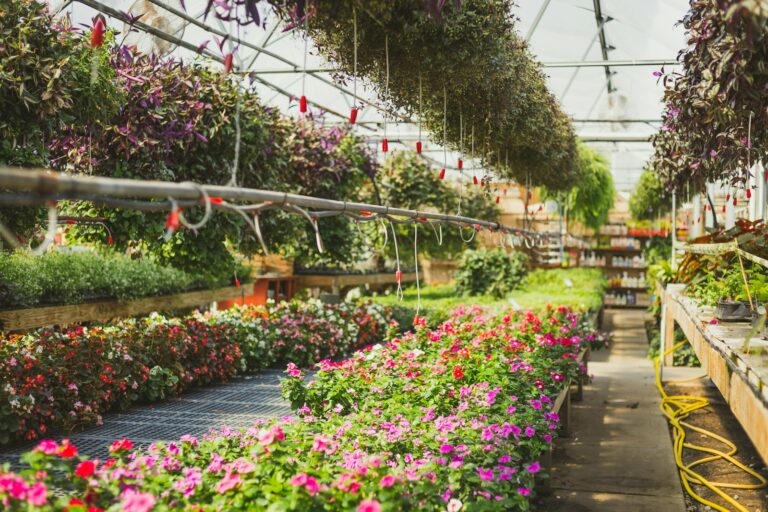
Choosing the Right Composting Method
You can compost effectively in different settings depending on your available space, time, and materials. Choosing the right method means balancing convenience, odor control, and your willingness to maintain the compost regularly.
Indoor vs Outdoor Composting
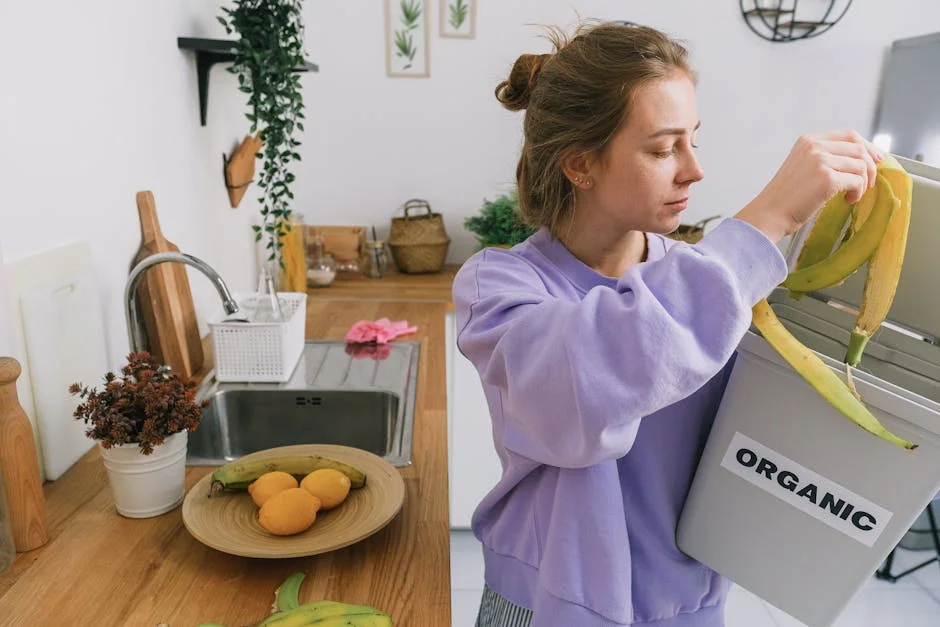
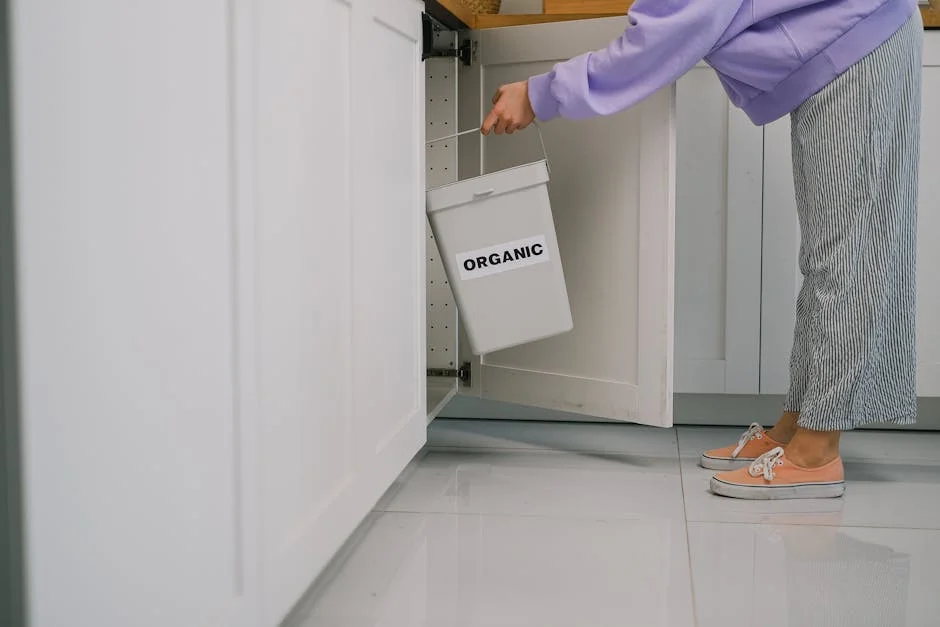
Indoor composting works well if you don’t have a yard or want year-round composting. You’ll likely use small containers like worm bins or bokashi systems. These keep smell and pests to a minimum when managed properly. Indoor composting is great for kitchens and apartments.
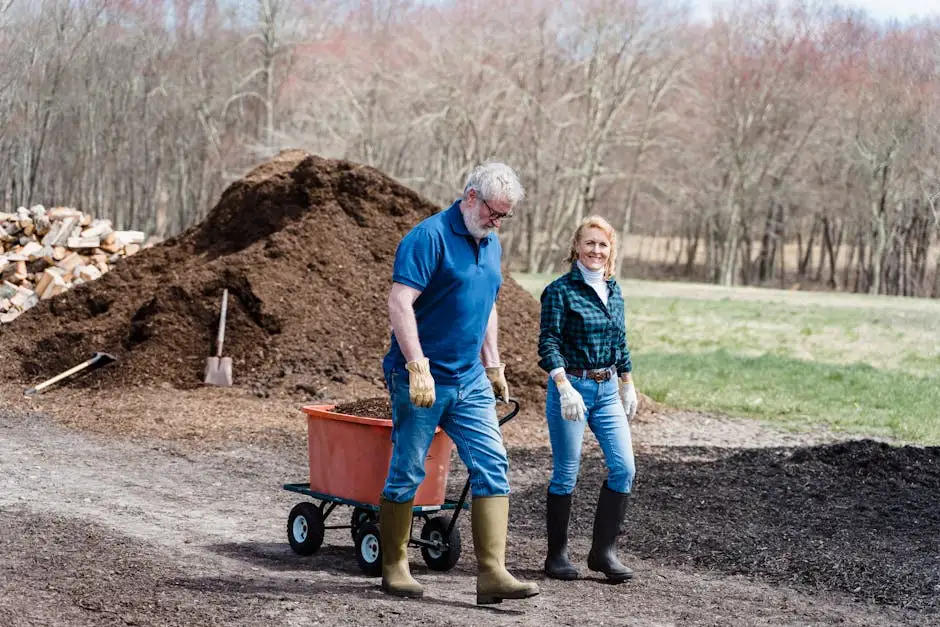
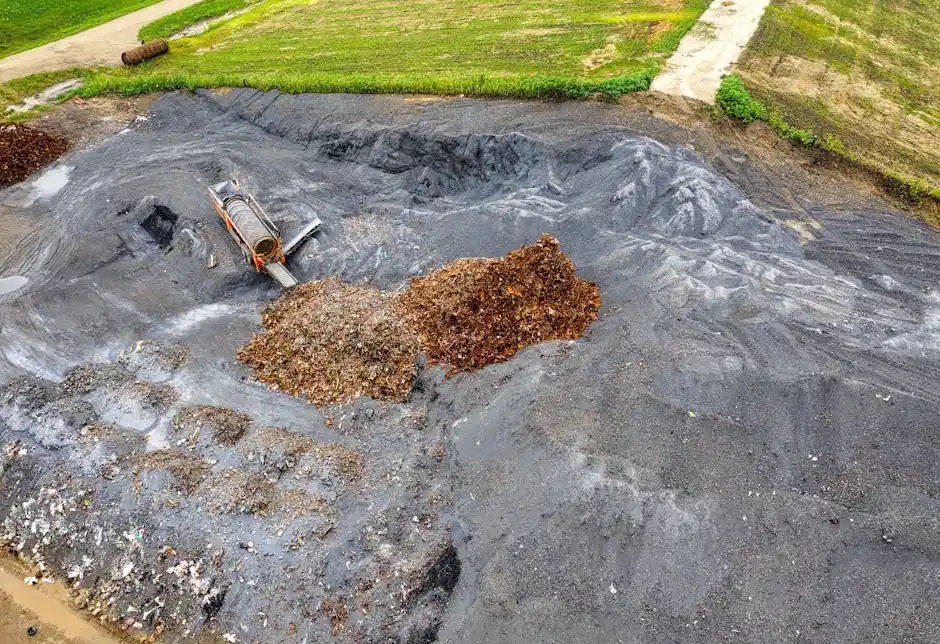
Outdoor composting requires space and usually more maintenance, like turning the pile regularly. It can handle larger volumes of materials and generally breaks them down faster, especially with hot composting methods. A compost pile or bin placed in your yard works best with good drainage and shade.
Overview of Composting Bins and Systems
Composting bins come in many forms: open piles, plastic bins, tumblers, and worm farms. Open piles are simple but need turning and can attract pests. Plastic bins and tumblers keep compost contained, speed up decomposition, and reduce odors.
Worm farms use red wigglers to break down food scraps quickly indoors. They require you to monitor moisture and temperature carefully. Bokashi systems ferment food waste with microbes and don’t need turning but require a secondary composting step outdoors.
Selecting the Best Method for Your Space
Start by assessing your living situation and how much effort you want to invest.
- If you live in an apartment or have limited space, indoor systems like worm farms or bokashi might be your best bet.
- For yards, a tumbler or open bin works well, but note you’ll need to turn it often.
- If odor or pests concern you, enclosed bins or tumblers offer better control.
Consider how much kitchen waste you produce weekly and the time you can spend turning or managing your compost. Matching your method to your lifestyle helps you stick to composting consistently.
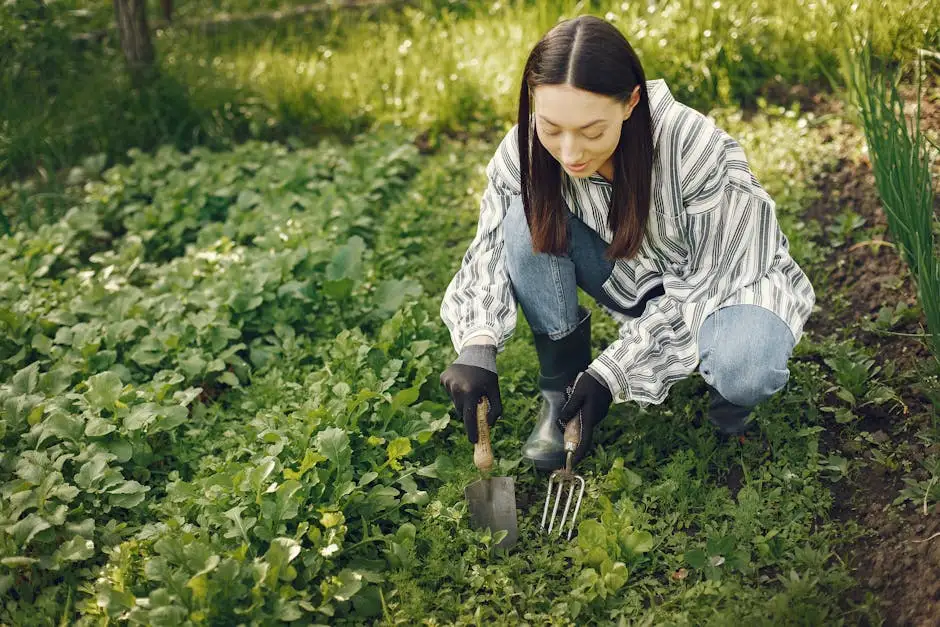
Materials for Successful Composting

Your compost needs a mix of specific materials to break down well and avoid issues like bad smells or pests. Knowing what types of scraps and yard waste to use, as well as what to avoid, will help you create nutrient-rich compost efficiently.
Green and Brown Materials Explained
You’ll want two main categories of compost ingredients: green and brown materials.
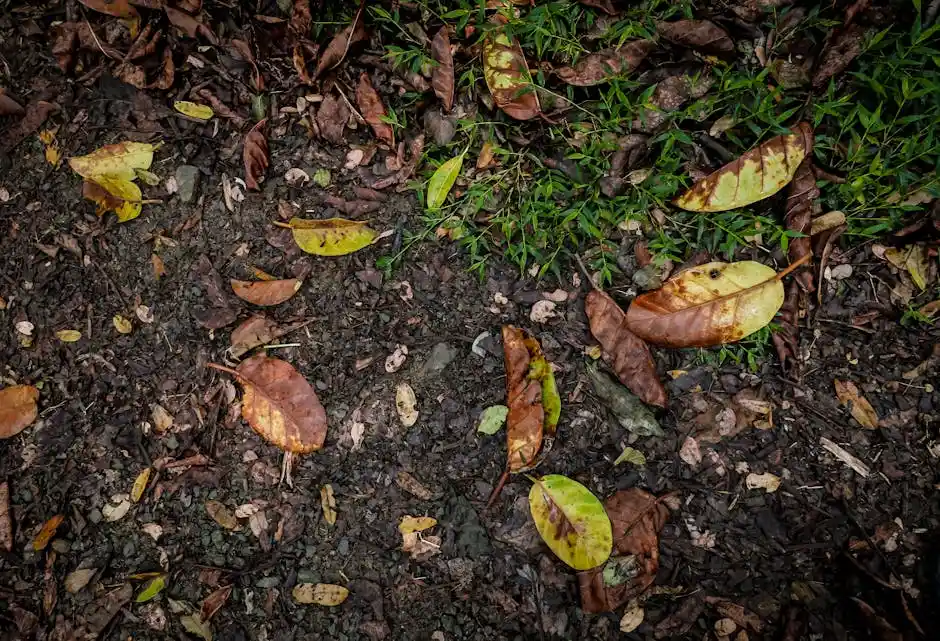
Green materials include kitchen scraps like fruit and vegetable peels, coffee grounds, and fresh grass clippings. These are rich in nitrogen and help speed up decomposition.
Brown materials provide carbon. These include dry leaves, cardboard, newspaper, egg cartons, and small twigs. They add structure and airflow to your pile, which is essential to prevent it from becoming soggy.
Keeping a good balance between green and brown materials keeps your compost healthy and active.
What Not to Compost
Avoid putting certain items into your compost to prevent odors, pests, or contamination.
Don’t add meat, dairy, oils, or bones because they attract rodents and create unpleasant smells.
Also, avoid diseased plants, pet waste, and chemically treated wood or plants. These can introduce harmful pathogens or chemicals to your compost.
Stay away from synthetic materials like plastics or metals, which won’t break down.
Balancing Ingredients for Healthy Compost
Maintaining roughly a 2:1 ratio of brown to green materials is a solid rule of thumb. This balance ensures your compost has enough carbon and nitrogen for microbes to thrive.
If your pile smells bad or feels slimy, add more brown materials to absorb excess moisture and provide aeration.
If decomposition is slow, throw in more green materials to boost nitrogen and speed up the process.
Turning your compost regularly helps mix these ingredients well, allowing oxygen to reach all parts of the pile for efficient breakdown.
Starting and Maintaining Your Compost Pile
Creating and keeping a compost pile involves layering the right materials, managing moisture and temperature, solving common issues, and regularly stirring the contents. Keeping these factors balanced helps you produce nutrient-rich compost efficiently.
Step-by-Step Guide to Starting a Compost Pile
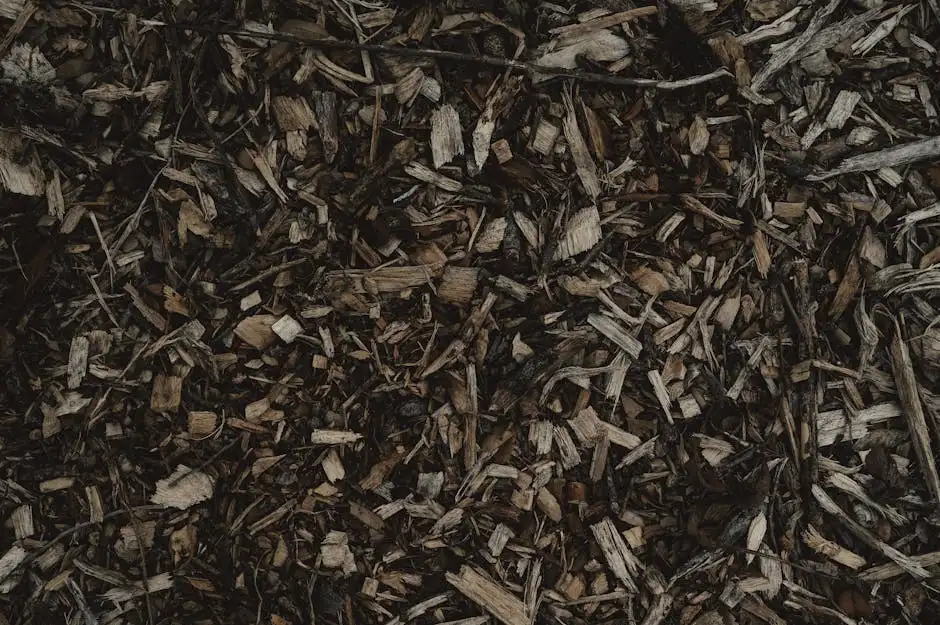
Begin by choosing a dry, shady spot with good drainage for your pile. Start with a layer of coarse materials like twigs to ensure airflow at the base.
Alternate layers of green materials (vegetable scraps, grass clippings) with brown materials (leaves, cardboard). Aim for a rough ratio of 1 part green to 2 parts brown to maintain balance.
Keep your pile about 3 feet high and wide. This size helps retain heat, which speeds up decomposition. Water lightly after adding dry layers but avoid soaking the pile.
Monitoring Temperature and Moisture
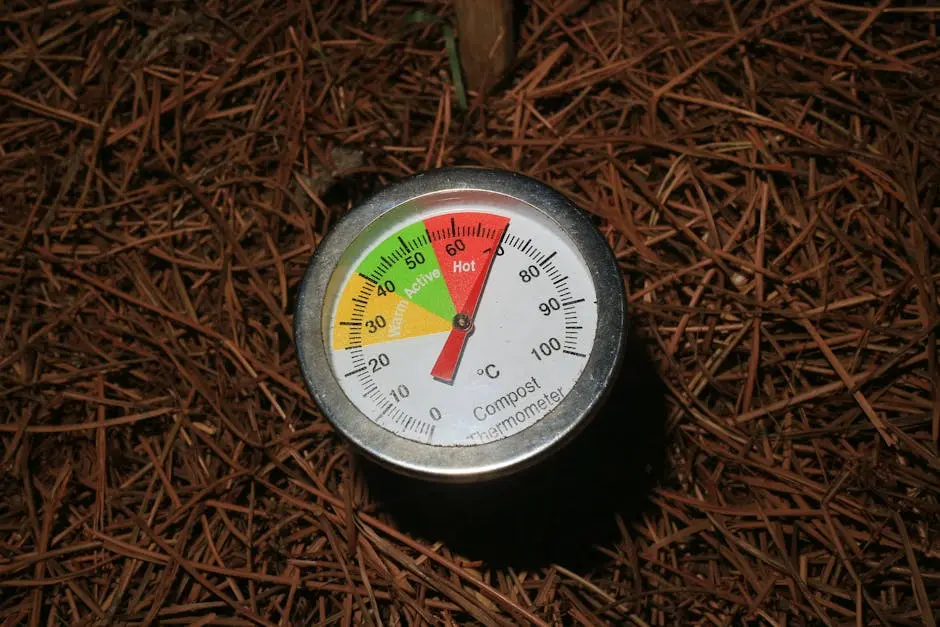
Your compost should feel warm to the touch in the middle, ideally between 130°F and 160°F (54°C to 71°C). This heat indicates active decomposition.
Use a compost thermometer to check internally. If it’s too cool, add more greens or turn the pile to add oxygen.
Moisture feels like a damp sponge—if it’s too dry, sprinkle water; if too wet, add more brown materials. Proper moisture supports microbial activity and prevents odor.
Troubleshooting Common Composting Issues
If your pile smells bad or looks soggy, it’s probably too wet or lacks enough air. Mix in dry leaves or shredded paper.
If it’s not heating up, add more green materials or turn the pile to increase airflow. Cold piles also mean your compost needs more nitrogen.
Attracting pests like raccoons usually means you’ve added meat, dairy, or oily foods. Stick to plant-based scraps to avoid this.
Turning and Aerating Your Compost
Turning your compost every 1–2 weeks introduces oxygen necessary for microbes. Use a garden fork or compost aerator.
When you turn the pile, mix the edges into the center to ensure even decomposition.
Aeration prevents compacting and reduces odor by increasing airflow. If your compost is dense, turn more often to restore balance.
Harvesting and Using Your Finished Compost
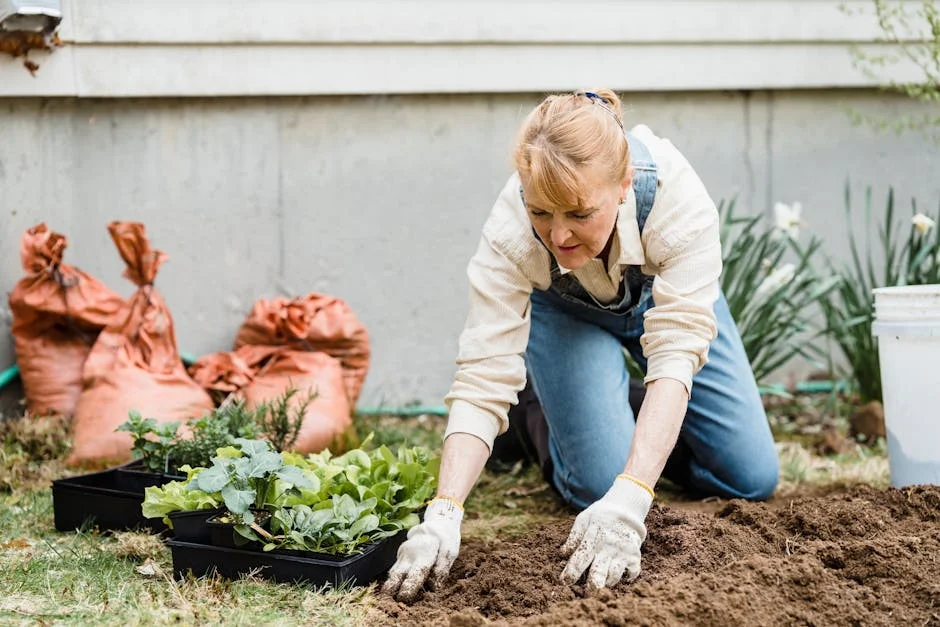
When your compost has transformed into rich, dark soil, it’s time to put it to work. Knowing when it’s ready, how to apply it effectively, and storing leftovers properly can maximize its benefits for your garden and houseplants.
How to Know When Compost Is Ready
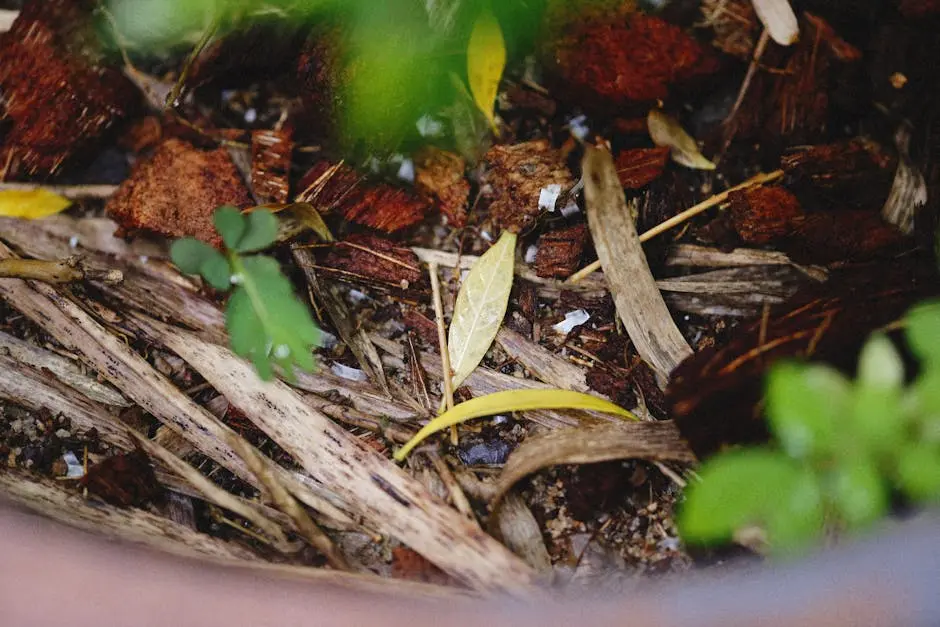
Your compost is ready when it looks, smells, and feels right. It should be dark brown or black, crumbly, and soil-like in texture. You won’t recognize the original food scraps or yard waste.
A finished compost smells earthy, not sour or rotten. If any chunks still look like food or leaves, you might need to let it compost longer. The temperature will be close to ambient once decomposition finishes, no longer hot to the touch.
You can also perform a “bag test”: place a handful in a sealed bag for a few days. If it doesn’t smell bad or show mold, it’s stable and ready to use.
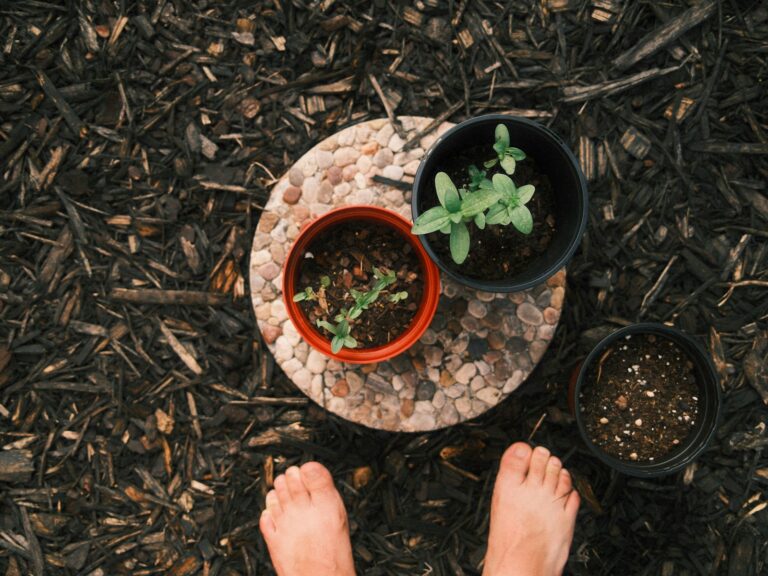
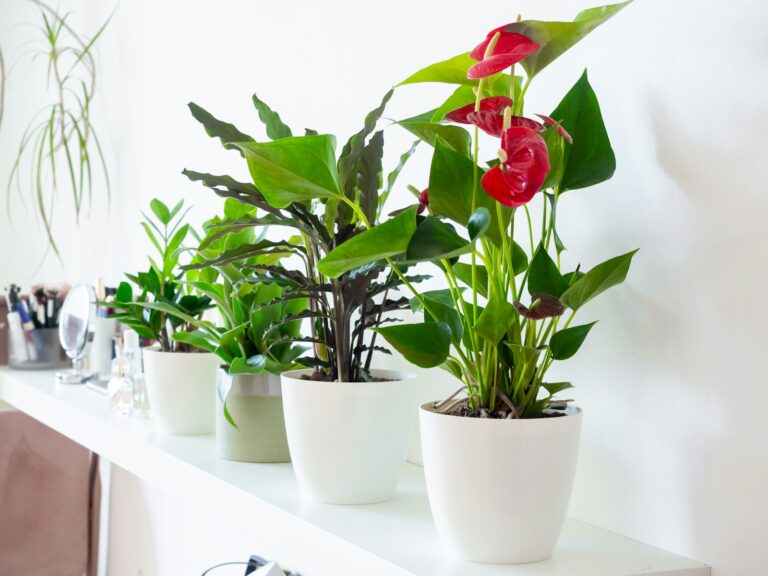
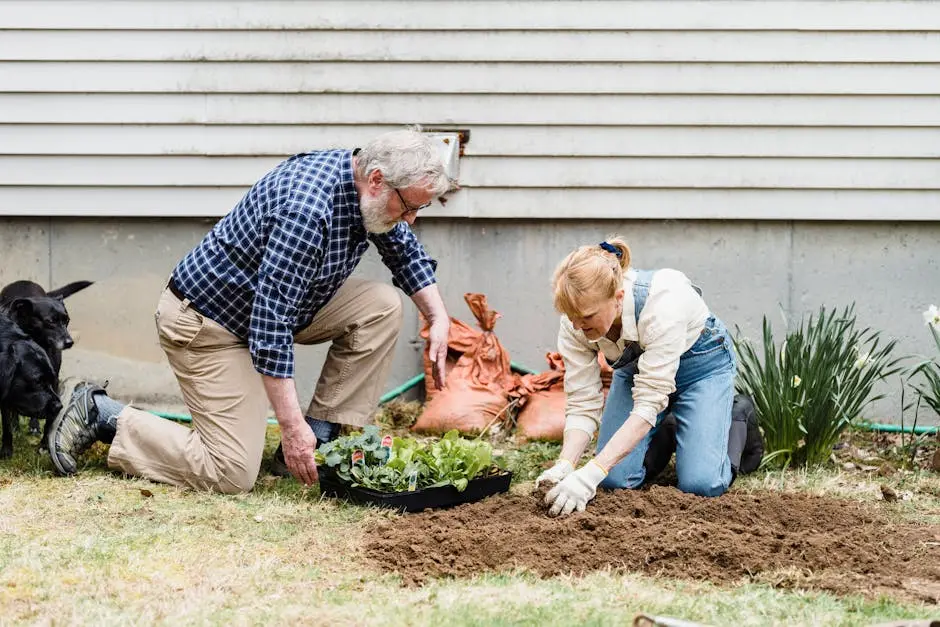
Ways to Use Compost in Your Home and Garden

Use finished compost as a soil amendment to improve structure and nutrient content. Mix it into garden beds to enrich vegetable patches, flower beds, or lawns.
You can also top dress your plants by spreading a thin layer over the soil surface. This helps retain moisture and slowly releases nutrients.
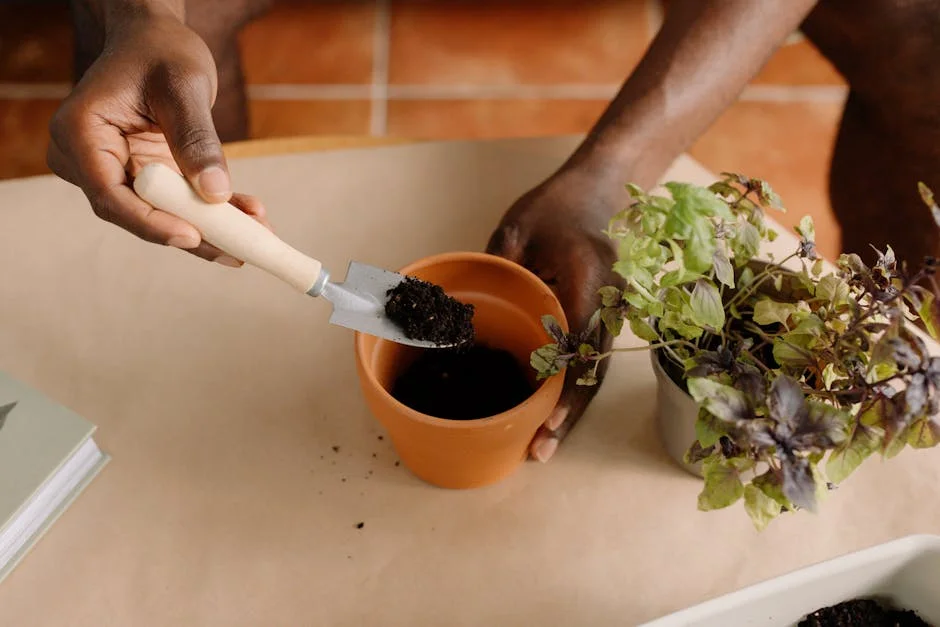
For potted plants, blend compost with potting soil at about a 1:3 ratio. Avoid using pure compost for seedlings or delicate plants to prevent damage.
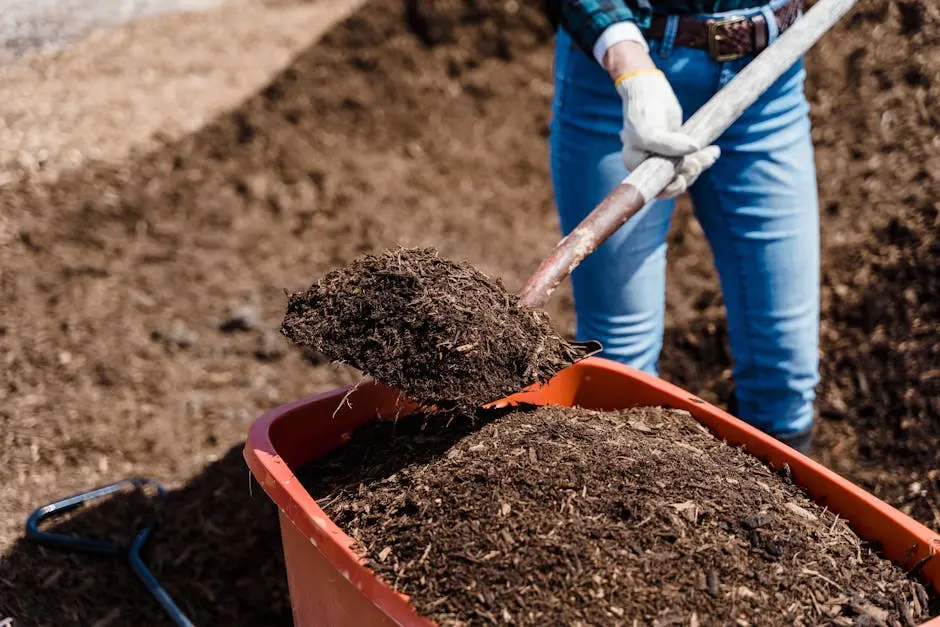
Compost is useful as mulch too. Spread 2-3 inches around shrubs and trees to suppress weeds and protect roots.
Storing and Handling Finished Compost
Keep your compost dry but not sealed airtight. Store it in a bin or covered pile to maintain moisture without getting soggy.
If you have leftover compost, keep it loosely covered to allow air flow. Avoid compacting it, which can reduce oxygen and cause odor.
When handling, use gloves or a garden fork for easy spreading. Freshly harvested compost may still contain small organisms, which is beneficial.
Ensure stored compost stays free from contamination with pesticides or chemicals that could harm beneficial microbes.