How to Divide and Replant Perennials in the Fall Friendly Tips for a Thriving Garden
If your garden feels a little crowded or some plants are looking tired, fall is the perfect time to give your perennials a fresh start. Dividing and replanting them can open up space, revive your plants, and even give you extras to share.
This simple task helps your plants grow stronger by giving their roots more room to spread. Cooler weather also means less stress for both you and your garden.
Taking care of your perennials now sets you up for a more vibrant garden next spring. It is a chance to refresh your space and keep your favorite blooms coming back year after year.
Choose the right time in early to mid-fall before the first frost
Plan to divide and replant your perennials in early to mid-fall. This gives your plants time to settle before winter.
Act before the first frost hits your area. Knowing your local frost dates can help you pick the best week to get started.
Once summer heat fades, perennials slow down and cooler air eases the stress on roots. This is a good window for both you and your plants.
Try to get your dividing done between September and mid-October. That usually gives roots about six weeks to grow before winter.
Water perennials thoroughly a day before dividing

Give your perennials a deep drink the day before you plan to dig them up. Moist soil is much easier to work with.
Hydrated roots are less likely to get damaged during the process. Your plants will handle the move better and bounce back faster.
Choose a cool, cloudy day if you can. This helps prevent the plants from drying out too quickly.
Use a garden fork or spade to gently lift the entire clump
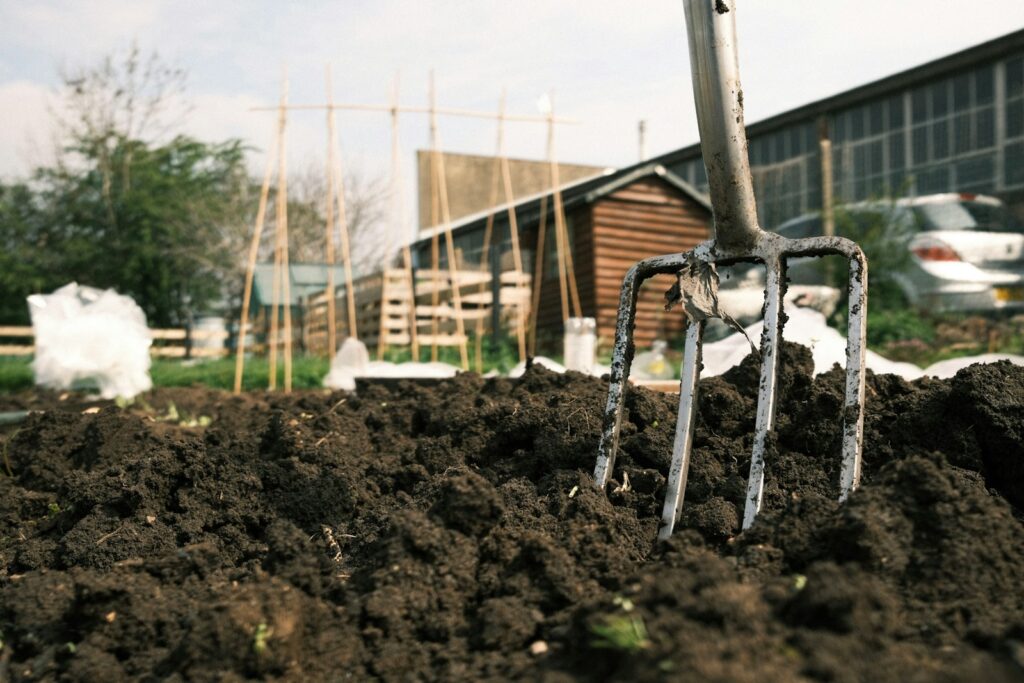
Start by using a garden fork or spade to dig around the edges of your perennial clump. Dig about 6 to 12 inches away from the stems to protect the roots.
Carefully lift the whole clump out of the ground. Try to keep as many roots intact as possible.
If the soil is heavy, gently shake off some extra dirt so you can see the roots better. Move the clump onto a tarp or flat surface to make the next steps easier.
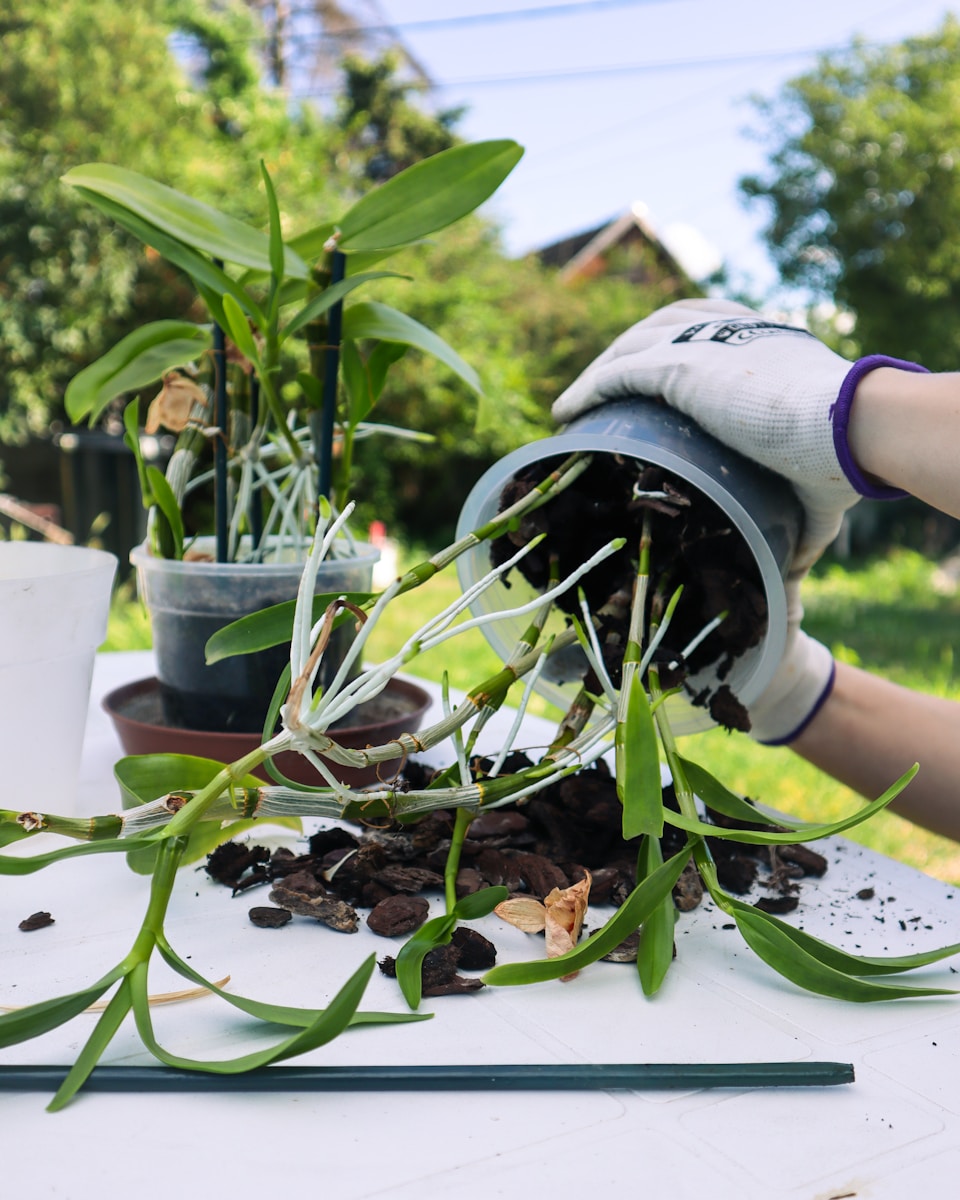
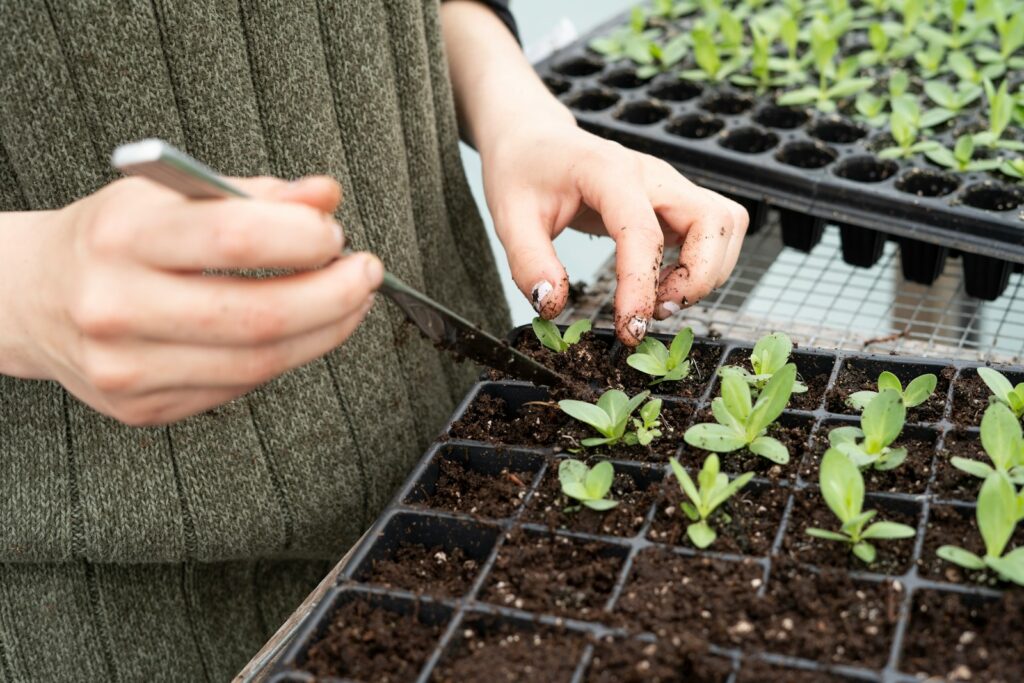
Shake off excess soil to see root structure clearly
After lifting the plant, gently shake off the loose soil around the roots. This makes it much easier to spot where the plant can be divided.
Brushing away the dirt helps you check for healthy roots and find natural places to separate the clump. Use your hands to do this gently without pulling or breaking the roots.
Each piece you separate should have a few strong shoots and good roots. This gives every new plant a better chance to thrive.
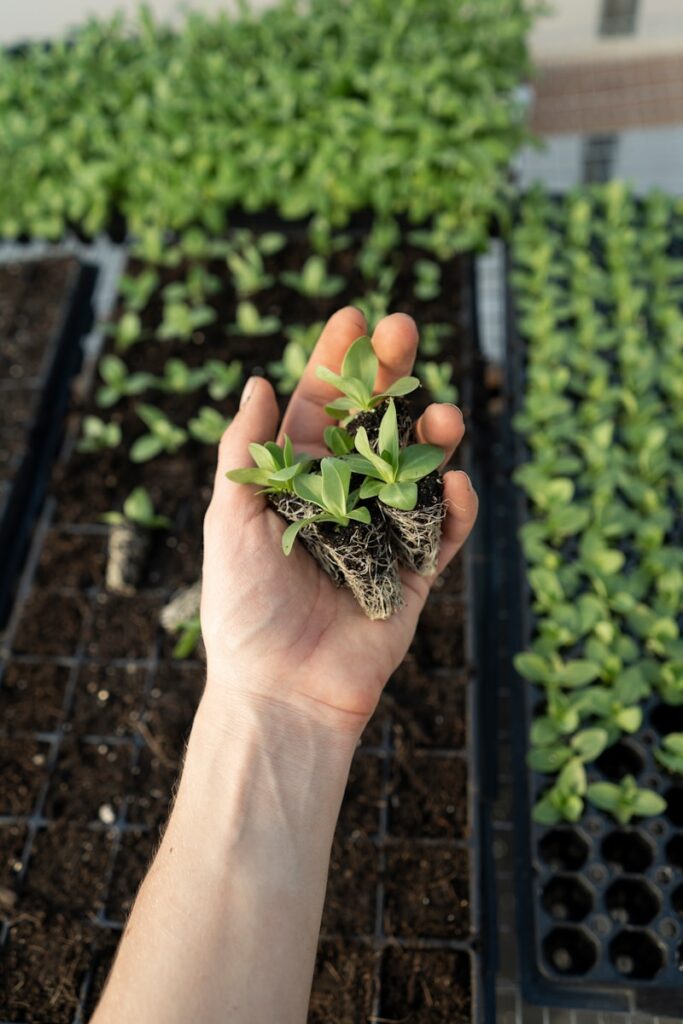
Divide the plant into sections with healthy roots and shoots

Look at the root ball and split it into smaller sections. Each section should have several healthy shoots and roots.
Use a sharp knife, spade, or your hands to gently pull or cut the plant apart. It is okay if a few roots get damaged—most are tough and will regrow.
If the clump is large, you can use two garden forks to help pull it apart. This makes separating the sections easier and less damaging.
Trim back foliage by about one-third to reduce transplant stress
Before replanting, trim back the foliage by about one-third. This reduces water loss and helps the roots recover after being moved.
Cutting back some of the leaves balances the top growth with the smaller root system. Your plant will have an easier time settling in.
Focus on trimming dense or large plants a bit more. Avoid cutting too much—about one-third is usually just right.
Select a new planting site with appropriate sun and soil conditions
Choose a spot that matches your plant’s sunlight needs. Some perennials love full sun, while others need a bit of shade.
Check that the soil drains well but still holds some moisture. If your soil is heavy or sandy, mixing in compost can help.
Avoid low spots where water collects after rain. Good drainage keeps roots healthy and happy.
Dig holes wide and deep enough for each division’s roots

Dig holes that are wide enough for the roots to spread out comfortably. Cramped roots can slow down growth.
Make the hole deep enough so the crown of the plant sits level with the soil surface. Avoid bending or crowding the roots.
If the soil is dry, water the area before digging. This makes the job easier and helps the plants settle in.
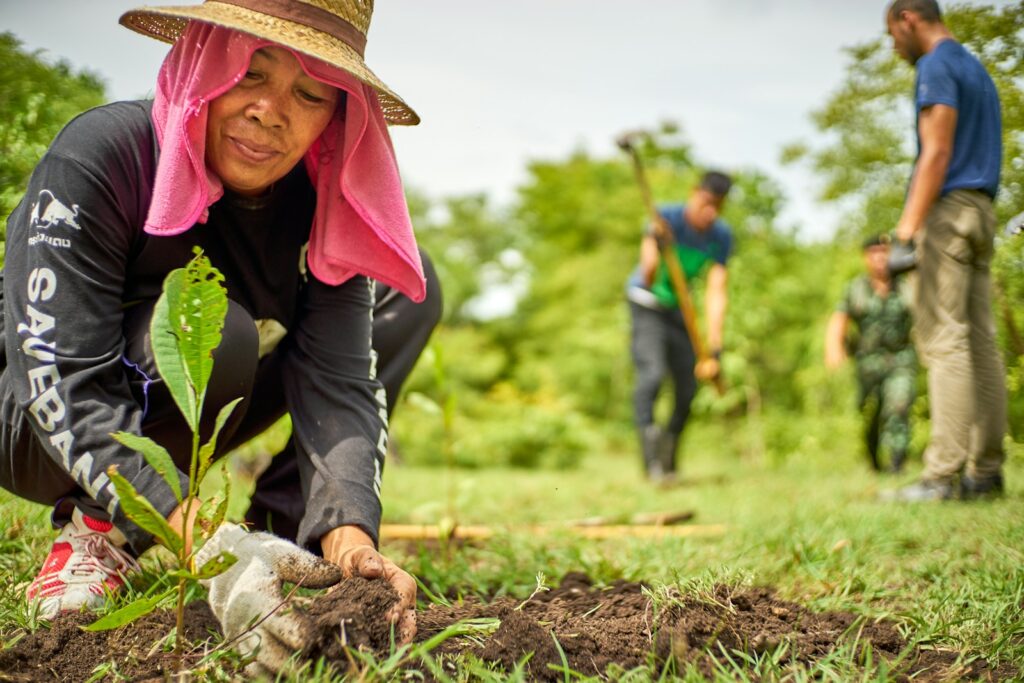
Plant divisions at the same depth they were growing before
Place each division back into the soil at the same depth it was growing before. Planting too deep or too shallow can stress your perennials.
Gently firm the soil around the roots without packing it too tightly. This allows air and water to reach the roots.
Water your divisions well right after planting. Adding compost to the hole can give them an extra boost.
Mulch around the base to keep moisture in and protect young roots through fall and winter.
Water the newly planted divisions deeply right after planting
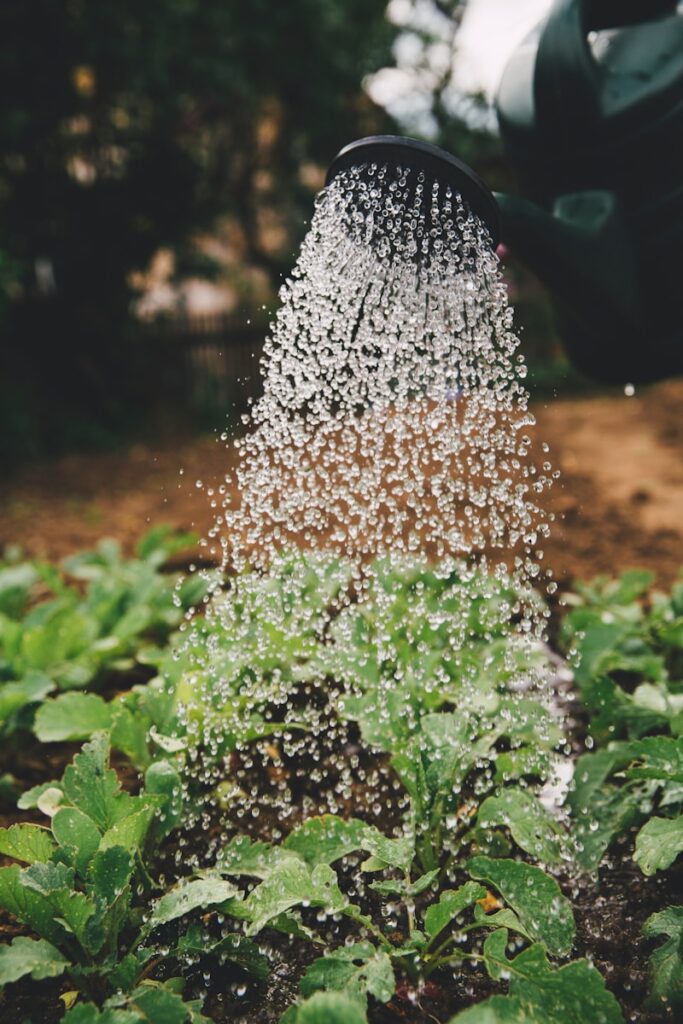
Give your new divisions a deep soak as soon as they are in the ground. This settles the soil and removes air pockets around the roots.
Water slowly so the moisture reaches down to the roots. Keep the soil moist, but not soggy, for the next few weeks as the plants get established.
Check your plants regularly, especially if the weather is dry. Well-watered perennials are more likely to thrive and reward you with beautiful blooms next spring.
Apply a layer of mulch to protect roots over winter
Once you’ve divided and replanted your perennials, it’s time to think about how to help them through the cold months. Adding mulch around your plants can make a big difference.
Mulch works like a cozy blanket for your garden, holding in warmth and slowing down how quickly the ground freezes. Aim for a layer about 2 to 3 inches thick.
This amount is enough to shield the roots while still allowing air and water to move through the soil. Be sure to cover the entire area where the roots are spread out.
Mulching can also help keep weeds away from your new plantings. Since weeds compete for water and nutrients, keeping them in check gives your perennials a better start.
Another bonus is that mulch holds moisture in the soil, which helps your plants avoid drying out during winter. Try to get your mulch down before the first hard frost arrives.
If the ground is already frozen, it’s much tougher to spread the mulch properly. Organic materials like shredded leaves, straw, or bark are all good choices for winter mulching.
For more tips on layering mulch to protect your plants in cold weather, check out this guide on winter mulching to insulate plant roots.