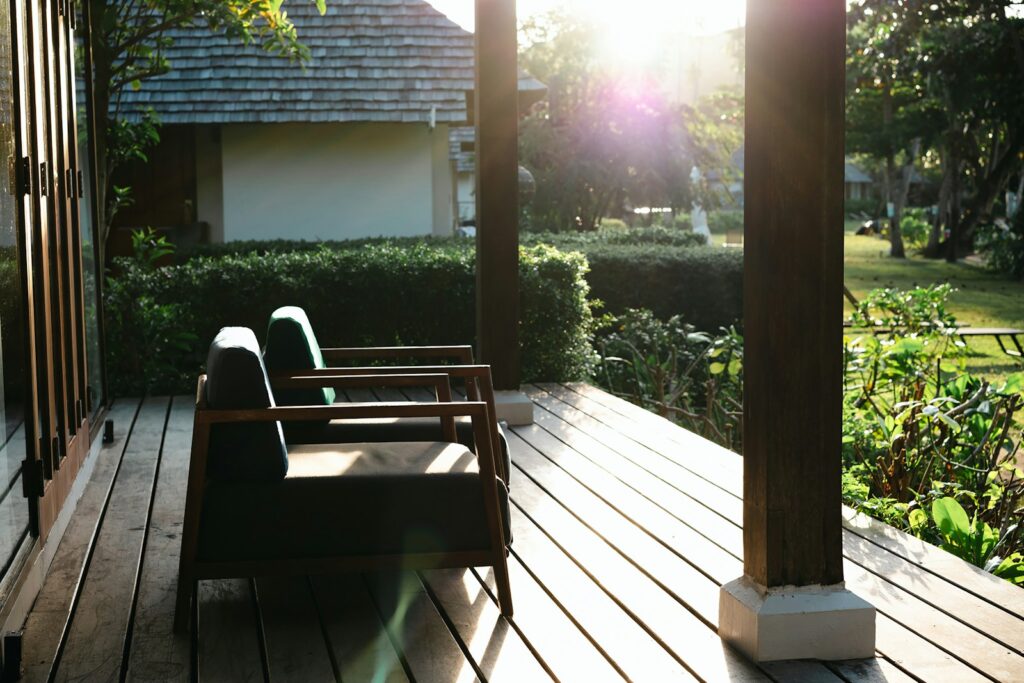
A Step-by-Step Plan to Build Your First Garden Bed and Enjoy a Thriving Outdoor Space!
Ever walked past a neighbor’s lush garden and wished you could have something similar? Building your own garden bed is a great way to bring fresh plants and veggies right into your backyard.
It may feel overwhelming at first, but breaking it down into simple steps makes the process much more manageable. With a little planning, you’ll soon be enjoying your own thriving outdoor space.
This step-by-step plan will help you build a garden bed that suits your space and supports strong, healthy plants. Watching your garden come to life can be a rewarding and personal experience.
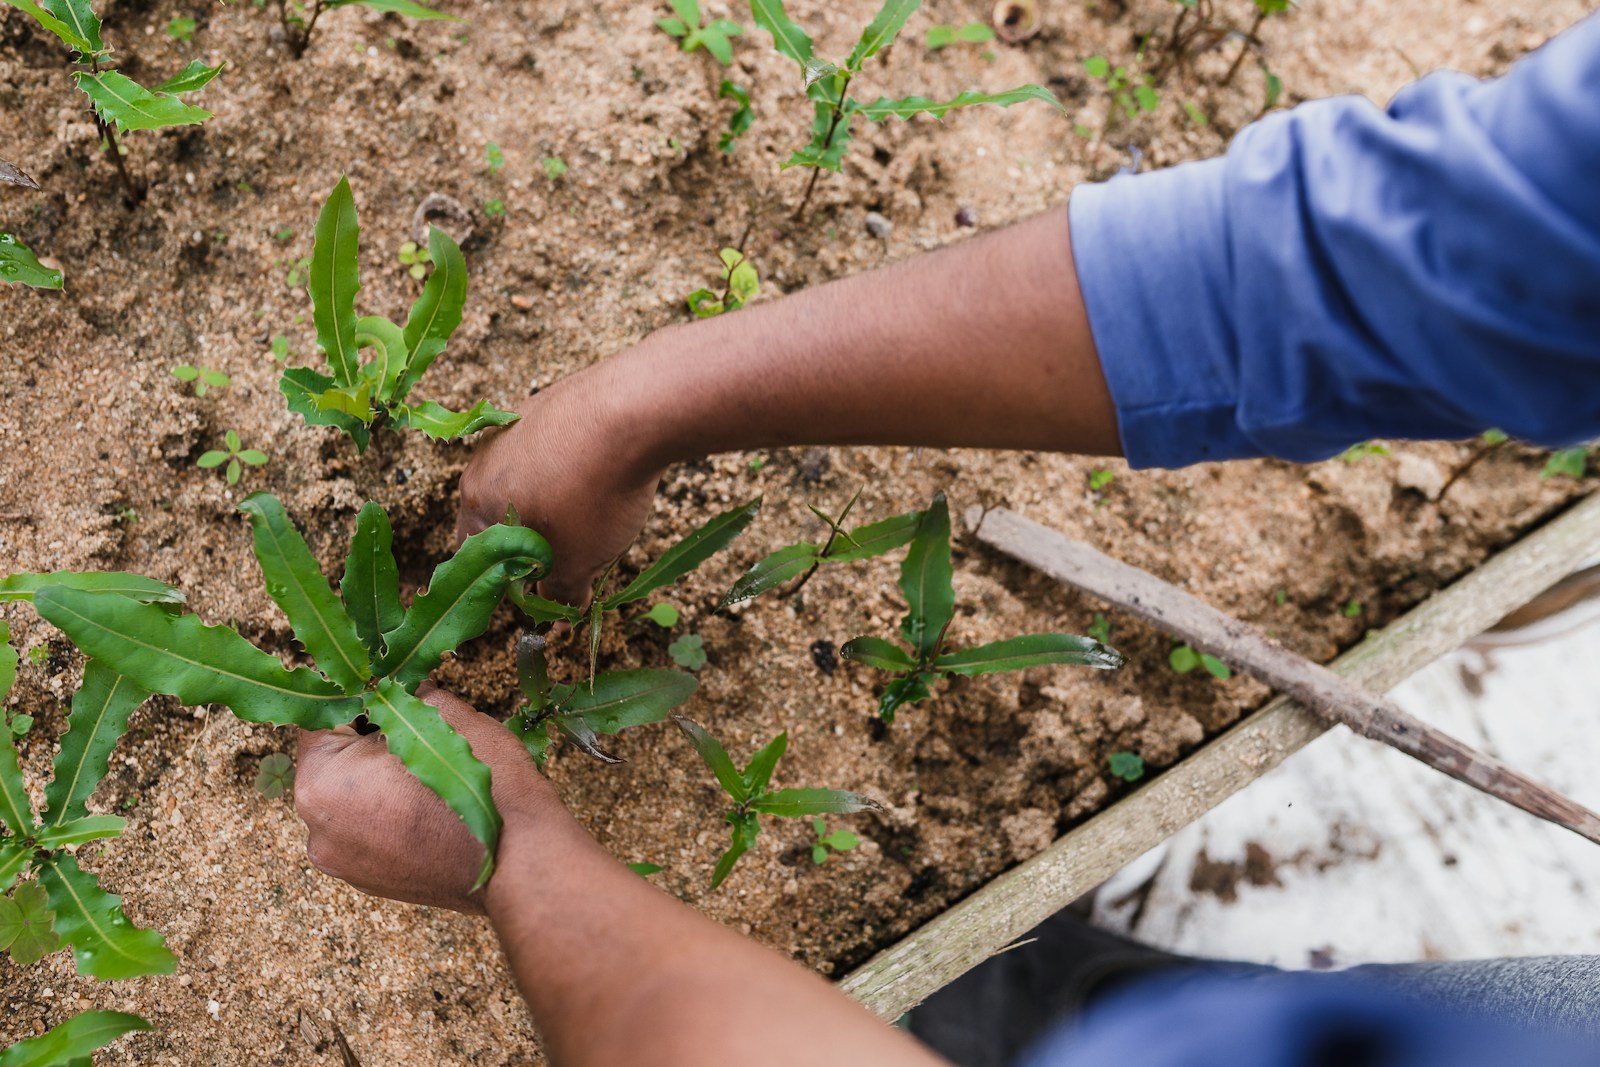
Choose the perfect sunny location with 6-8 hours of sunlight
Pick a spot in your yard that gets plenty of sun throughout the day. Aim for 6 to 8 hours of sunlight to give your plants the best chance to grow.
Take a few days to observe how the sun moves across your yard. Make a simple sun map to figure out which areas stay sunny the longest.
Avoid places where trees, buildings, or fences cast long shadows. These can block the light your plants need.
Make sure the spot you choose is easy to reach for watering, weeding, and harvesting. Convenience matters when you’re out there every day.
Measure and mark your garden bed dimensions precisely
Once you’ve found your sunny spot, grab a tape measure and figure out how much space you want to use. Write down your measurements so you don’t lose track.
Multiply the length by the width to get the total square footage. This helps you decide how much soil you’ll need and what you can plant.
Mark the corners of your future garden bed with stakes. Wrap twine or string around the stakes to outline the shape.
Taking a few extra minutes to measure and mark carefully sets your garden up for success. You’ll appreciate the neat lines later.
Select safe, durable lumber like cedar or redwood
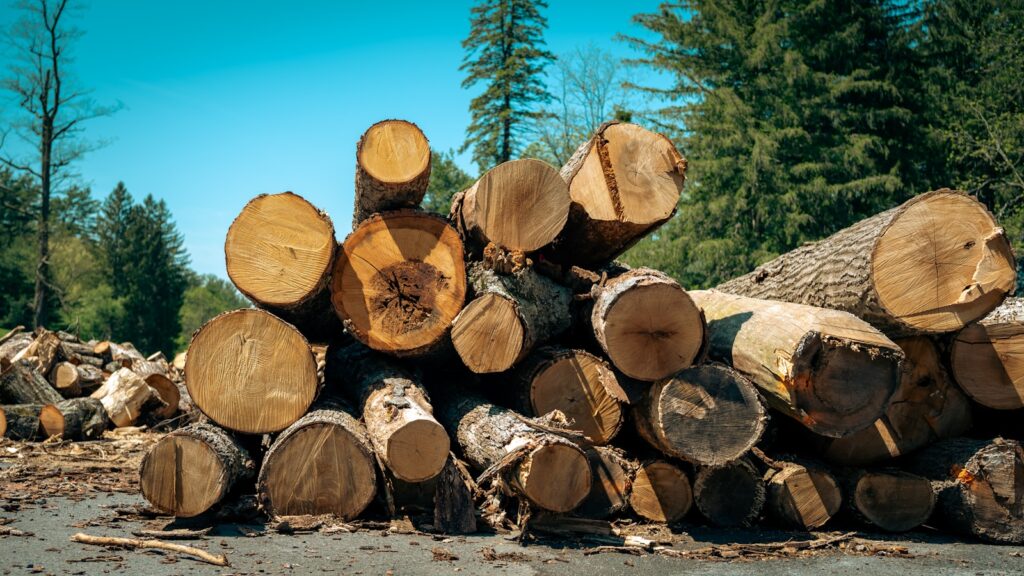
Choosing the right wood for your garden bed is important. Cedar and redwood are great options because they naturally resist rot and insects.
These woods don’t require chemical treatments, keeping your soil healthy for growing food. They also look beautiful and last for years.
While cedar and redwood might cost a bit more upfront, their durability means you won’t be rebuilding your bed anytime soon. That’s less hassle in the long run.
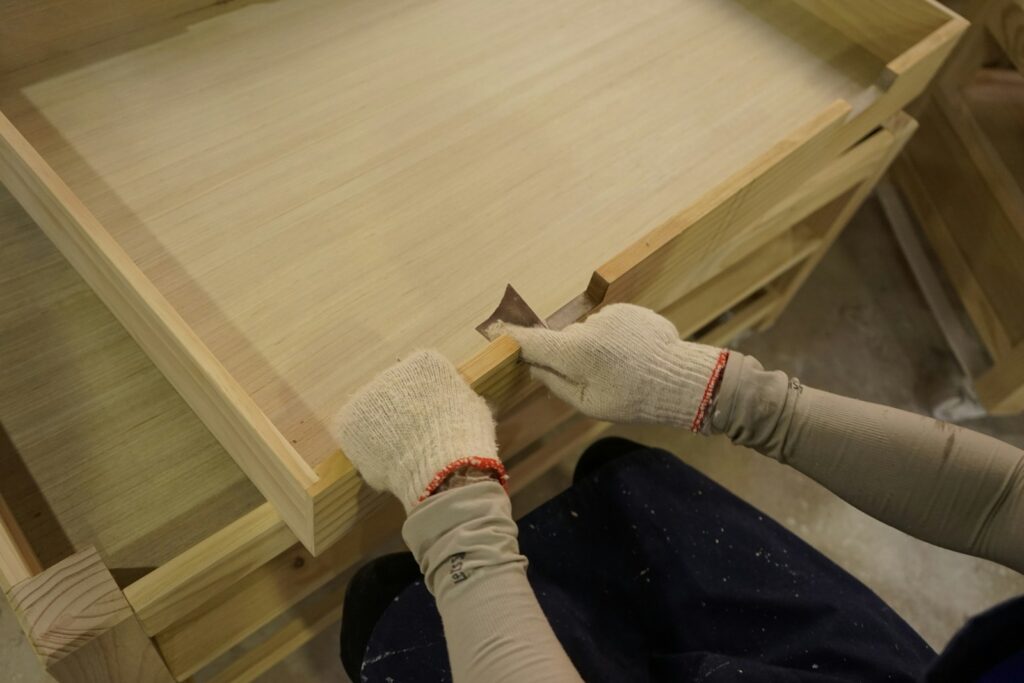
Gather essential tools: saw, drill, level, and screws
Before you start building, gather the basic tools you’ll need. A saw is essential for cutting your boards to size.
You’ll also need a drill for making pilot holes and driving screws. This helps prevent the wood from splitting.
A level will help you keep your garden bed straight and even. Exterior-grade screws, about 2.5 to 3 inches long, work best for holding everything together.
Having these tools on hand makes the building process much smoother. No need to stop and hunt for missing items.
Cut the lumber to create your raised bed frame
Measure your boards and mark them with a pencil and square. Most raised beds are about 4 feet by 8 feet, but you can adjust the size to fit your space.
Cut along your marks with a saw, taking your time for clean, straight edges. Double-check that your pieces match your plan before moving on.
Once your boards are cut, you’ll see your garden bed starting to take shape. It’s a satisfying step that brings your project closer to reality.
Assemble the frame securely with screws and a drill
Lay out your boards or panels on the ground to check the fit. This helps you spot any issues before you start screwing things together.
Drill pilot holes at the corners to prevent splitting. Then use your screws to attach the boards, working your way around the frame.
Keep an eye on your level to make sure everything stays straight. A sturdy frame now means fewer problems down the road.
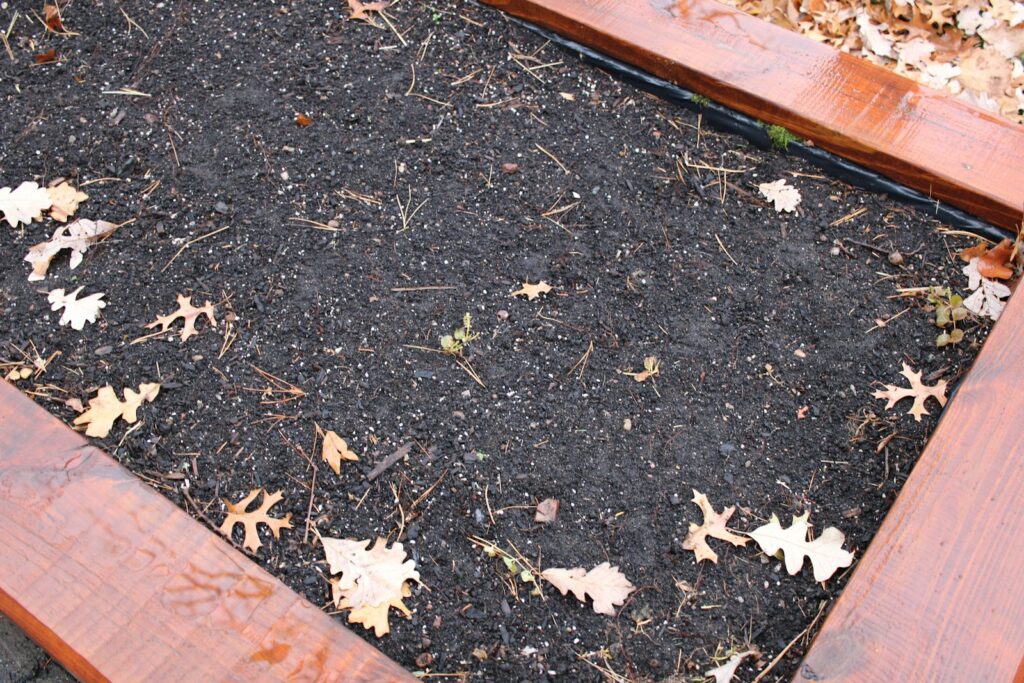
Lay down landscape fabric to prevent weeds

Keeping weeds out of your new garden bed saves you time and effort later. Lay landscape fabric over the soil before adding anything else.
Clear away rocks and debris first. Roll out the fabric so it covers the whole area, overlapping the edges by about 6 inches.
Secure the fabric with garden staples or pins. This keeps it in place when you add soil and mulch on top.
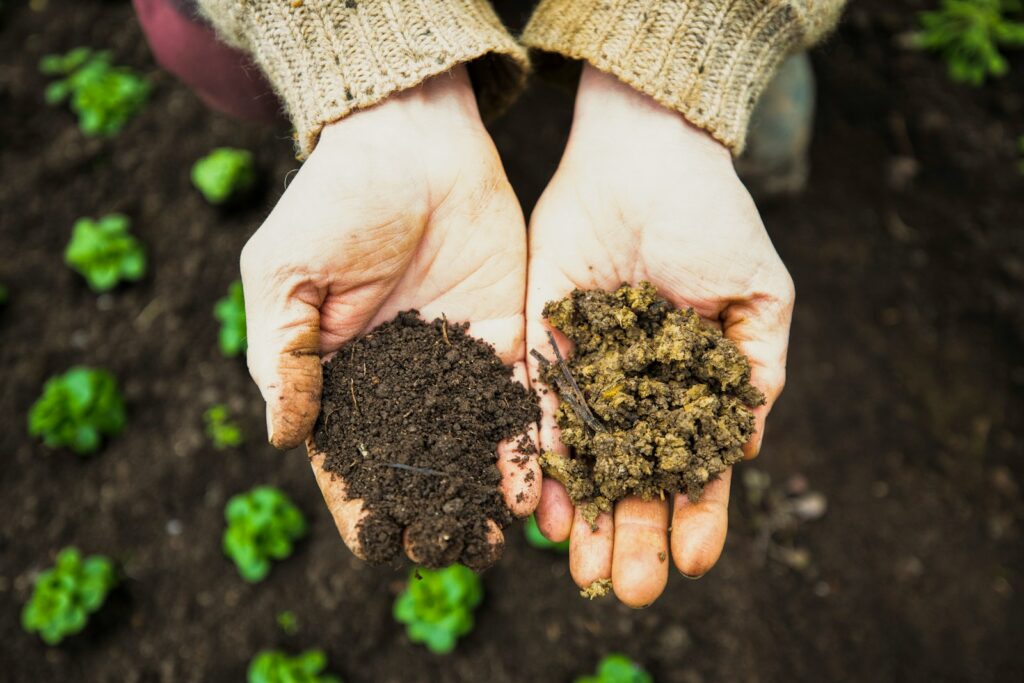
Fill the bed with a nutrient-rich soil and compost mix
Mix equal parts compost and good-quality soil for a nutrient-rich base. This blend helps your plants grow strong and healthy.
Compost improves texture, holds water, and brings in helpful microbes. If your bed is deep, you can add a little topsoil, but keep it under 20 percent of the total volume.
Don’t pack the soil too tightly. Loose soil lets roots spread and air reach them.
Top everything off with a thin layer of mulch to lock in moisture and keep weeds down.
Add a 2-3 inch layer of mulch to retain moisture
Spread 2 to 3 inches of organic mulch like straw, wood chips, or compost around your plants. This helps keep the soil moist and cool.
Mulch also blocks sunlight from reaching weeds. Your garden stays tidy and you spend less time pulling unwanted growth.
Keep mulch a few inches away from plant stems to prevent rot and pests. A well-mulched bed looks neat and helps your plants thrive.
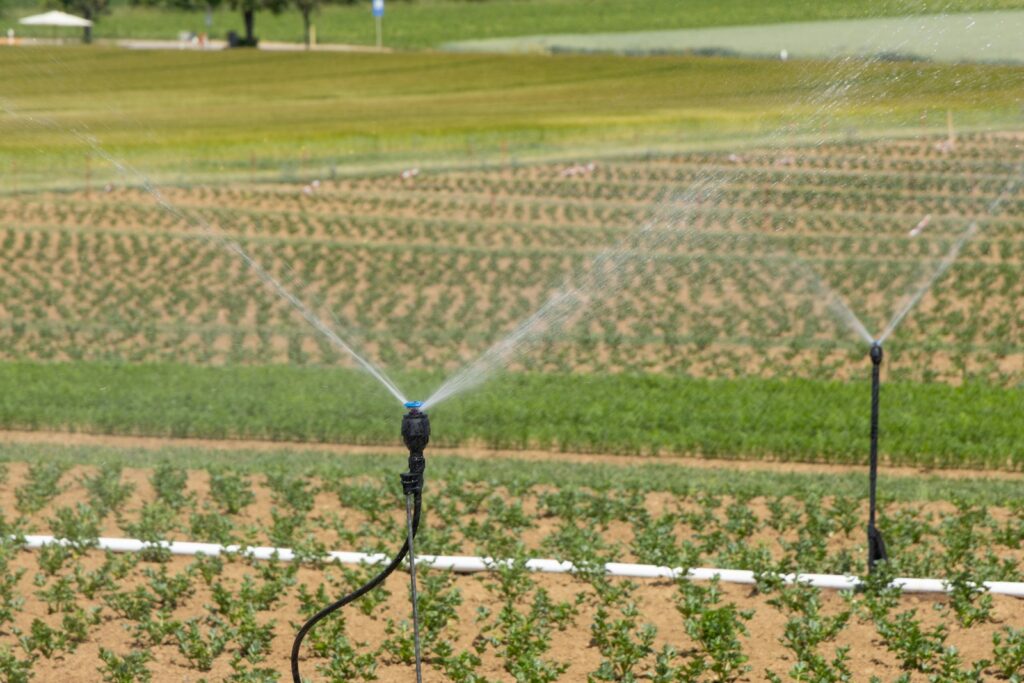
Install a simple drip irrigation system for efficient watering
A drip irrigation system makes watering easier and more efficient. Lay out the tubes and emitters so every plant gets a steady supply of water right at the roots.
Assemble the system with tubing, connectors, and drip emitters. Attach the tubing to your garden bed and connect it to a water source.
This setup saves water and keeps your plants consistently hydrated. You’ll spend less time dragging hoses and more time enjoying your garden.
Understanding Soil Health
Good soil is the foundation of a thriving garden bed. It’s more than just dirt—it’s a mix of minerals, organic matter, water, air, and tiny living creatures all working together.
Why Good Soil Matters
Healthy soil provides nutrients, water, and air for your plants. It also supports deep, strong roots.
When soil has the right balance, plants can absorb what they need and stay healthy. Rich, dark soil is a sign of plenty of organic matter and helpful microbes.
These microbes break down old plant material and turn it into nutrients. Good soil can also help protect your plants from diseases.
Improving Soil Quality
You can improve your soil by adding compost or aged manure. These boost nutrients and keep soil loose, making it easier for roots to grow.
Test your soil’s texture and moisture. Add sand if it’s too heavy or peat moss if it dries out fast.
Mix organic materials into the top few inches of soil. Try to avoid stepping on your garden bed, since compacted soil makes it harder for roots to grow.
Rotating crops or planting cover crops can also keep your soil healthy. The better you care for your soil, the better your garden will do.
Tips for Watering and Maintenance
Keeping your garden bed healthy is all about finding the right balance. A few simple routines can make a big difference in how your plants grow.
Efficient Watering Techniques
Water deeply but less often to encourage roots to grow down into the soil. Soaker hoses or drip irrigation deliver water right where it’s needed.
If you use a self-watering bed, fill the reservoir through the tube and check the overflow to avoid overwatering. Water early in the morning or late in the day to reduce evaporation.
Mulching helps hold moisture and cuts down on how often you need to water. Check the soil with your finger, if the top inch is dry, it’s time to water again.
Simple Maintenance Routines
When you keep up with small garden tasks, your plants stay healthy and happy. Take a look at your soil often to spot pests or mold early.
Remove any damaged or dead leaves as soon as you see them. This helps prevent bigger issues before they start.
Every few weeks, gently loosen the soil so air and water can reach the roots. Try not to step in the bed to avoid packing the soil down.
Add compost or slow-release fertilizer every month or two for a nutrient boost. It’s also helpful to check your watering system for clogs or leaks so everything runs smoothly.