How to Start a Microgreen Garden for Fresh Greens All Winter and Boost Your Health Indoors
When winter hits and the days get shorter, it’s easy to miss fresh greens in your meals. Microgreens are a great way to bring a splash of green into your kitchen, even when it’s freezing outside.
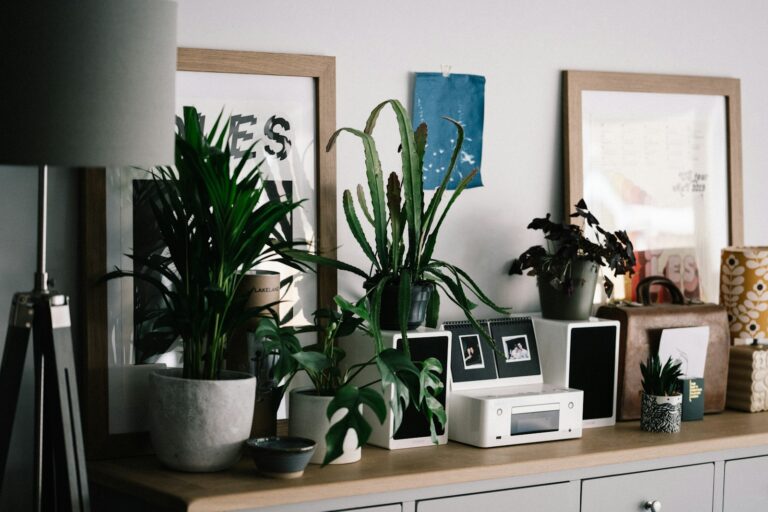
Growing microgreens indoors is simple and doesn’t take much space. You can have fresh, nutrient-packed greens right on your counter all season.
Microgreens are quick to grow and need little fuss. With just a few supplies and a sunny spot, you can enjoy homegrown greens in no time.
Choose a bright windowsill for natural light

Find a spot in your home that gets plenty of sunlight, like a south or west-facing window. Natural light helps microgreens grow fast and strong.
If you don’t have a sunny windowsill, use a small grow light to add the brightness your greens need. Grow lights are easy to set up and fit in small spaces.
Watching tiny leaves sprout day by day can be surprisingly fun. It’s a simple way to add a bit of life to your kitchen during the cold months.
Use LED grow lights for consistent indoor lighting
Short winter days can make it tough to get enough sunlight. LED grow lights are perfect for keeping your microgreens happy when daylight is limited.
These lights give your plants the full spectrum of light they need, helping them stay green and healthy. Set a timer for 12 to 16 hours a day so your microgreens get a steady light schedule.
LEDs are energy efficient, so they won’t run up your electric bill. They also last a long time, making them a smart choice for indoor gardening.
Start with easy seeds like radish, pea shoots, and sunflower
If you’re just getting started, try growing radish, pea shoots, or sunflower microgreens. These seeds are easy to handle and quick to sprout.
Radish microgreens add a spicy crunch to salads, while pea shoots bring a mild sweetness. Sunflower microgreens have a nutty taste and a satisfying texture.
You don’t need any special skills to grow these varieties. Just keep the soil moist and give them some light, and you’ll be harvesting your own greens in about a week.
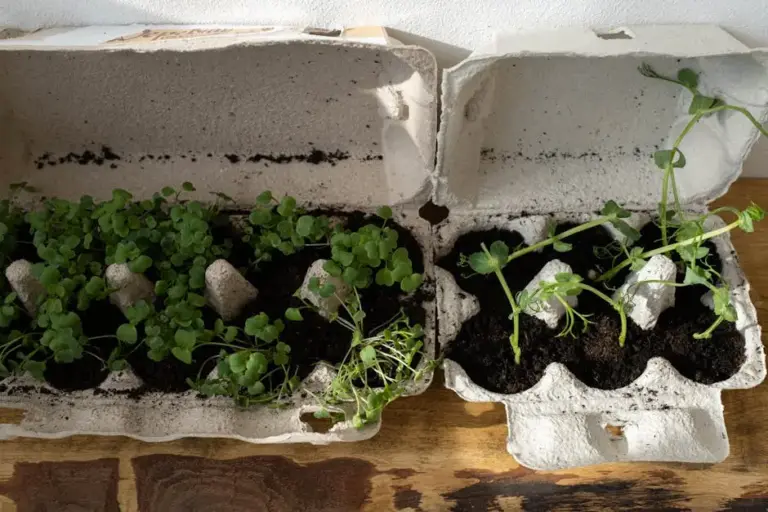
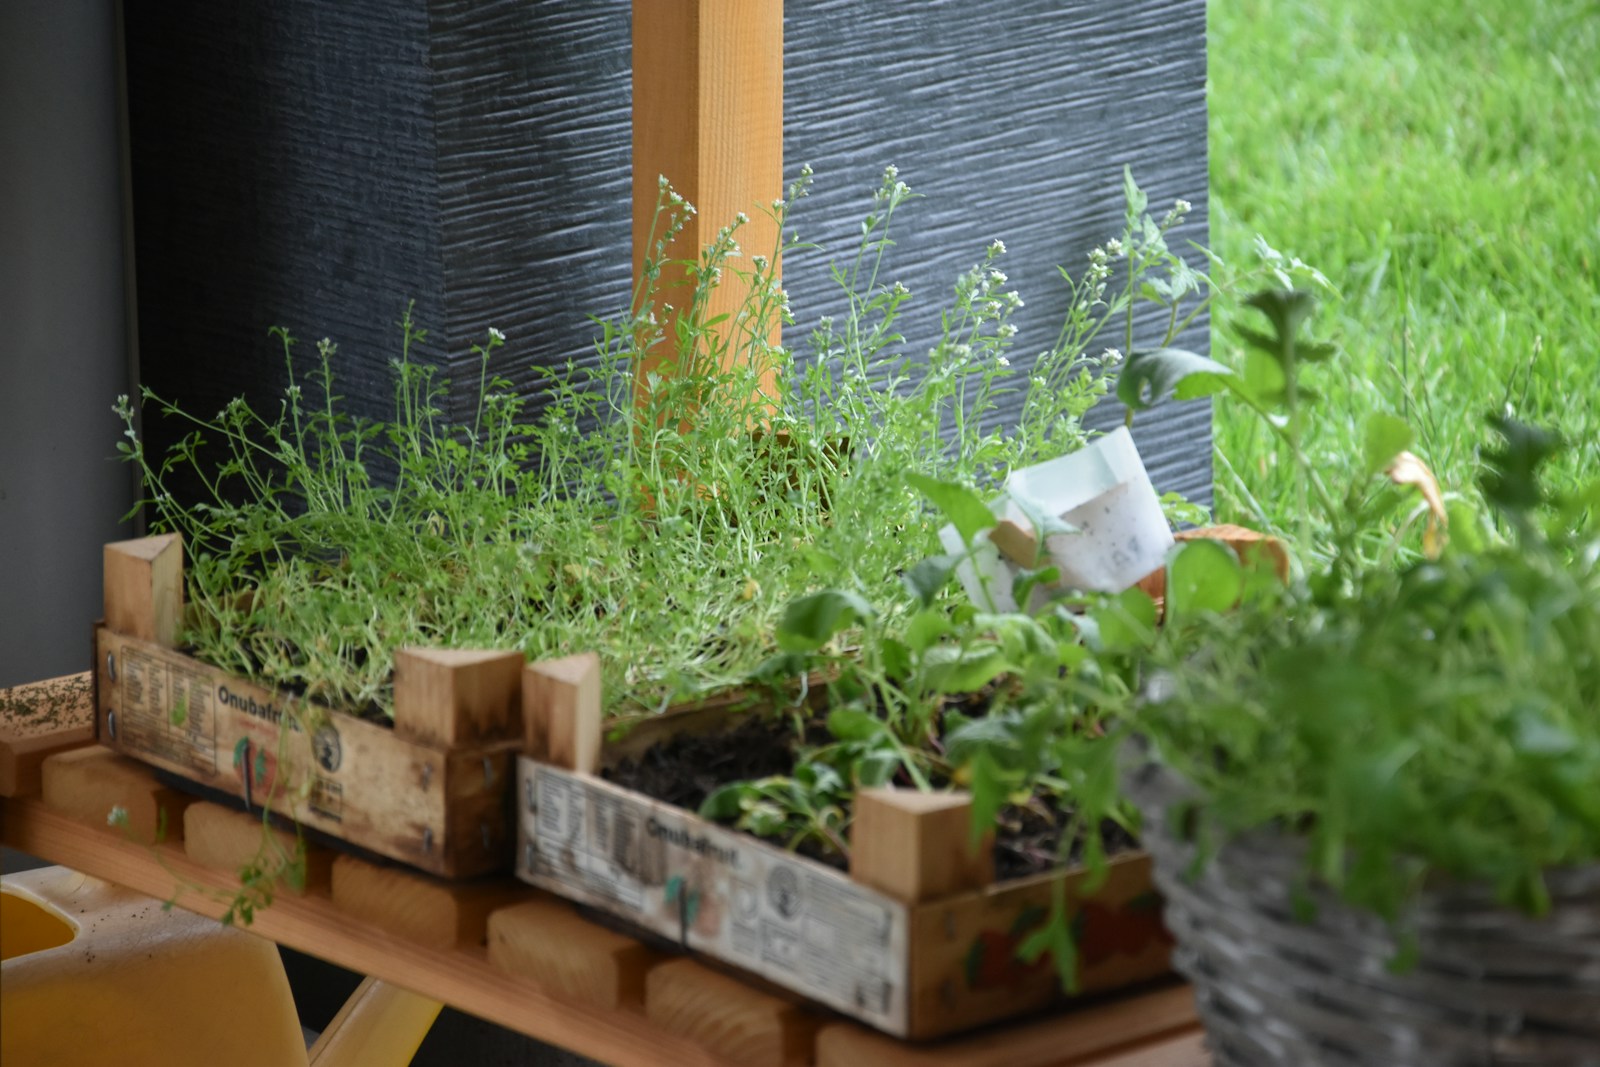
Select shallow trays with drainage holes
Shallow trays are ideal for microgreens because they save space and help seeds sprout without crowding. Look for trays that aren’t too deep, so your plants have room to breathe.
Drainage holes at the bottom of your trays are a must. They let extra water escape, stopping root rot and keeping your greens healthy.
Choose trays made from food-safe materials. This keeps your microgreens safe to eat and makes clean-up easy.
Use a high-quality organic seed-starting mix

A good seed-starting mix holds just enough moisture and stays light for easy root growth. Organic mixes are free from chemicals and often contain natural nutrients.
You can make your own mix with compost, peat moss, and vermiculite. This is a budget-friendly way to give your microgreens a healthy start.
Healthy soil means faster, stronger seedlings. That means more fresh greens for you, all winter long.
Moisten the soil before sowing seeds
Before planting, dampen your soil so it feels like a wrung-out sponge. This helps seeds start growing right away.
Use warm water and mix it in slowly. Let the soil rest for a few minutes so the moisture spreads evenly.
Fill your trays loosely with the moistened mix. Avoid packing it down too tightly so roots can grow freely.
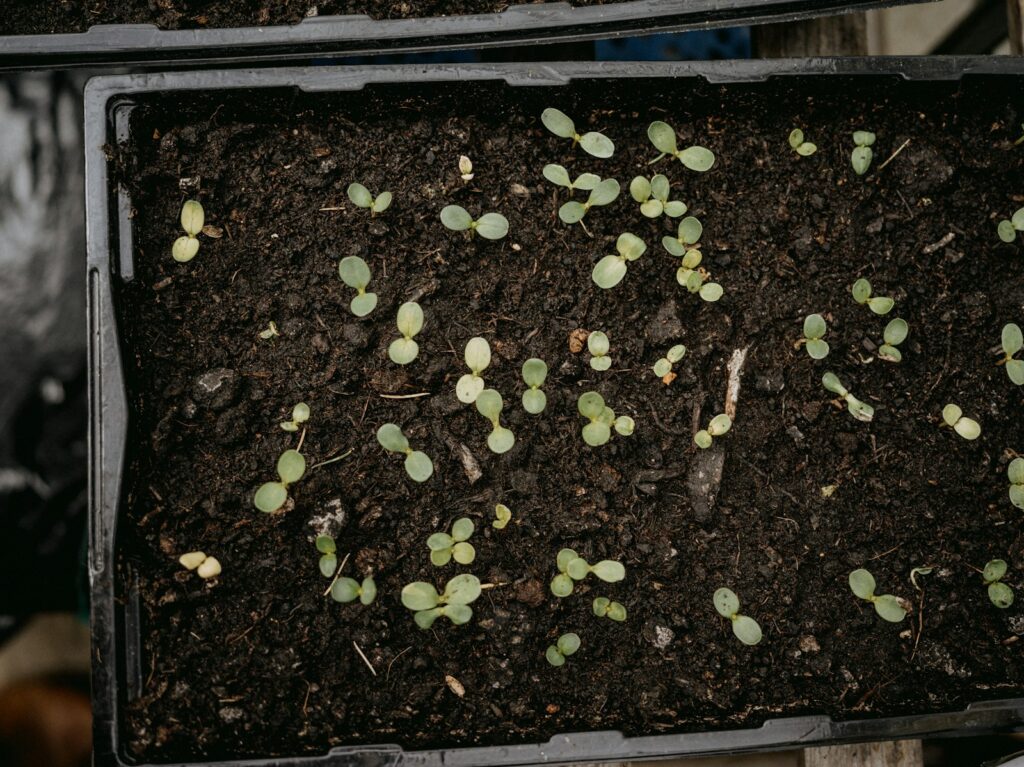
Spread seeds evenly without overcrowding
Scatter your seeds so they cover the soil in a single, even layer. This gives each plant enough space to grow strong.
Try using a shaker or spreading seeds in two directions for even coverage. After sowing, add a thin layer of soil or growing medium on top.
Mist the seeds gently to keep them moist. Proper spacing helps prevent mold and weak growth.
Cover trays with a clear lid until sprouts appear
After planting, cover your trays with a clear lid or plastic wrap. This keeps moisture in and creates a warm, humid space for seeds to sprout.
You’ll see tiny shoots in just a few days. Once they appear, remove the lid so your microgreens get fresh air.
A clear cover makes it easy to watch your mini garden come to life. It’s always rewarding to see those first green shoots.
Keep temperature between 65-75°F for optimal growth
Microgreens grow best at temperatures between 65 and 75°F. This range helps seeds sprout quickly and plants develop strong roots.
If your space gets chilly, move trays away from drafts or use a small heater. Too much heat can cause mold, so keep things cozy but not hot.
Paying attention to temperature helps your microgreens thrive all winter.
Ventilate your growing area to prevent mold
Fresh air is key to stopping mold before it starts. Good airflow keeps humidity down and brings in the carbon dioxide plants need.
You can use a small fan nearby or open a window for a bit each day. Just a little airflow goes a long way.
Steady ventilation keeps your greens healthy and mold-free, even in a small indoor space.
Optimizing Your Indoor Space for Microgreens
Think about where you’ll set up your trays and how much light they get. The right spot makes a big difference in how well your microgreens grow.
Choosing the Right Location

Pick a spot that stays between 60 and 75°F. Avoid areas with drafts or sudden temperature changes.
A south-facing windowsill is ideal for natural light. If that’s not available, a well-lit shelf or counter works too.
Keep your trays away from appliances that give off heat. Make sure there’s enough airflow to keep your greens fresh.
Lighting Tips for Healthy Growth
Microgreens need 12 to 16 hours of light each day. If sunlight is limited, use full-spectrum LED grow lights.
Place lights about a foot above your trays. Too close can burn the leaves, while too far means weak growth.
A timer helps keep your lighting consistent, so your plants get the same amount of light every day.
Troubleshooting and Caring for Winter Microgreens
Keeping your microgreens happy comes down to watching moisture and staying ahead of pests or disease. Small changes can make a big difference.
Managing Moisture and Humidity

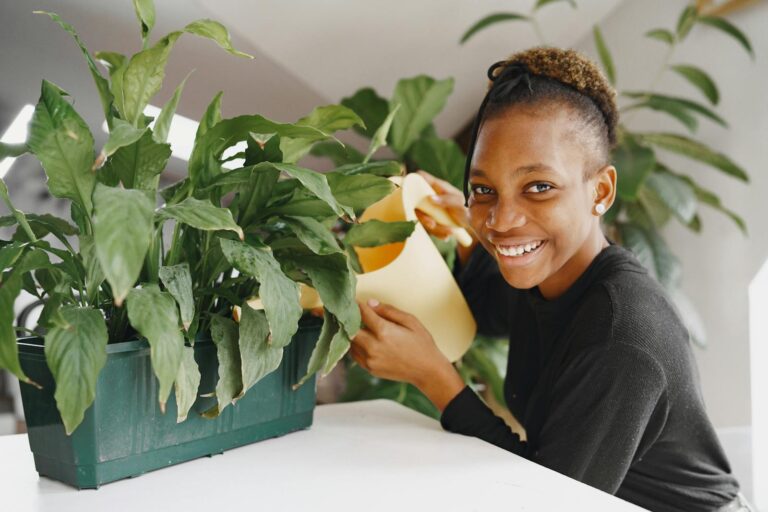
Keep the soil moist but not soggy. Overwatering can lead to mold or root rot, so water lightly with a spray bottle.
Good airflow helps lower humidity. If your space feels damp, run a small fan nearby.
If you spot white fuzz on your microgreens, increase airflow and cut back on watering. Water in the morning so the plants dry out before night.
Preventing Common Pests and Diseases
Growing microgreens indoors means you won’t deal with as many bugs as outdoor gardens. Still, it’s surprising how quickly tiny pests like fungus gnats or aphids can make themselves at home.
These bugs love damp soil. Letting your soil dry out a bit between waterings helps keep them away.
Try adding a thin layer of sand on top of the soil. This can stop gnats from laying their eggs.
Don’t forget about your tools and trays. Give them a good wash before each new planting.
If you do notice pests, gently spray your microgreens with water or use an insecticidal soap that’s safe for edible plants.
Plenty of light, fresh air, and clean equipment go a long way in keeping your microgreens healthy.