Harvesting and Storing Your Garden’s Bounty Made Easy for Year-Round Enjoyment
Harvesting and storing your garden’s bounty lets you enjoy the fresh flavors of your homegrown produce long after the growing season ends. Knowing when to harvest and how to properly store or preserve each type of vegetable and fruit helps you reduce waste and keep your food fresh and tasty longer.
You don’t need fancy equipment or complicated methods to get started. Simple techniques like drying herbs, freezing produce, or curing root vegetables are practical and effective ways to save your harvest for months. Learning these basics can make your garden efforts more rewarding throughout the year.
With a little planning and the right supplies, you can keep your garden’s yield fresh and accessible. This guide will help you understand the best ways to handle your fresh fruits and veggies so you get the most out of everything you grow.
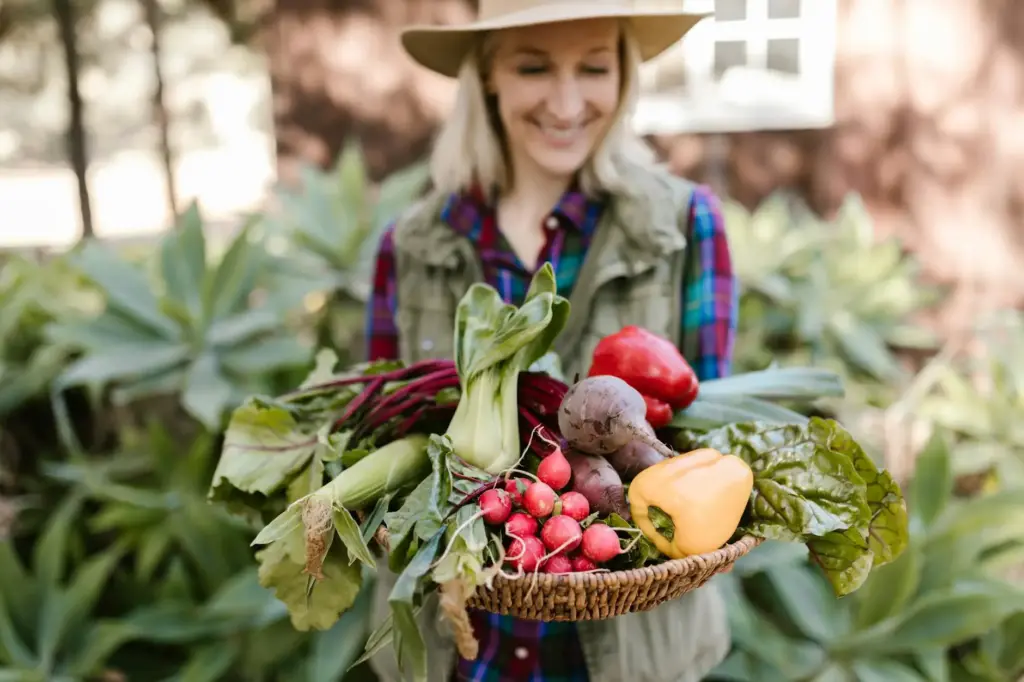
When and How to Harvest Your Crops
Knowing the right time to pick and the best methods ensures your vegetables have the best flavor and stay fresh longer. Paying attention to size, color, and texture helps you decide when to harvest. Using proper tools and techniques avoids damage to your plants and preserves quality.
Recognizing Harvest Readiness

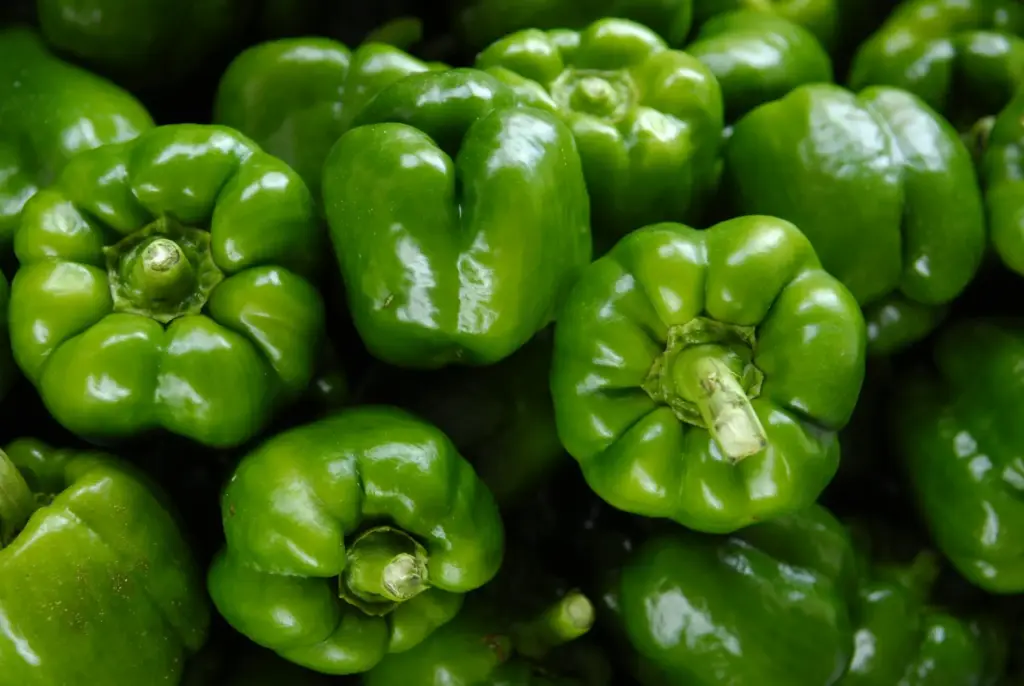
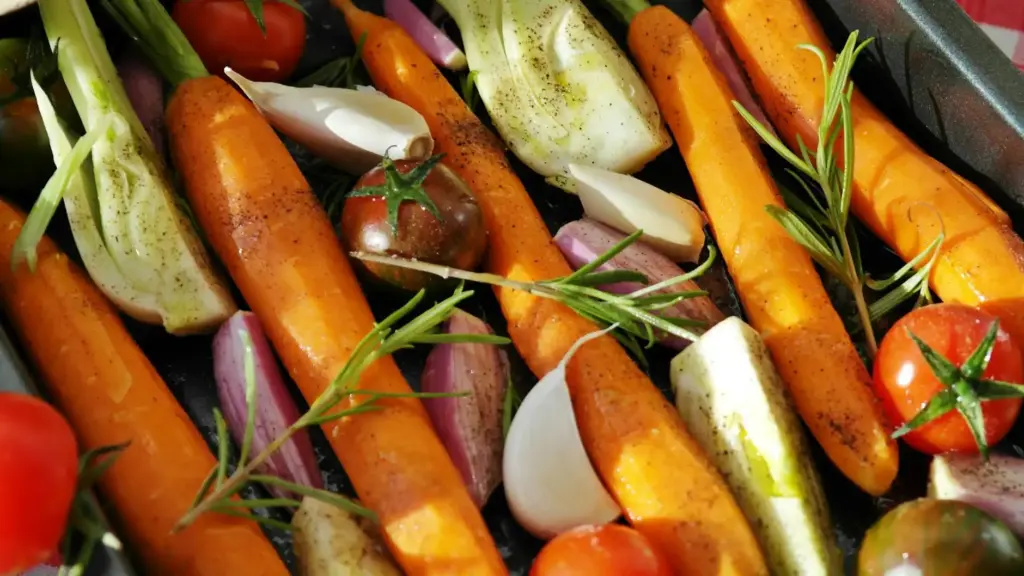
You want to harvest your crops when they reach their peak size and color but before they start to deteriorate. For example, tomatoes should be firm with full color but not overly soft.
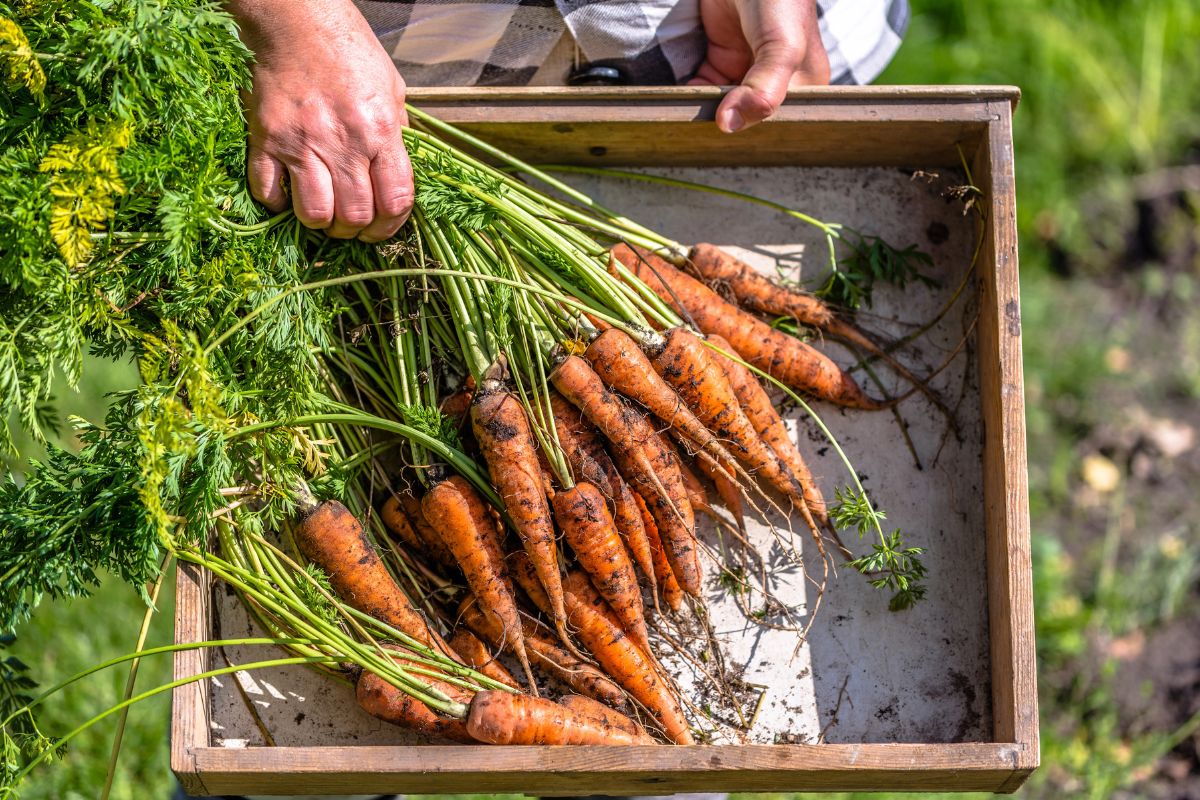
Check vegetables like carrots and onions by their size and the hardness of their skins. Leafy greens are usually best when young and tender, before they become bitter.
Look for visual signs like fruit splitting or seeds hardening as indicators that the produce may be past prime. Harvest at the exact moment for best flavor and texture.
Best Harvesting Tools and Techniques
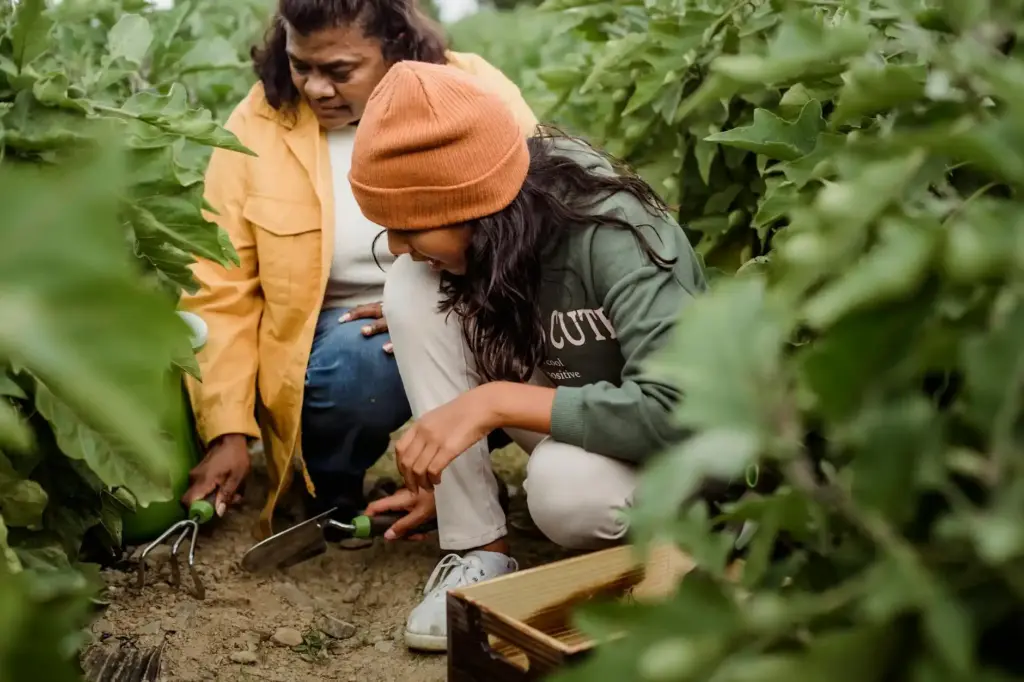
Use sharp, clean tools such as pruning shears, garden scissors, or a sharp knife. This helps you make clean cuts, reducing damage to the plant and encouraging faster regrowth.
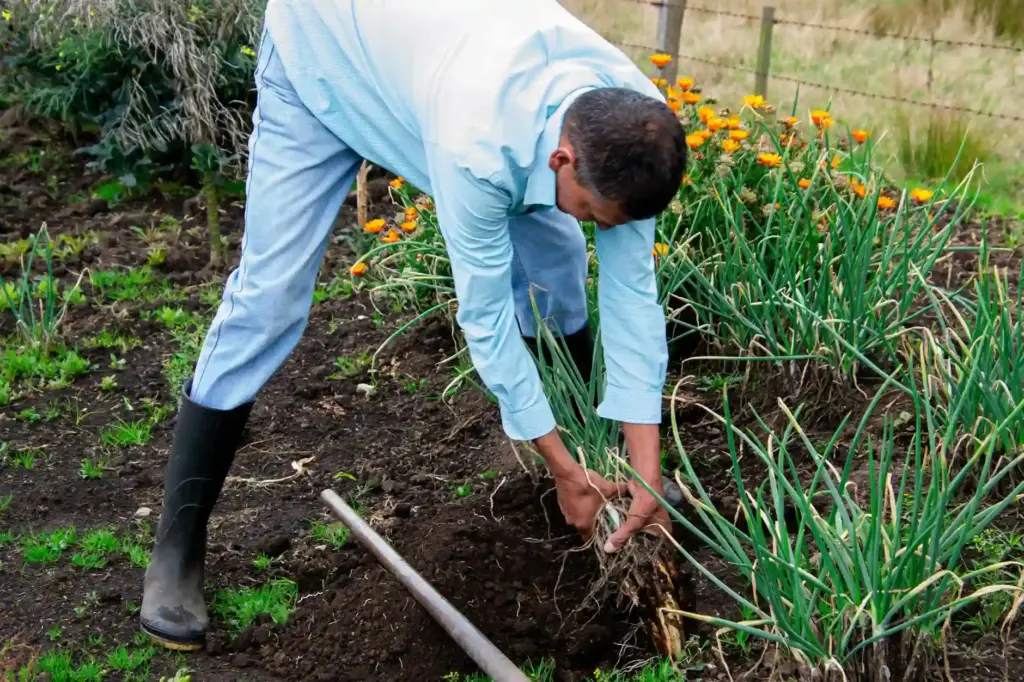
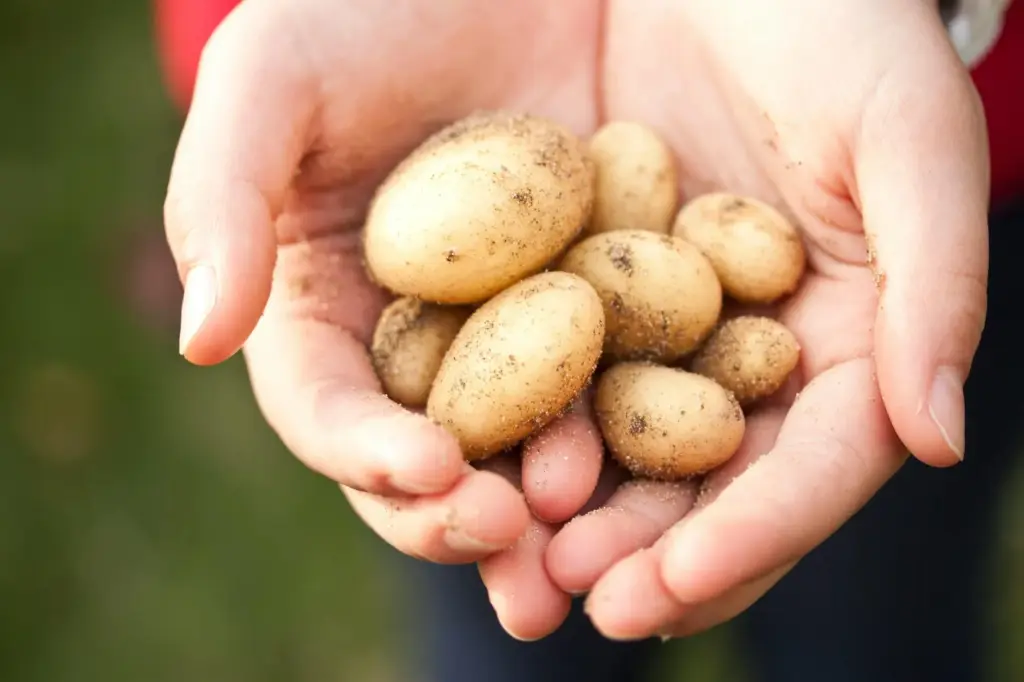
For fragile fruits like tomatoes or berries, gently twist and pull instead of cutting to avoid bruising. For root crops, loosen the soil with a fork before pulling them up.
Avoid harvesting in wet conditions to prevent spreading diseases. Always sanitize your tools between different crops to keep your garden healthy.
Timing Harvests for Peak Flavor
The ideal time to harvest is early in the morning when plants are cool and full of moisture. This preserves freshness and extends the shelf life of your vegetables.
Avoid harvesting in intense midday heat, which can cause wilting and reduce flavor. For crops like beans and peas, pick regularly to encourage more production.
Track the growth cycles of each vegetable to plan your harvest accurately. Consistency in timing will help your garden yield better and tastier results.
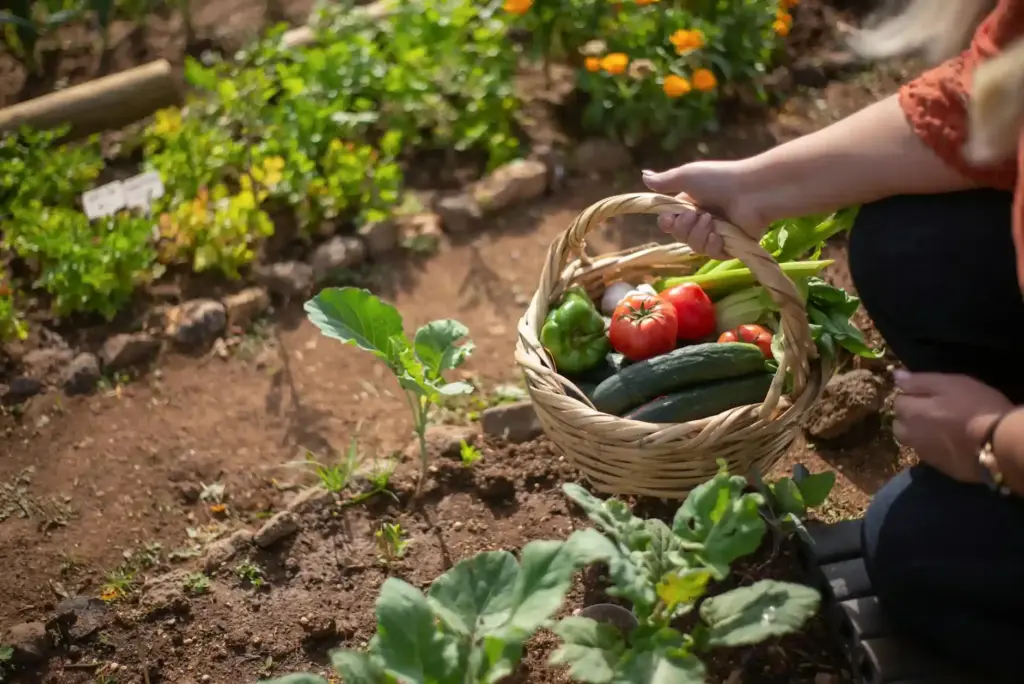
Immediate Post-Harvest Handling
Right after picking your produce, you need to act fast to keep it fresh and flavorful. This means carefully cleaning, sorting, and protecting your fruits and vegetables to reduce spoilage and maintain quality.
Cleaning and Prepping Produce
Start by gently removing dirt and debris without introducing too much moisture. Use a soft brush or cloth for root vegetables and leafy greens. For delicate fruits like tomatoes, wiping with a damp cloth is better than rinsing.
Never soak produce unless you plan to dry it immediately, as excess water encourages mold. Removing damaged leaves or spoiled parts before storage slows down deterioration.
If you must wash, use cool water and dry thoroughly with a clean towel. Proper cleaning prepares your harvest for longer storage and reduces the risk of spreading bacteria.
Sorting and Grading Quality
Once cleaned, group your produce by size, ripeness, and condition. Place the best-quality items together for immediate use or longer storage.
Sort out bruised, damaged, or overripe produce separately to avoid contaminating the rest. Use a simple chart like this to organize:
Sorting helps you track when and how to use your bounty efficiently.
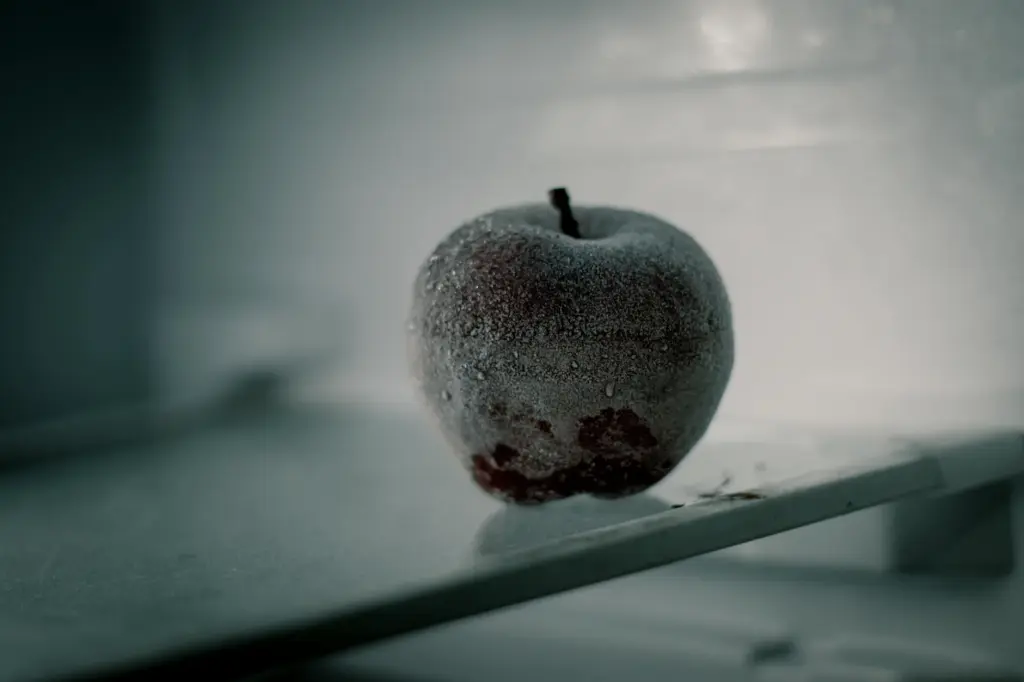
Managing Bruising and Damage
Handle fruits and vegetables gently to prevent bruising during harvest and transport. Use shallow, sturdy containers to avoid stacking that crushes produce.
Check for damaged spots and trim or remove them quickly. Bruising speeds up rot, so try to separate any affected pieces from healthy ones.
If bruising is minor, store that batch at slightly cooler temperatures, but avoid chilling sensitive items like tomatoes. Keeping damage minimal extends the life of your harvest and reduces waste.
Short-Term Storage Methods
To keep your garden harvest fresh for days or weeks, you need to pay attention to how you store different types of produce. Proper storage slows spoilage and maintains texture and flavor, whether your vegetables go in the fridge or stay on the counter.
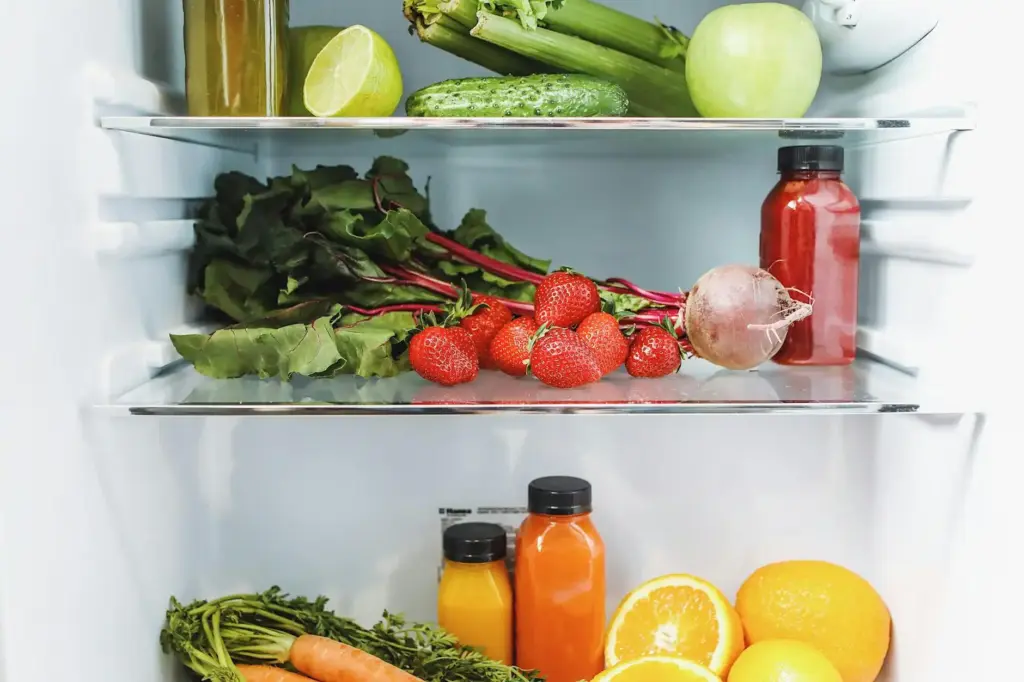
Refrigeration Best Practices

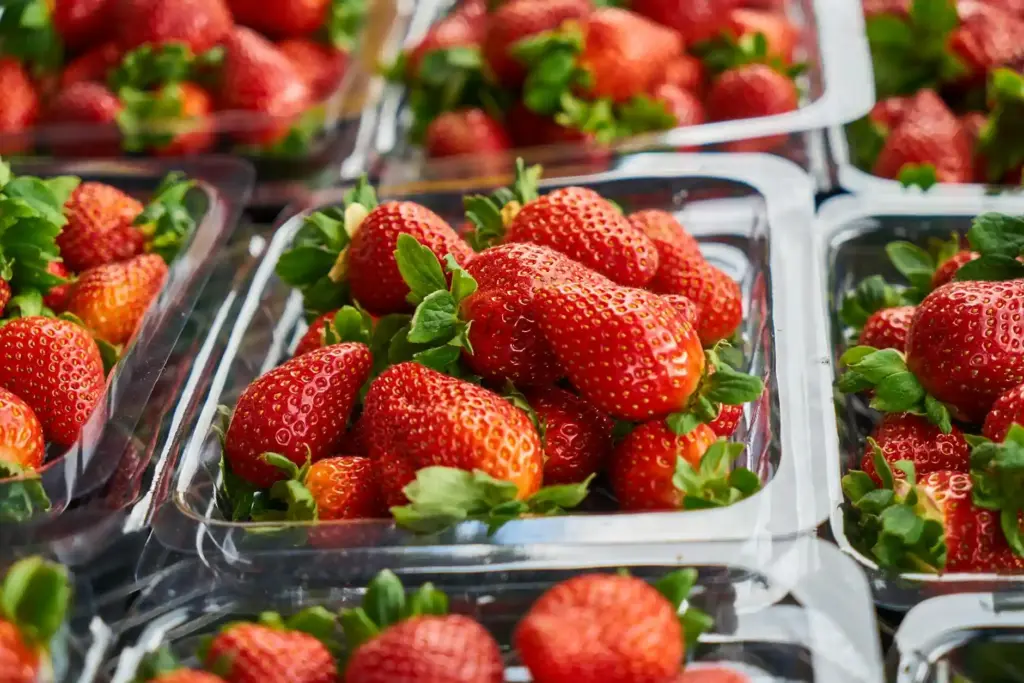
Refrigeration works best for many fruits and vegetables like leafy greens, berries, and broccoli. Keep your fridge between 32°F and 40°F (0°C–4°C) for optimal freshness.
Store produce in perforated plastic bags or containers with vents to maintain moisture without trapping too much humidity. Avoid washing vegetables before storing them, as excess moisture can lead to rot.
Use crisper drawers to separate high-humidity items (like leafy greens) from low-humidity ones (like apples). This helps prevent wilting or drying out.
Countertop and Pantry Storage
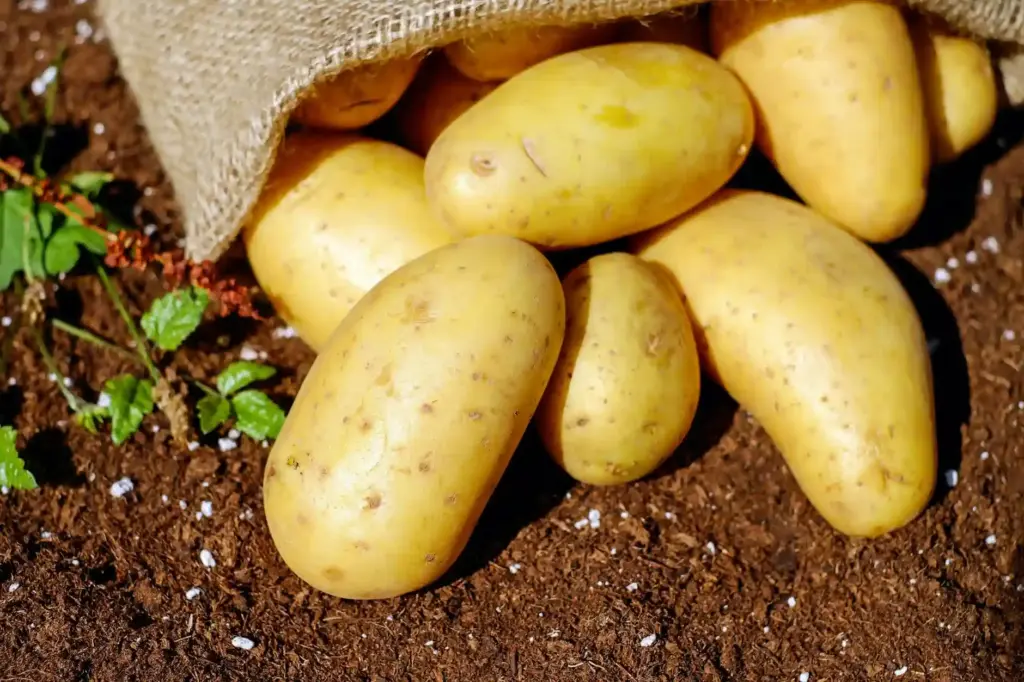
Some crops like tomatoes, onions, garlic, and potatoes do better outside the fridge. Store tomatoes at room temperature, away from direct sunlight, to maintain flavor and texture.
Onions and garlic should be kept in cool, dry, well-ventilated spots, ideally in mesh bags or baskets to allow air circulation. Avoid storing potatoes near onions, as their gases can cause spoilage.
For fruits like bananas and peaches, countertop storage works until they ripen fully, after which you can move them to the fridge if needed.
Humidity and Temperature Control
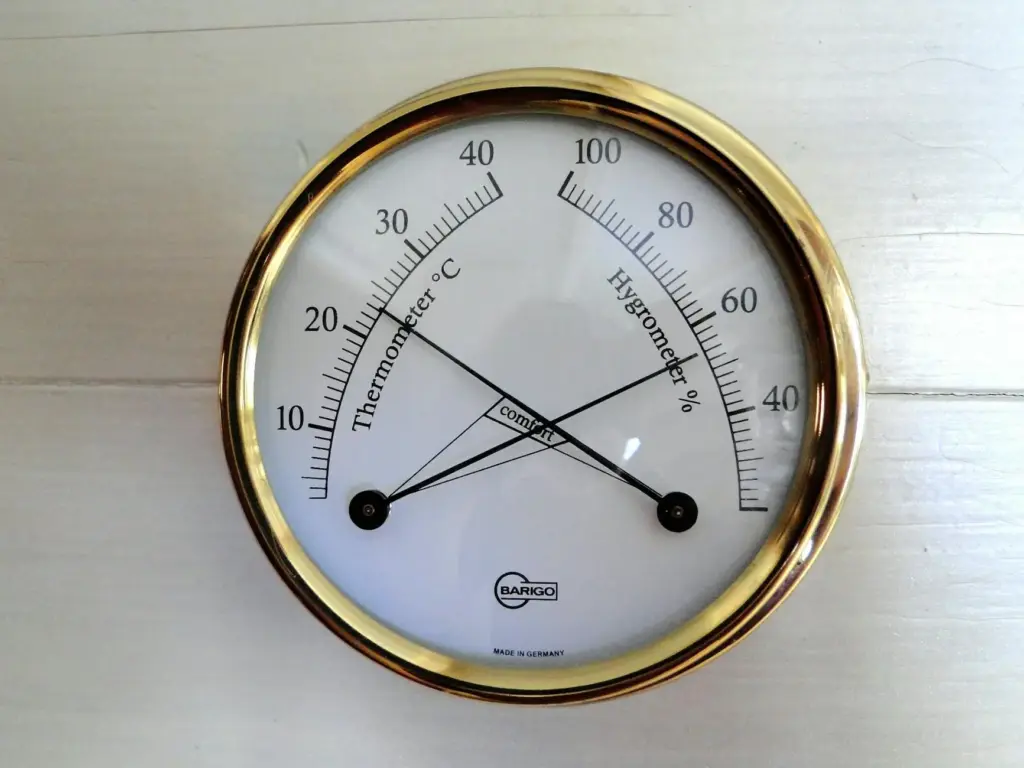
Keeping the right balance of temperature and humidity extends your garden bounty’s life. High humidity (85-95%) suits leafy greens and most vegetables, while lower humidity (50-60%) works for dry-skinned produce like onions.
Use a hygrometer to check humidity levels in storage areas when possible. Adjust humidity by using damp cloths, paper towels, or moisture-absorbing packets depending on your produce’s needs.
Avoid wide temperature swings and store away from heat sources or windows to keep your fruits and veggies from spoiling prematurely. This control helps maintain firmness and taste longer.
Long-Term Preservation Techniques
To keep your garden’s harvest fresh for months, you’ll need methods that halt spoilage and maintain flavor. Techniques like freezing, canning, drying, and fermenting can extend the life of your fruits and vegetables significantly.
Freezing Fruits and Vegetables
Freezing is one of the easiest ways to preserve your produce while retaining nutrients and taste. Before freezing, wash and blanch vegetables by boiling briefly then plunging them in ice water to stop enzyme activity. This helps maintain texture and color.
Use airtight containers or vacuum-seal bags to prevent freezer burn. Freeze fruits like berries and sliced peaches as they are, but consider adding a bit of sugar or syrup before freezing to keep their texture.
Label packages with dates and use frozen items within six months for best quality. Freezing preserves most vitamins better than other methods and requires minimal prep, making it a practical choice for busy gardeners.
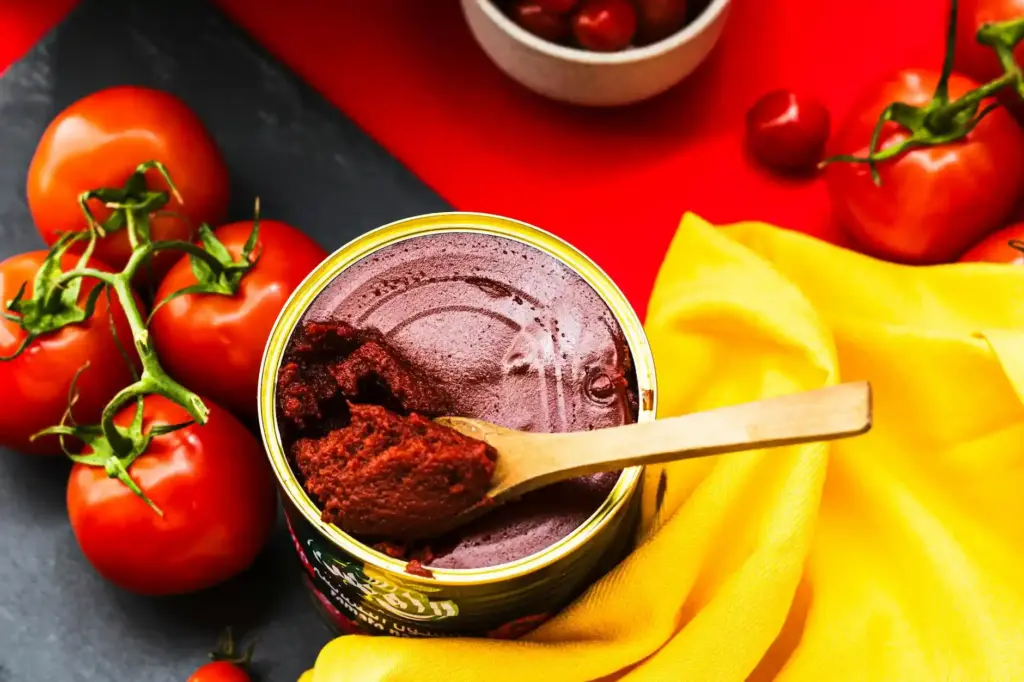
Canning Safely at Home
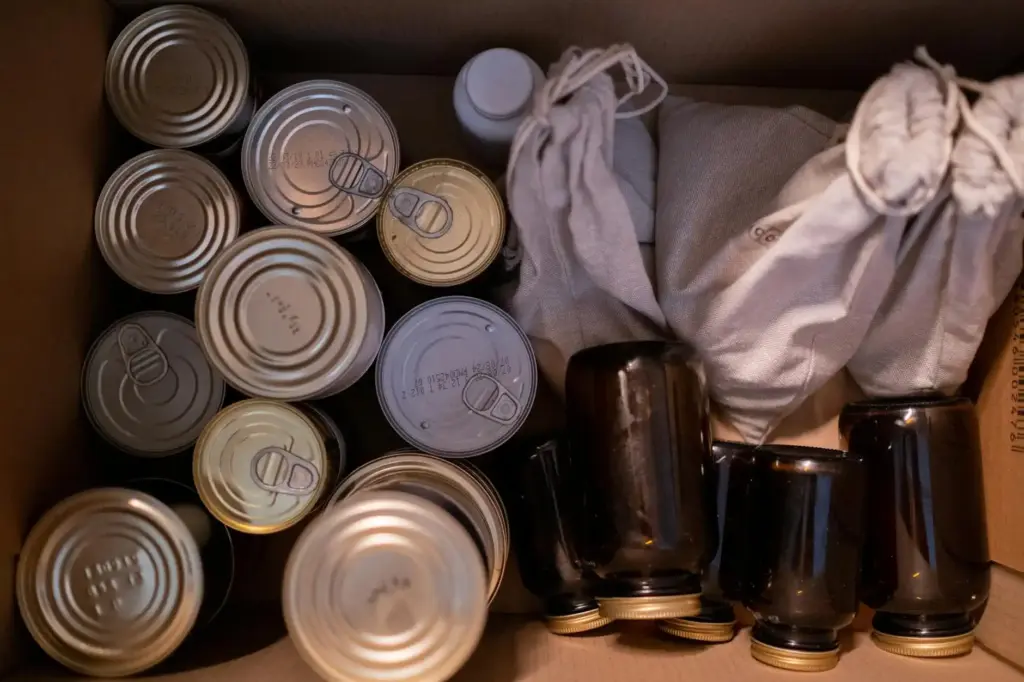
Canning locks food in sterile jars by heating to kill microbes. You’ll need to decide between water bath canning for high-acid foods (like fruits, pickles, and tomatoes) or pressure canning for low-acid items (such as green beans and meats).
Proper sterilization of jars and lids is essential to avoid contamination. Follow tested recipes and processing times exactly to ensure safety.
After sealing, store your jars in a cool, dark place. Canned goods can last for up to a year or more when done correctly. This method offers shelf-stable storage without the need for refrigeration.
Dehydrating for Extended Storage

Drying removes moisture that causes spoilage, concentrating flavors and sugars. Use a dehydrator or your oven set at low temperatures to dry herbs, fruits, and vegetables evenly.
Spread produce in thin layers and turn or stir regularly for even drying. When fully dried, test by bending — fruit should be leathery but not sticky, vegetables should snap easily.
Store dried goods in airtight containers away from light and moisture, like glass jars or vacuum-sealed bags. Dried foods keep well for 6 to 12 months and are great for snacks or cooking additions.
Fermenting for Flavor and Longevity
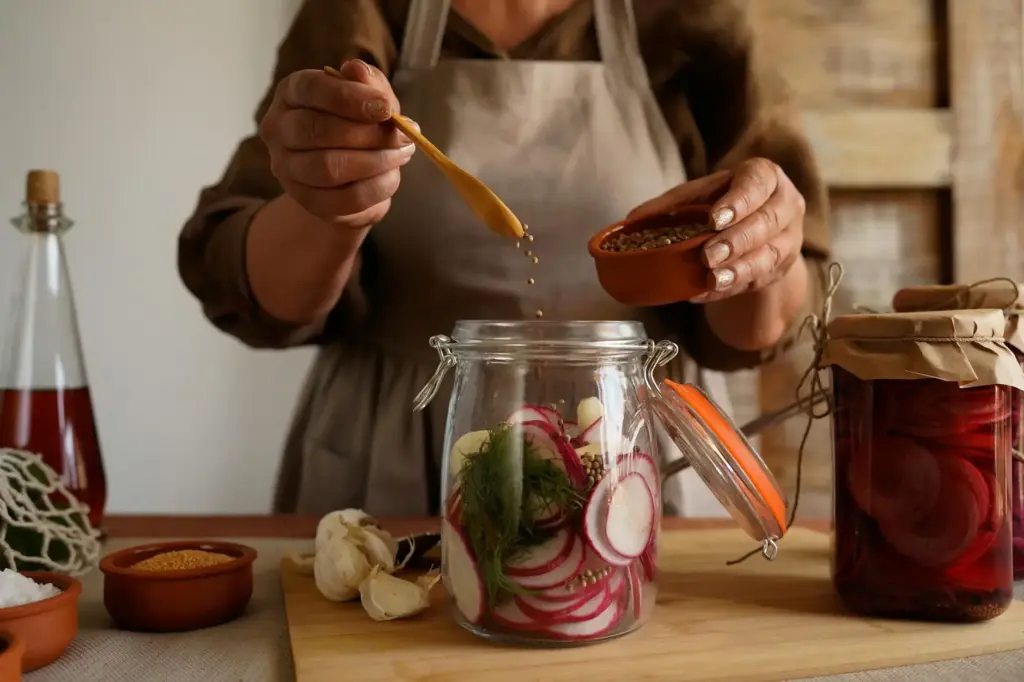
Fermentation uses beneficial bacteria to preserve and develop unique flavors in vegetables. Commonly fermented foods include sauerkraut, kimchi, and pickles.
You’ll need a clean jar and a brine made of water and salt. Weigh down vegetables to keep them submerged, preventing spoilage by mold or yeast.
Fermented foods can be stored in the refrigerator for several months. This method not only extends shelf life but also adds probiotics, which support digestion and health.
Organizing and Tracking Your Bounty
Keeping your harvest well organized helps you know what you have and when it was picked. This saves time, reduces waste, and ensures you use your produce at its freshest.
Labeling and Dating Your Harvest
Label each container or package with the type of vegetable or fruit and the harvest date. Use waterproof markers or printed labels for clarity. Be specific, for example, write “Green Beans – Harvested May 10, 2025” rather than just “beans.”
If you freeze or dry items, add instructions or notes about how they were preserved. This helps you avoid confusion over time and keeps your pantry or freezer systematic.
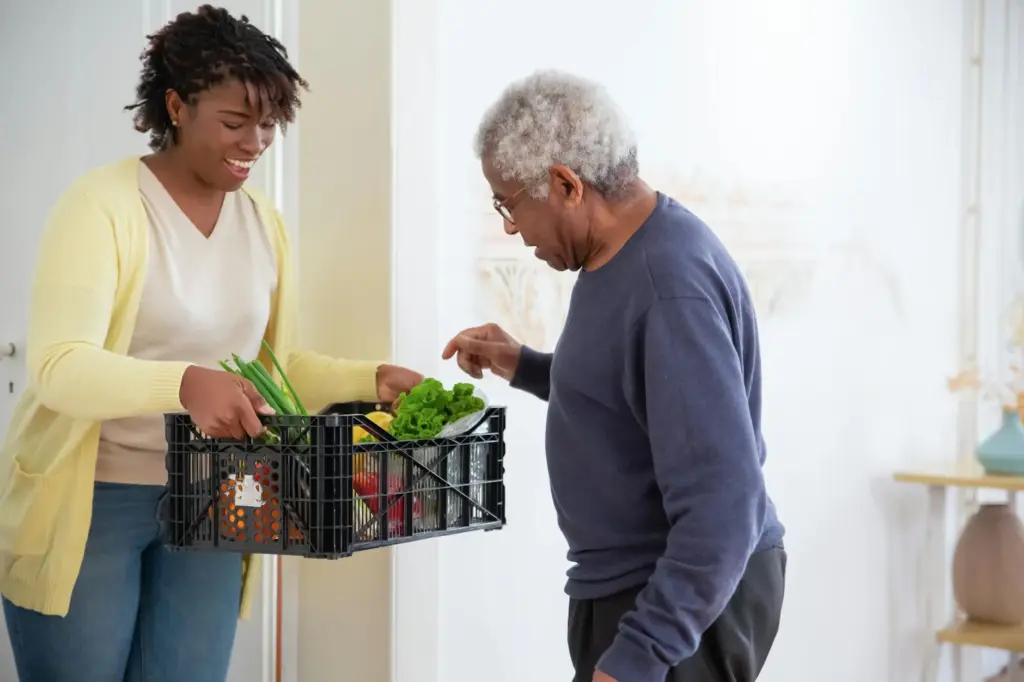
Clear labeling also helps when sharing with friends or neighbors. They’ll know exactly what they’re receiving and how fresh it is. Consider grouping similar items together for easier access.
Managing Inventory Efficiently

Track your inventory using a simple spreadsheet or notebook to record what you have and where it’s stored. Update it whenever you add or use any produce. Include columns for item name, quantity, harvest date, preservation method, and storage location.
A visual checklist or table on your fridge or pantry door can help you remember what’s left. Rotate older stored produce to the front so you use it before newer batches.
You might separate fresh, frozen, and dried items in distinct areas. This reduces confusion and speeds up meal prep when you know exactly what’s available and ready to use.