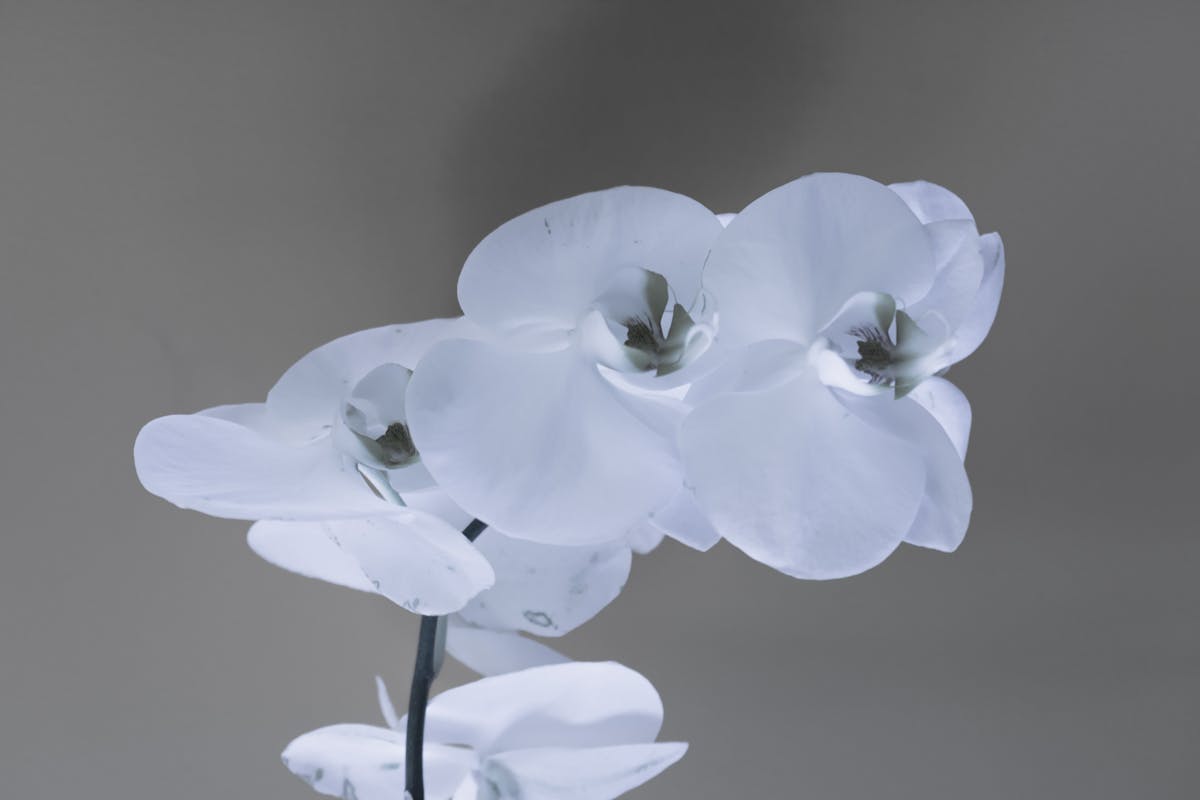
Breathe New Life into Your Orchid: A Guide to Reviving a Non-Blooming Beauty
Orchids are among the most popular houseplants, celebrated for their stunning blooms and exotic appearance. However, it can be disheartening when your orchid stops flowering. This article will guide you through practical steps to revive your orchid and encourage it to bloom again, ensuring it remains a vibrant part of your home.
Understanding Orchid Blooming Cycles
Before diving into revival techniques, it’s essential to understand that orchids, particularly Phalaenopsis (the most common type), follow a natural blooming cycle. They typically bloom for several months, followed by a resting period where they may not produce flowers. During this time, the plant conserves energy and resources. If your orchid has stopped blooming, it may just need a little time and care to recharge.
Assessing Your Orchid’s Environment
The first step in reviving your orchid is evaluating its current environment. Orchids thrive in specific conditions, and even slight changes can impact their blooming.
Light
Orchids need bright, indirect light to flourish. If your plant is not receiving enough light, it may not bloom. Ideally, place your orchid near an east-facing window where it can soak up morning sunlight without being scorched by the harsh afternoon rays. If you notice yellowing leaves, your orchid may be getting too much direct sunlight.
Temperature and Humidity
Orchids prefer a temperature range of 65°F to 75°F during the day and slightly cooler at night. Sudden drops in temperature or cold drafts can stress the plant. Additionally, orchids thrive in humidity levels between 50% and 70%. If your home is dry, especially in winter, consider using a humidifier or placing a tray of water with pebbles beneath your orchid pot to increase humidity.
Watering Needs
Overwatering is one of the most common mistakes made by orchid owners. Ensure your orchid is planted in a well-draining potting medium, typically a mix of bark, moss, and perlite. Water your orchid only when the top inch of the medium feels dry to the touch. When you do water, soak the pot thoroughly, allowing excess water to drain out completely.
Encouraging New Growth
Once you’ve assessed your orchid’s environment, it’s time to encourage new growth. Here are some steps to follow:
Prune Wisely
If your orchid’s flower spike has turned brown, it’s time to prune it back. Use sterilized scissors to cut the spike just above the node where it turned brown. This encourages the plant to focus its energy on new growth rather than trying to revive a spent spike. If the spike remains green, you may leave it as it could produce more blooms.
Fertilize Carefully
Orchids benefit from a balanced fertilizer formulated specifically for them. During the growing season (spring and summer), fertilize every two weeks with a diluted solution. In the fall and winter, reduce feeding to once a month. Be cautious not to over-fertilize, as this can damage the roots and inhibit blooming.
Repotting Considerations
If your orchid hasn’t bloomed for over a year and appears root-bound (roots growing out of the pot or circling the bottom), it may be time to repot. Choose a slightly larger pot and fresh potting mix. Repotting should ideally be done in the spring, just before the growing season begins.
Addressing Pests and Diseases
Sometimes, pests or diseases can hinder blooming. Inspect your orchid for signs of infestations such as mealybugs, aphids, or spider mites. If you spot any, treat your orchid with insecticidal soap or neem oil, following the recommended guidelines on the product. Fungal or bacterial infections often present as brown spots on leaves or a mushy texture. If this occurs, remove the affected parts and consider using a fungicide if the problem persists.
Patience: The Key to Orchid Care
After implementing these changes, it’s crucial to remain patient. Orchids can take time to adjust to new conditions and may need several months to start blooming again. Keep an eye on your plant for signs of new growth, such as roots or leaves emerging.
Monitoring the Phases of Growth
Once your orchid resumes growth, monitor its progress. New leaves often indicate that your plant is healthy and preparing for its next blooming phase. When it does finally bloom, you may notice a more vibrant display than before.
Common Mistakes to Avoid
1. Ignoring Light Needs: Always ensure your orchid receives the right amount of light. Too little or too much can prevent blooming.
2. Overwatering: This is a leading cause of orchid decline. Stick to a watering schedule that matches your plant’s needs.
3. Neglecting Fertilization: Regular feeding during the growing season is crucial for blooming. Don’t forget to fertilize appropriately.
4. Forgetting Humidity: Orchids love humidity. If your home is dry, take steps to increase moisture around the plant.
By understanding your orchid’s needs and creating a supportive environment, you can revive your non-blooming orchid and enjoy its beautiful flowers once again. With a little care and patience, you’ll be rewarded with the stunning blooms that make orchids such beloved houseplants. Happy gardening!