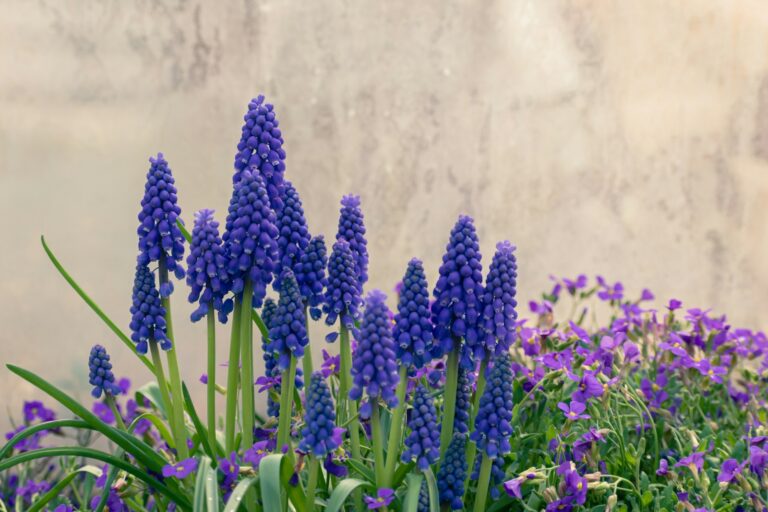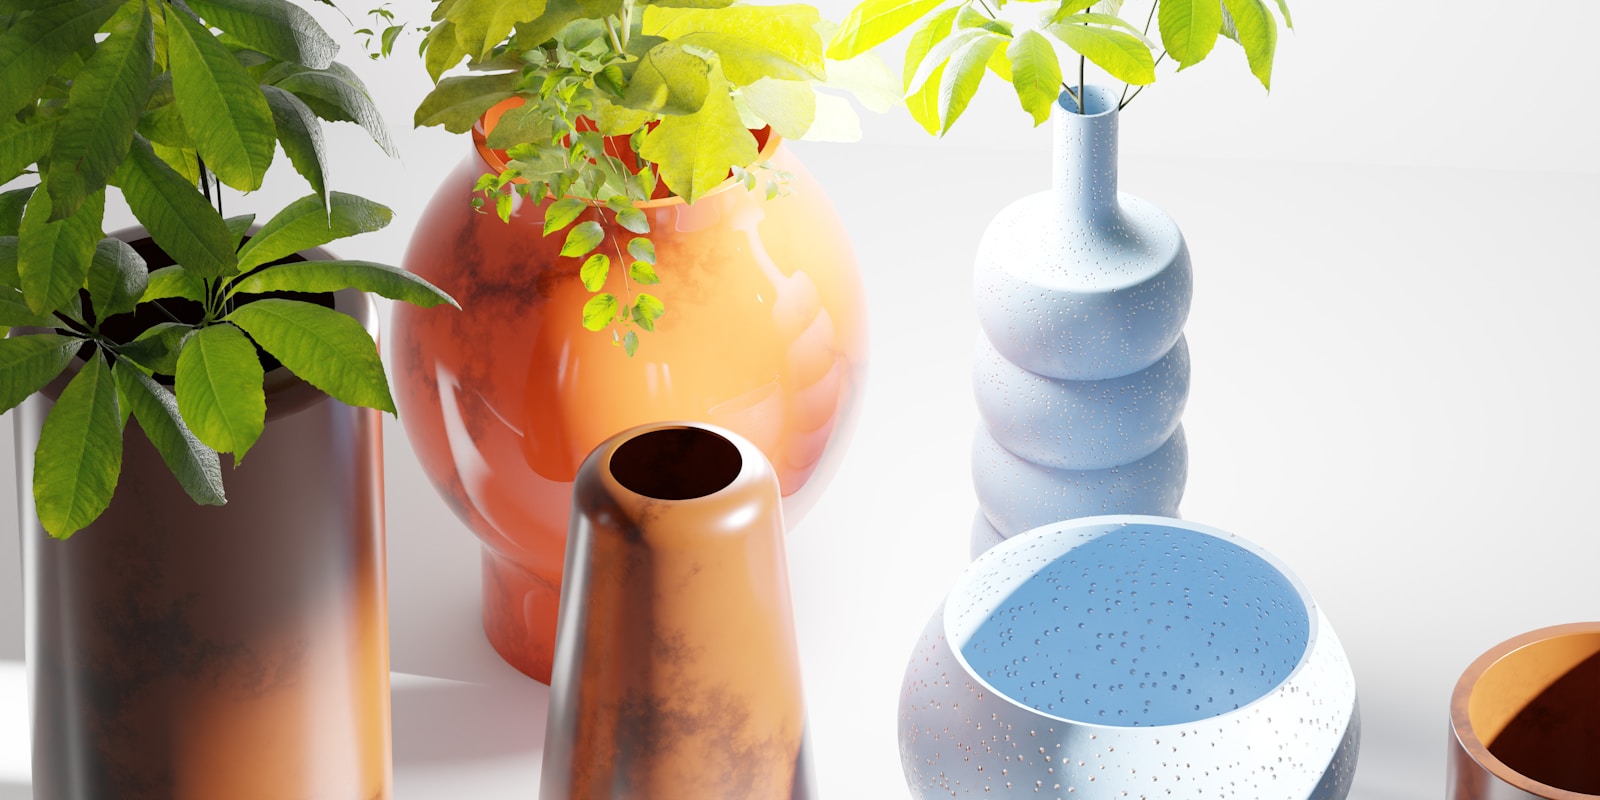
Creative Ways to Use Jars, Cups & Mugs as Planters to Brighten Your Space Instantly
Ever find yourself with extra jars, cups, or mugs that just collect dust? These everyday items can become unique planters that add a splash of personality to your home. Repurposing them is a simple way to refresh your space and bring in some greenery without spending much.
You don’t need fancy pots to start a home garden. With a little creativity, those old containers can be transformed into something beautiful and functional.
Succulent-filled vintage teacups with drilled drainage holes
Vintage teacups make adorable planters for succulents. Start by drilling a drainage hole in the bottom to help water escape and keep your plants healthy.
Fill the teacup with fast-draining soil, then nestle in your favorite small succulents. Their shapes and colors make each cup a tiny work of art.
The charm of vintage china adds a special touch to shelves or windowsills. Place your teacup planters where they get bright, indirect light for happy plants.
This project is easy and fun, and you can even get kids or friends involved in planting. It’s a great way to give old teacups new life.
Coffee mugs repurposed as herb planters for kitchen windows
Got extra coffee mugs you never use? Turn them into handy herb planters for your kitchen window. Small mugs are just the right size for herbs like thyme or oregano.
Add a layer of pebbles at the bottom for drainage, then fill with potting soil and plant your herbs. Fresh leaves will be right at your fingertips when you cook.
The mugs add a cozy, colorful vibe to your kitchen. It’s a quick project that makes the most of what you already have.
Growing herbs in mugs is a practical way to recycle and keep your cooking fresh. Watching your little plants thrive while you make dinner is a simple joy.
Hanging mugs strung by handles as charming garden planters
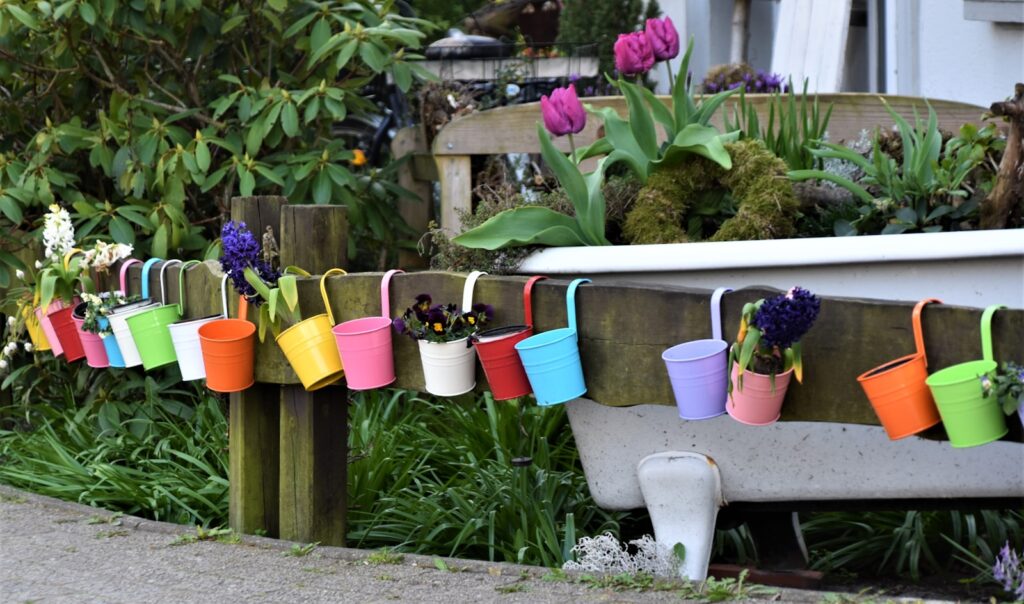
If you have mismatched mugs, try turning them into hanging planters. Drill a drainage hole in each mug, then thread twine through the handles and tie knots to keep them in place.
Hang the mugs along a porch railing or garden fence for a playful, colorful display. Small plants like succulents or herbs fit perfectly in each mug.
This space-saving idea is great for small outdoor areas. The mugs sway gently and add a personal touch to your garden.
You’ll love seeing your collection of mugs take on new life as they show off your favorite plants.
Colorful ceramic mugs planted with tiny flowering plants
Brighten up a room by planting tiny flowers in colorful ceramic mugs. Choose mugs with fun designs to match your style.
Mini violets, baby daisies, or tiny begonias thrive in these small containers. The ceramic keeps soil moist, helping the flowers grow.
Drill a drainage hole or add pebbles at the bottom to prevent overwatering. Place your mugs on a sunny windowsill for a cheerful display.
This idea brings a pop of color and nature anywhere you need it. Watching your mugs bloom is sure to lift your mood.
Old jars used as glasshouse terrariums for moss and ferns
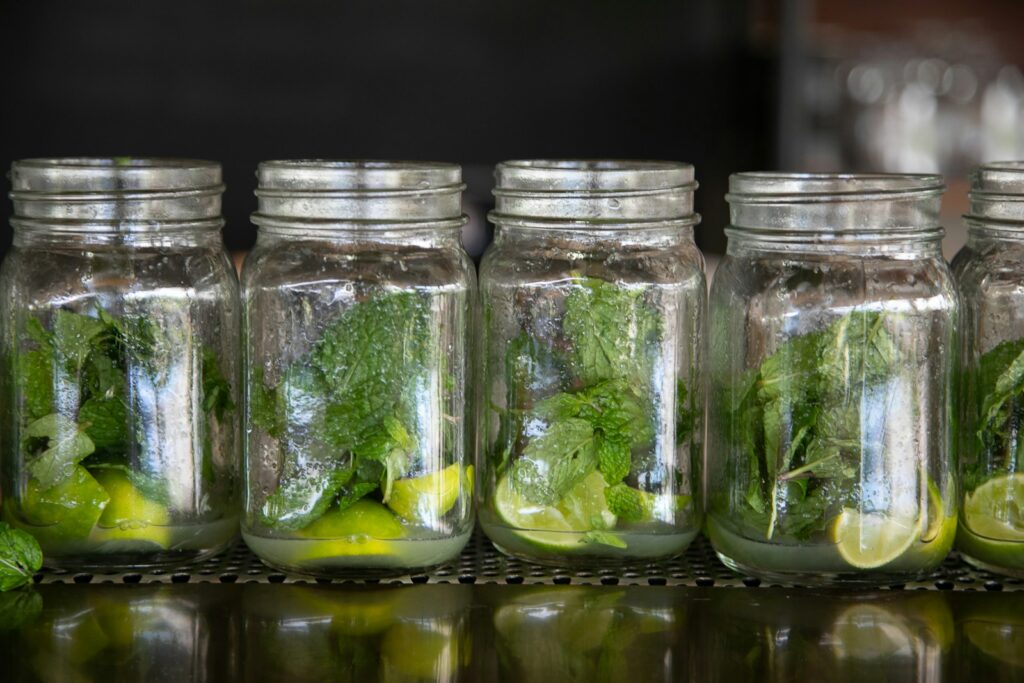
Don’t toss those empty jars—turn them into mini terrariums for moss and ferns. These plants love the humid environment inside a closed jar.
Pick a clean jar with a lid, add pebbles for drainage, then a layer of soil. Arrange moss and ferns inside, and maybe add a few tiny stones or twigs for decoration.
The jar keeps moisture in, so you won’t need to water often. Place your terrarium on a windowsill and enjoy your own little green world.
Changing up the plants or decorations keeps things fresh. It’s a creative way to recycle jars and bring calming greenery indoors.
Thrifted teapots transformed into statement succulent holders
Thrift stores are full of unique teapots just waiting to be repurposed. Their shapes and patterns make them perfect for eye-catching succulent planters.
Drill a hole in the bottom for drainage or add pebbles before filling with succulent soil. Arrange succulents inside for a burst of green.
Trailing plants can spill from the spout for extra flair. Set your teapot planter on a shelf or hang it for a whimsical touch.
Each teapot tells its own story while showing off your favorite plants. It’s a fun way to mix vintage style with fresh greenery.
Tin cans cleaned and labeled, converted into mini garden pots
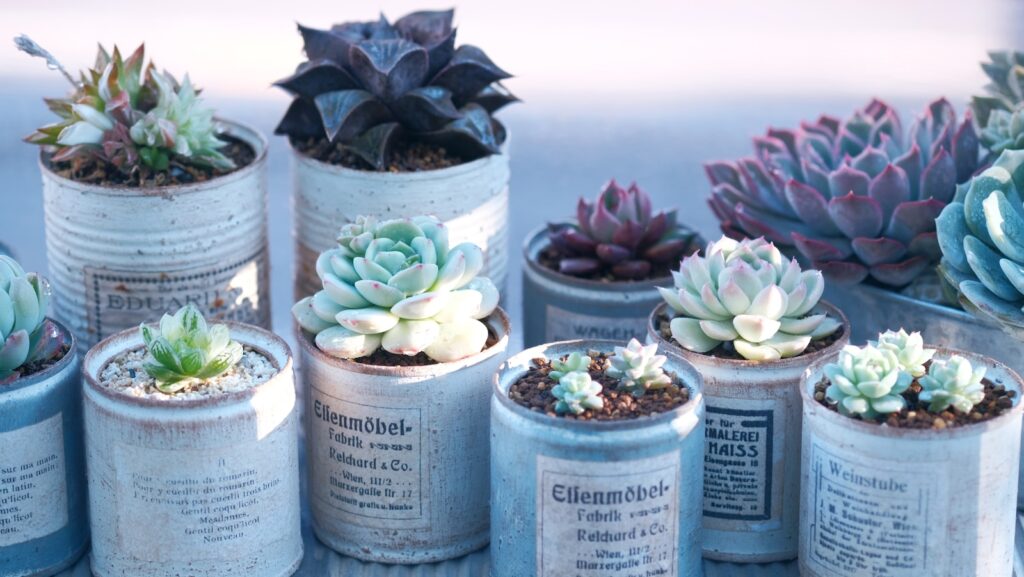
Empty tin cans can easily become mini garden pots. Clean them thoroughly and remove old labels for a fresh start.
Carefully punch drainage holes in the bottom. Decorate the cans with paint, twine, or patterns to suit your taste.
Fill each can with potting soil and add small plants like herbs or succulents. Group several together for a bright, cheerful display.
This project is a simple way to recycle and add color to your space. Each can becomes a unique planter that reflects your style.
Mugs painted with whimsical designs and planted with cacti
Plain mugs can be transformed with a little paint and creativity. Add fun designs or colors, then let the paint dry completely.
Plant small cacti inside for a low-maintenance, eye-catching planter. Cacti need little water and look great against your custom artwork.
Drill a drainage hole or add stones at the bottom to protect the roots. Set your painted mug on a desk or shelf for a playful touch.
Combining art and plants makes each mug special. It’s a quick project that brings a smile every time you see it.
Stacked cups creating a vertical planter tower
Short on space? Stack old cups and mugs to build a vertical planter tower. Pick cups with flat bottoms and secure them with strong glue or stakes.
Add drainage holes or a layer of stones in each cup. Fill with soil and plant herbs or small flowers for a colorful, space-saving garden.
This setup makes watering easy—just start at the top and let the water trickle down. Your plants will grow up instead of out.
A vertical tower is a clever way to make the most of tight spaces. It adds visual interest and plenty of greenery.
Chipped mugs patched with epoxy and filled with air plants
Don’t toss chipped mugs—patch them with clear epoxy to seal sharp edges and make them safe. Once dry, the mug is ready for a second life.
Air plants are perfect for these containers since they don’t need soil. Just place them inside and add a few pebbles or moss for decoration.
Air plants need only occasional misting, so care is easy. Your patched mug becomes a unique piece of living art.
It’s a simple way to recycle and enjoy something beautiful every day.
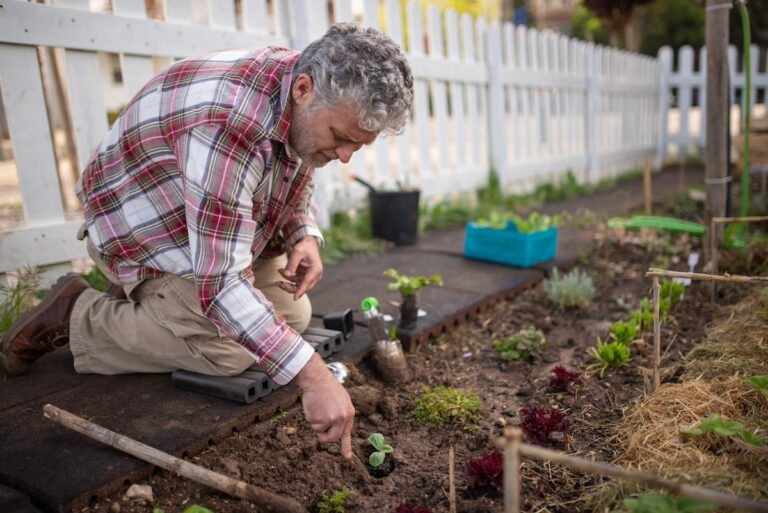
Essential Tips for Success
Picking the right container, ensuring good drainage, and choosing the best soil and plants are key to healthy planters. Each step helps your mini garden thrive.
Choosing the Right Jar, Cup, or Mug
Look for containers that fit your space and the plants you want to grow. Wide openings give plants more air and light, while tall containers suit deeper roots.
Material matters too. Ceramic and glass keep soil moist but can be heavy. Plastic is lighter but dries out faster. Clear jars let you see roots but need less sunlight to avoid algae.
Handles make moving containers easier. Make sure the size leaves enough room for roots to grow.
Drainage Solutions Without Drilling
Most jars and mugs don’t have holes, so add a layer of pebbles or gravel at the bottom to keep roots from sitting in water.
Use less water than usual and check soil moisture often. Activated charcoal above the pebbles can help keep soil fresh.
A wick system can also keep soil moist without overwatering. Just run a cloth from the soil to a water reservoir below.
Soil and Plant Selection
Use well-draining soil, especially in small containers. Cactus or succulent mix works for plants that need less water. Potting mix that holds moisture but drains well is best for herbs.
Choose plants that stay small, like succulents, herbs, or air plants. Avoid ones that need lots of space or deep roots.
Match your plant’s light needs to the spot you’ll place your planter. The right fit helps your plants stay healthy and adds beauty to your space.
Personalizing Your Planter Creations
Ever looked at an empty mug or jar and wondered if it could be something more? Turning everyday containers into planters is a fun way to add personality to your home and garden.
From decorating techniques to creative ways to keep your plants organized, you have endless options to make your planters unique. You can even switch up your designs for different seasons.
Fun Decorating Ideas

Paint is a great place to start. Use acrylics to add bright colors or playful patterns to your jars and mugs.
Try polka dots, stripes, or even draw leaves and flowers for a nature-inspired look. Washi tape is another quick way to add removable designs that won’t damage your container.
Add some texture by gluing on beads, small shells, or lace around the rim or handle. For a rustic feel, wrap twine or burlap around your jars or cups.
If you want a glossy finish, seal your painted designs with a waterproof spray. Always remember to add drainage holes before decorating if your container doesn’t already have them.
Labeling and Organizing
Labeling each planter can help keep your garden tidy. Small chalkboard tags tied to handles or waterproof labels work well.
This is especially helpful if you’re growing herbs that look similar. Color-coding your labels can make things even easier.
Try green for herbs, yellow for flowers, and blue for succulents. If you have lots of small containers, arrange them on shelves or trays.
This keeps your display neat and makes watering less of a hassle.
Seasonal Themes
Feeling like your planters look the same all year? Try giving them a seasonal refresh.
In spring, paint with pastel colors or stick on some flower decals to celebrate the new growth. Summer is perfect for bold shades like orange and yellow that add energy to your space.
When fall arrives, use paint or wraps in reds, browns, and golds. Toss in a few pine cones or mini faux pumpkins for a cozy touch.
Winter planters can shine with white or silver paint, a bit of glitter, or snowflake stickers. Little changes like these make your garden feel in tune with the season.