How to Build a Simple Cold Frame for Winter Gardening to Extend Your Growing Season Easily
Winter gardening can be a great way to keep growing fresh vegetables and herbs even as temperatures drop. A simple cold frame is a practical tool that helps protect your plants from frost and cold weather, extending your growing season without the need for expensive equipment.
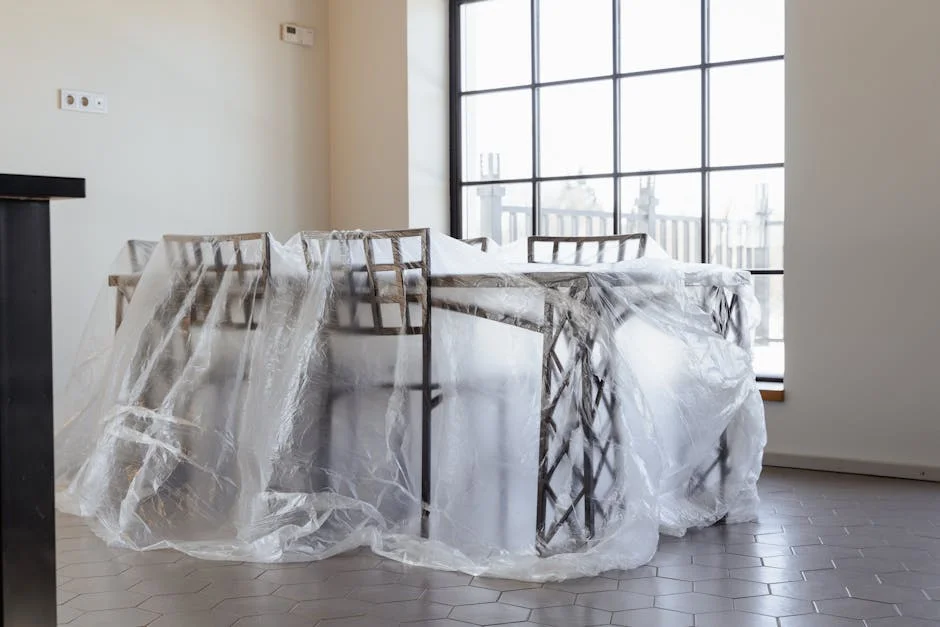
A cold frame creates a small, protected environment that traps sunlight and warmth, allowing your plants to thrive in colder months. It’s easy to build using basic materials and can fit neatly into your garden space, giving you more flexibility with what and when you grow.
Choose a sunny, sheltered spot for your cold frame
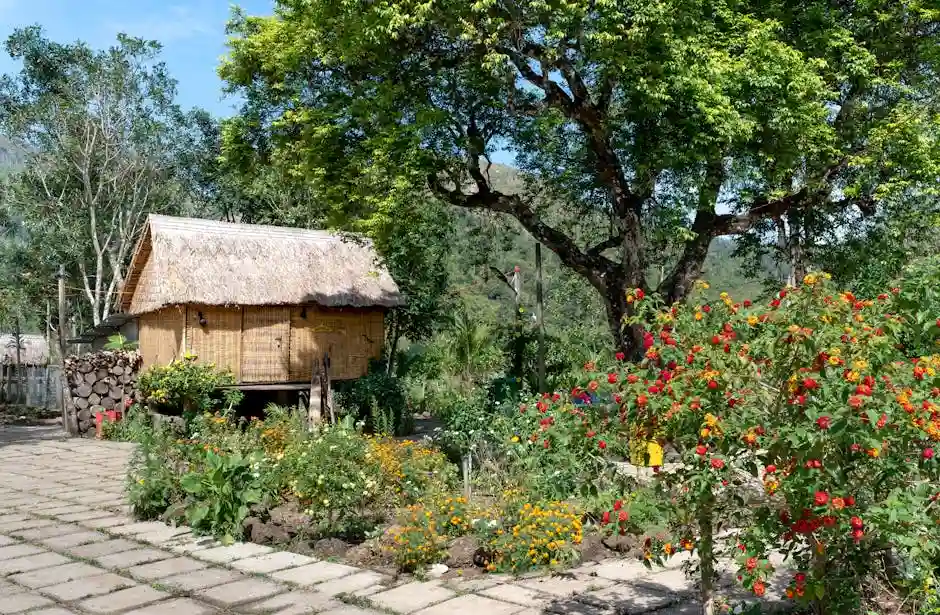
When picking a location for your cold frame, look for a spot that gets plenty of sunlight, ideally facing south. This helps your plants stay warm and grow even in colder months.
Try to find a place protected from strong winds, such as near a wall or hedge. This shelter helps keep the cold frame stable and reduces heat loss.
Also, make sure the area has good drainage to avoid water buildup around your cold frame. A sunny, sheltered spot gives your plants the best chance to thrive all winter.
Measure the area and decide on dimensions

Start by choosing a sunny, sheltered spot in your garden for the cold frame. This ensures your plants get enough light while being protected from strong winds.
Next, measure the available space carefully. Think about how many plants you want to grow and how much room they need to thrive.
Decide on the size of your cold frame based on these measurements. A common size might be around 4 feet long, 2 feet wide, and 1 foot high, but you can adjust this to suit your needs.
Remember, the frame should be big enough to hold your plants comfortably but small enough to move if necessary.
Use untreated wood like cedar for the frame

When building your cold frame, choosing untreated wood is a smart move. Cedar is a great option because it naturally resists rot and pests without needing chemical treatments.
Using untreated cedar helps keep your garden environment safer, especially if you plan to grow edible plants. It’s durable enough to last through winter conditions while maintaining a natural, eco-friendly build.
You can find cedar boards at most home improvement stores. Opt for thicker wood if you want extra insulation and sturdiness for your cold frame.
Build a rectangular wooden box with slanted sides
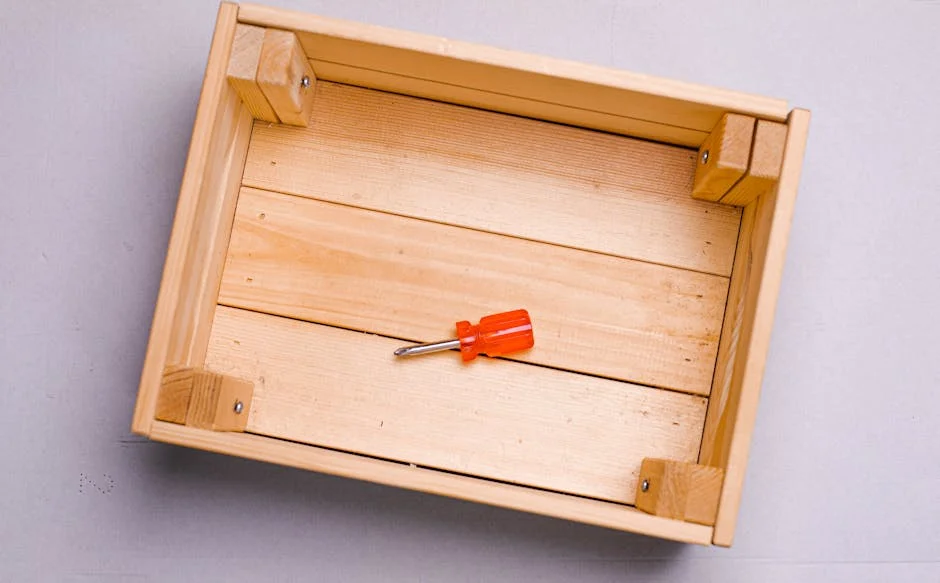
Start by cutting your wooden boards to form a simple rectangular frame. The base should be smaller than the top to allow the sides to slant outward. This shape helps maximize sunlight exposure for your plants.
Attach the sides securely at the corners using nails or screws. Make sure the angle of the slant is even on all sides for a neat fit.
Once the frame is solid, sand the edges to smooth out rough spots. This will make your cold frame safer to handle and help the wood last longer.
Attach a transparent lid using old window panes or clear plastic
You can use old window panes as a transparent lid for your cold frame. They are sturdy and let in plenty of sunlight, which helps keep your plants warm.
If you don’t have windows, clear plastic sheets or plexiglass are good alternatives. They are lightweight and easier to handle.
Attach the lid to the frame with hinges. This way, you can easily open it to ventilate on warmer days or close it tightly during cold nights.
Make sure the lid fits securely to keep out drafts and pests. A well-fitted lid helps maintain a stable temperature inside your cold frame.
Seal edges with weatherproof tape or caulk

To keep your cold frame well insulated, sealing the edges is key. You can use weatherproof tape or outdoor-grade caulk to block drafts and moisture. This helps maintain a stable temperature inside.
If you choose caulk, silicone is best for outdoor use because it resists weather and stays flexible. Apply a steady bead along the edges, and smooth it out with a caulk tool or your finger.
Weatherproof tape is an easy option for quick sealing. Just press it firmly along the gaps, making sure it sticks well. Either method will help protect your plants from cold air and keep your cold frame efficient.
Install hinges on the lid for easy opening
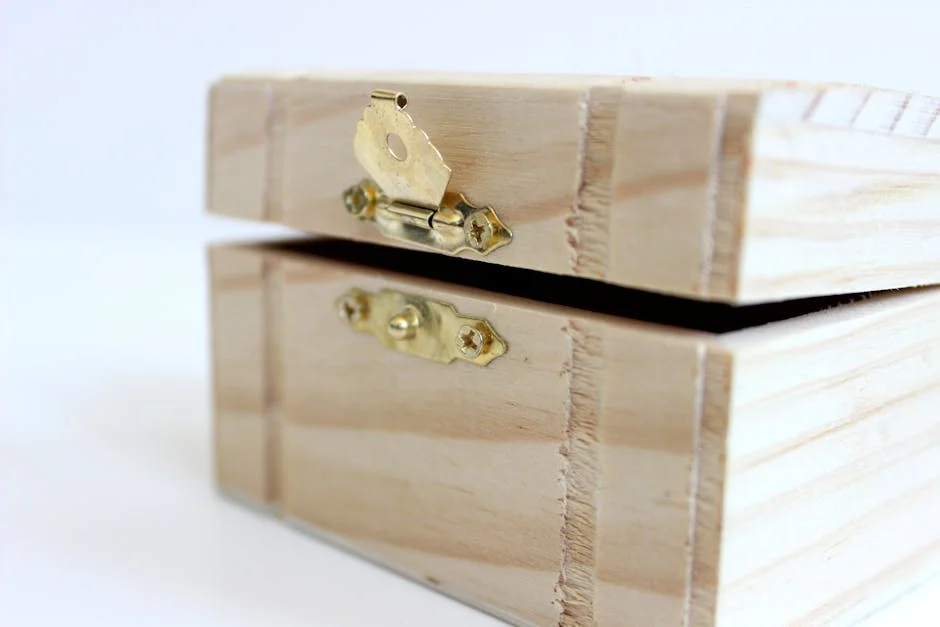
Start by aligning the lid with the frame where you want it to open. Position the hinges evenly along one edge of the lid and the matching edge of the frame.
Use screws to attach the hinges securely. This allows you to lift the lid easily for ventilation or access to your plants.
If you want extra support, consider adding a simple brace or prop to hold the lid open when needed. This helps prevent accidental closing during use.
Add ventilation holes or adjustable vents
You need to keep air moving inside your cold frame to prevent overheating and humidity buildup. Adding small ventilation holes along the sides or installing adjustable vents on top allows you to control airflow easily.
Adjustable vents give you flexibility to open or close them depending on the temperature outside. This helps protect your plants on sunny winter days when it can get warm inside the cold frame.
Try to position vents where warm air can escape and cooler air can enter. Good ventilation prevents mold and keeps your plants healthier throughout the season.
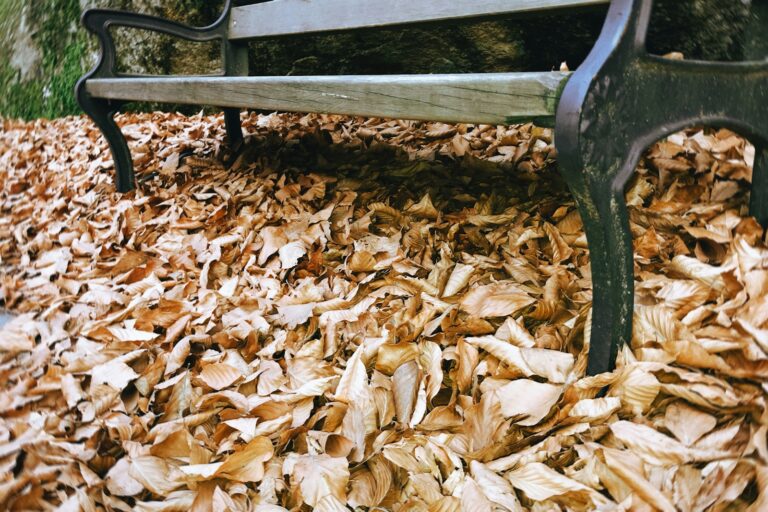
Line the bottom with straw or mulch for insulation
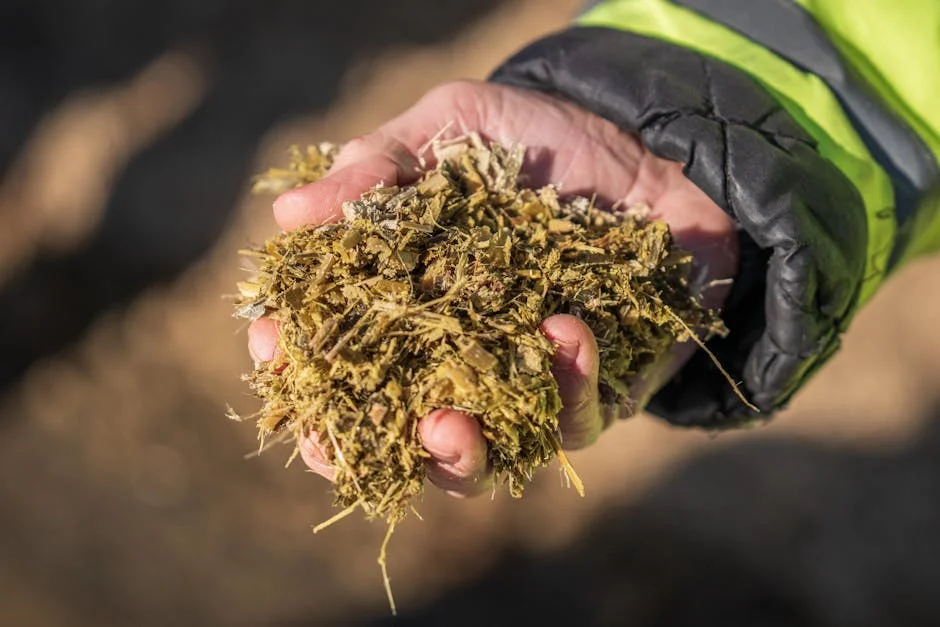
Start by spreading a layer of straw or mulch along the bottom of your cold frame. This creates a natural barrier to help keep the soil and plant roots warmer during cold nights.
Straw is especially good because it traps air, which acts as insulation. Mulch works well too, but watch out for pests like slugs that might hide there.
This simple step adds extra protection without much effort. It helps maintain a more stable temperature inside your cold frame, keeping your plants cozy as the weather turns colder.
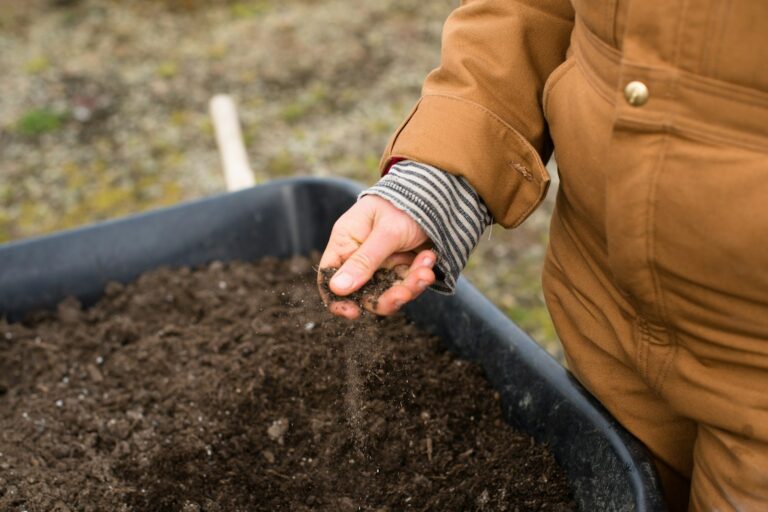
Prepare the soil with compost before planting
Start by clearing your cold frame of any weeds or debris. This gives your plants the best chance to grow without competition.
Next, loosen the soil using a garden fork or small tiller. This helps roots spread easily and improves drainage.
Mix in some compost to enrich the soil. Compost adds nutrients and improves moisture retention, which is important for winter gardening.
Lightly water the soil after mixing compost. Moist soil holds heat better and provides a cozy environment for your seeds or seedlings.
Once the soil feels loose, nutrient-rich, and slightly moist, you’re ready to plant your cool-season crops.