How to Propagate Your Favorite Plants at Home Easily and Naturally
If you want to grow more of your favorite plants without buying new ones, propagating at home is a simple and rewarding way to do it. You can multiply your plants by taking cuttings and encouraging them to root in water or soil, depending on the type of plant. This method lets you create fresh greenery from just a few leaves or stems.
Propagation doesn’t have to be complicated. With a few basic tools and some patience, you can start growing new plants right in your living room. Whether you’re working with common houseplants or something a bit more unique, knowing the right technique will help your cuttings thrive.
Learning how to propagate your plants yourself saves money and gives you a deeper connection to your green collection. Plus, it’s a fun way to experiment and watch your plants grow from the very beginning.
Essential Tools and Materials for Propagation
Getting your tools and materials right is key to successful plant propagation. Sharp cutting tools, the right soil or growing medium, and proper cleaning practices all work together to help your plants root and grow well.
Choosing the Right Cutting Tools

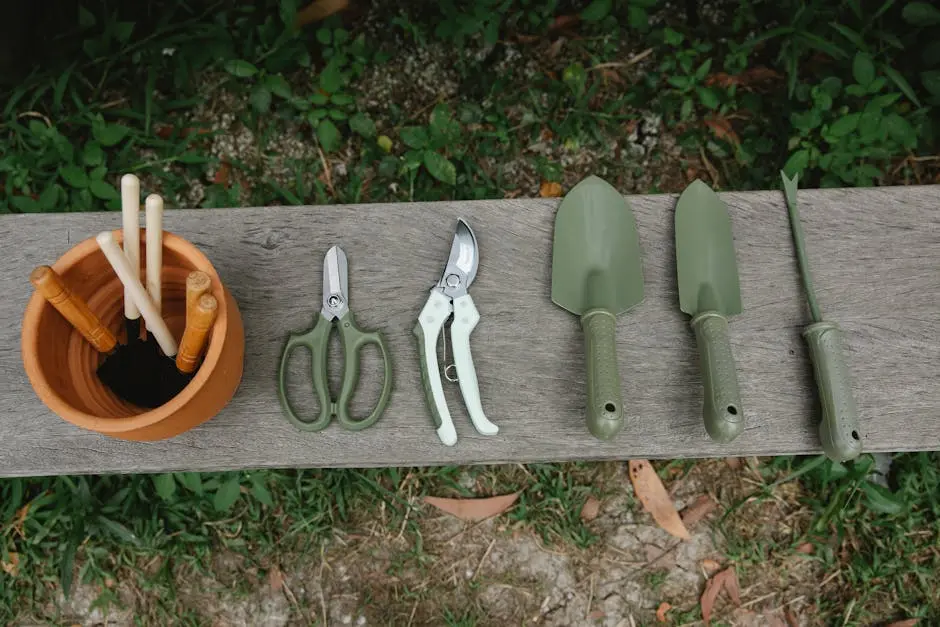
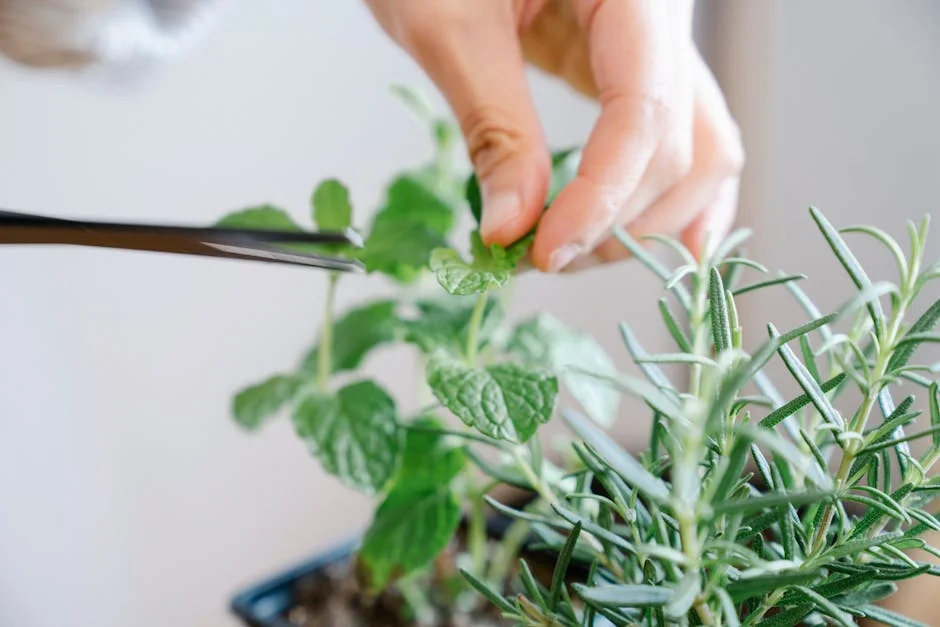
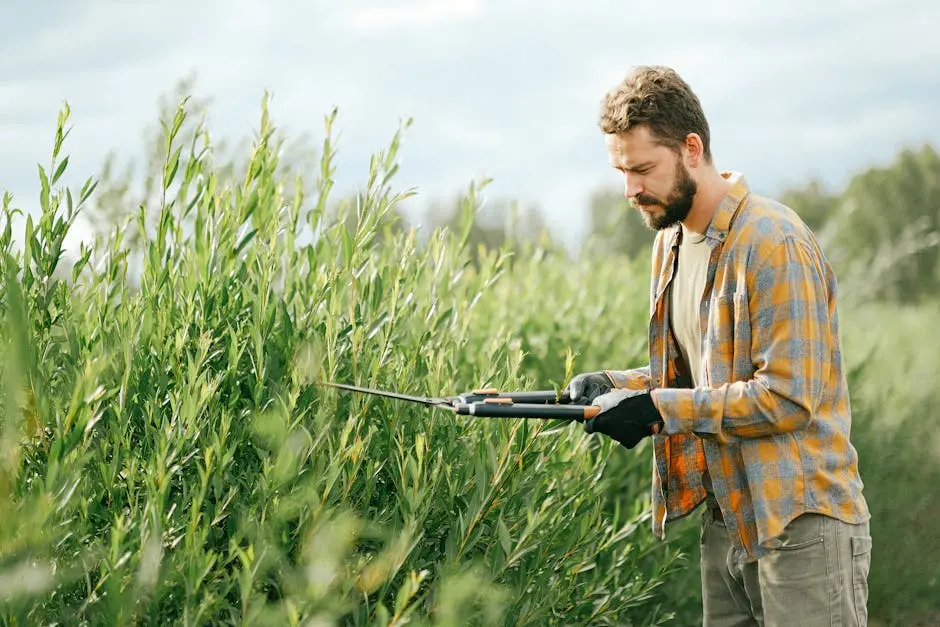
You need clean, sharp tools to make precise cuts on stems or leaves. A good pair of pruning shears or a grafting knife works well for most plants. For smaller or delicate cuttings, you might prefer a sterile razor blade or a sharp paring knife.
Using dull tools can crush plant tissue, making it harder for cuttings to root. Make sure your blades are sharp and easy to control. You can also consider special propagation scissors that give you clean cuts without damaging the plant.
Selecting Ideal Growing Mediums
The medium you use affects moisture retention and aeration, both crucial for new roots. Common choices include perlite, vermiculite, peat moss, and seed-starting mixes without soil.
For cuttings, a well-draining medium like a mix of perlite and peat moss keeps moisture balanced without waterlogging. If you prefer soil, look for a light, sterile potting mix. Avoid regular garden soil because it can contain pests or diseases.
Experiment with mixtures to find what works best for your specific plants. You can also use plain vermiculite or soilless substrates that promote good root growth.
Sterilizing Equipment for Success
Keeping your tools and containers sterile reduces the risk of infections that can kill cuttings. You can wipe blades and pots with rubbing alcohol or soak them in a diluted bleach solution for 10 minutes.
Make sure tools are dry before using them again. Sterilize your work surface and wash your hands as well to minimize contamination.
Regular sterilization improves your chances of successful propagation and healthier plants. It’s a simple step that helps prevent fungal and bacterial problems.
For more detailed techniques, check out this guide on plant propagation techniques.
Popular Plant Propagation Methods

To propagate plants effectively, you’ll work with different environments and materials that support root growth. Each method varies in care needs, speed, and success rates depending on the plant type.
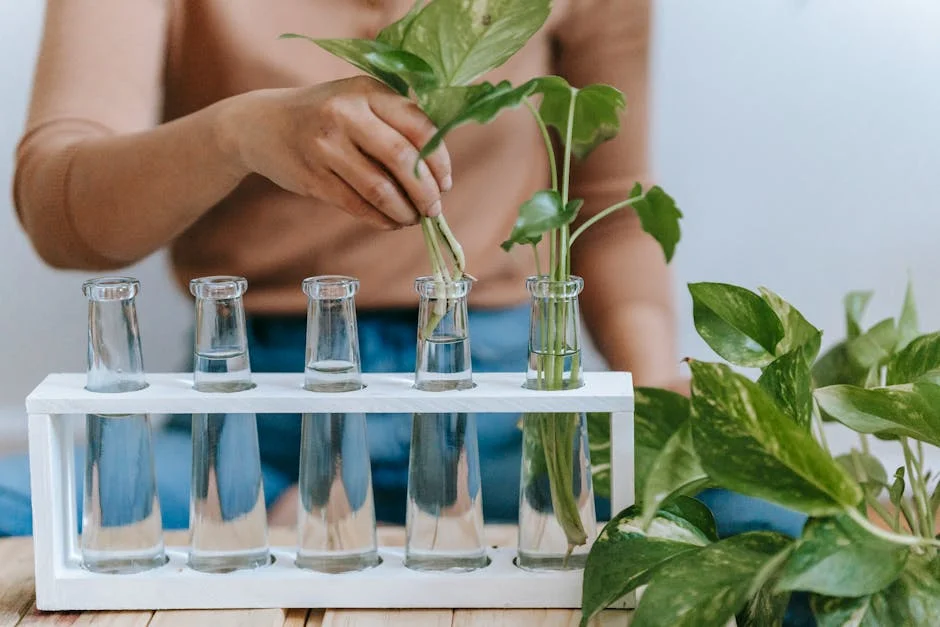
Water Propagation Techniques

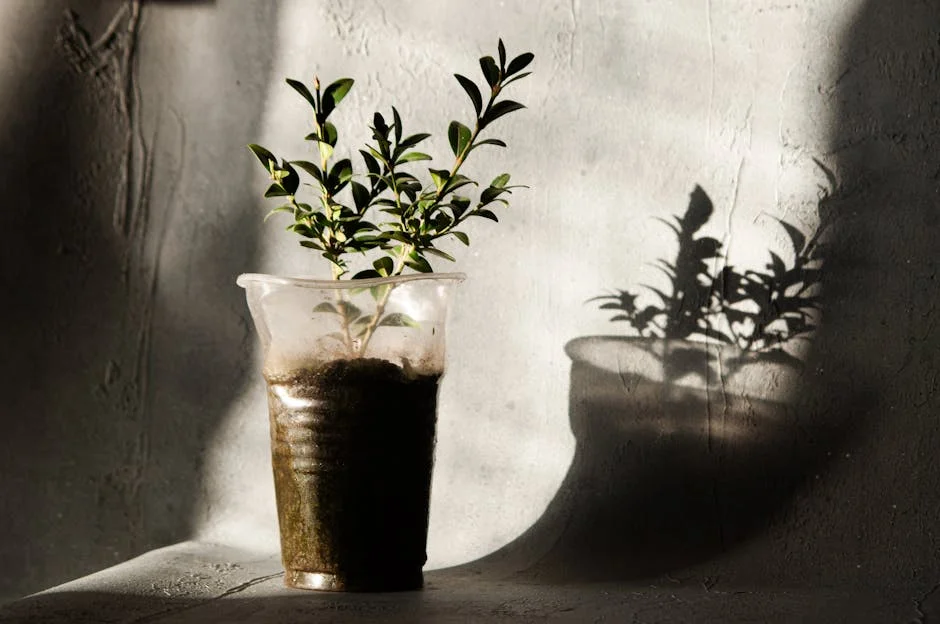
Water propagation is one of the easiest ways to start new plants from cuttings. You simply place healthy cuttings in water and wait for roots to develop. Make sure the cut ends are submerged while keeping leaves above water to avoid rot.
Change the water every few days to keep it fresh and oxygen-rich. Most plants like pothos and philodendrons root well this way within 1-3 weeks. Once the roots reach about 2-3 inches, you can transfer the cutting to soil.
Use a clear container so you can watch root growth. Avoid direct sunlight, which can promote algae and damage delicate stems.
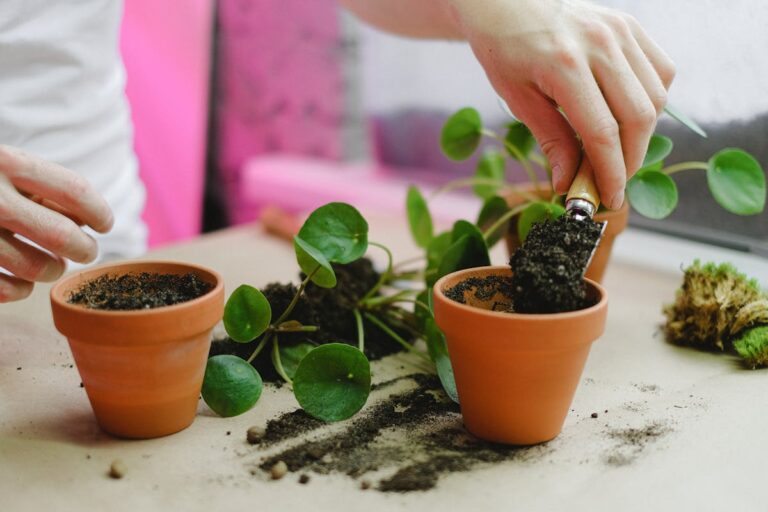
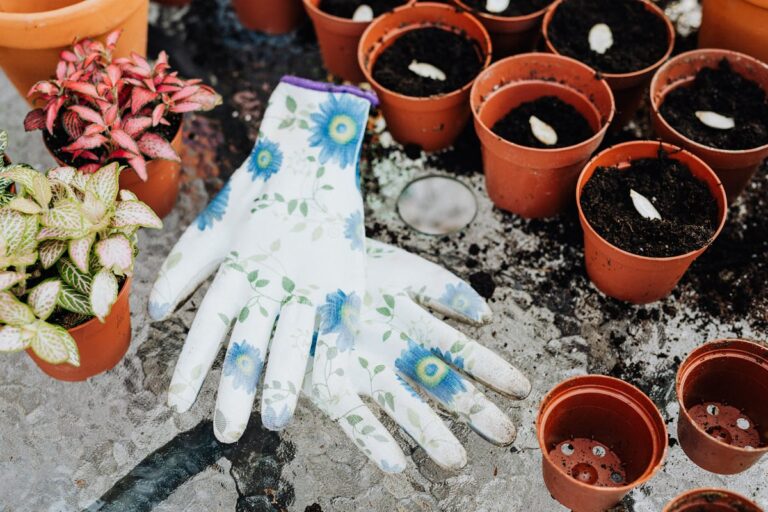
Soil Propagation Approaches

Propagating in soil involves placing cuttings directly into a moist growing mix to encourage root development. Use a well-draining potting mix or a special seed-starting mix for better moisture control.
Before planting, dip the cutting’s end in rooting hormone powder to improve success, especially for harder-to-root plants. Keep the soil consistently moist but not soggy, and cover with a plastic bag to maintain humidity.
Plants like coleus and snake plants thrive with this method. Make sure to put your cuttings in bright, indirect light to avoid drying out but still encourage root growth.
Rooting in Perlite and Other Mediums
Perlite and similar mediums like vermiculite or sand provide excellent aeration and moisture control, which helps cuttings form roots faster. Unlike soil, these mediums stay light and don’t hold too much water, preventing root rot.
You can plant your cuttings directly into perlite alone or mix it with peat moss for extra moisture retention. Keep the medium moist and provide indirect light.
This approach works well for succulents and some woody plants. Since perlite is sterile and lightweight, it reduces the chance of soil-borne diseases and allows you to monitor progress easily.
For more techniques and tips, check out plant propagation methods.
Step-By-Step Guide to Propagating Common Houseplants
You can grow new plants in several effective ways depending on the plant type and your available tools. Each method offers a straightforward process to increase your plant collection with minimal cost and effort.
Propagating From Stem Cuttings

Start by identifying a healthy stem with several leaves. Cut just below a node—the point where leaves attach to the stem—because roots grow best from this area. Use clean scissors or pruning shears to make a 4-6 inch cutting.
If you have rooting hormone, dip the cut end in it to encourage faster root growth, but this step is optional. Place the cutting in water or directly into moist soil. Make sure to keep the soil damp but not soggy.
Change the water regularly if you’re water propagating. Roots typically develop within 2-4 weeks. Once roots are a couple of inches long, transplant the cutting into soil for continued growth.
Growing New Plants From Leaf Cuttings
Some plants, such as succulents and Begonias, can grow from single leaves. Cut a healthy leaf with a small part of the stem or petiole attached. Let the leaf dry out for a day or two to heal the cut area.
Insert the leaf base into well-draining soil or place it on the soil surface if recommended for that species. Keep the soil lightly moist but avoid watering too much, which can cause rot.
New roots and sometimes tiny plantlets will form near the leaf base over several weeks. This method takes longer than stem cuttings but is useful for plants without strong stems.
Dividing and Repotting Mature Plants
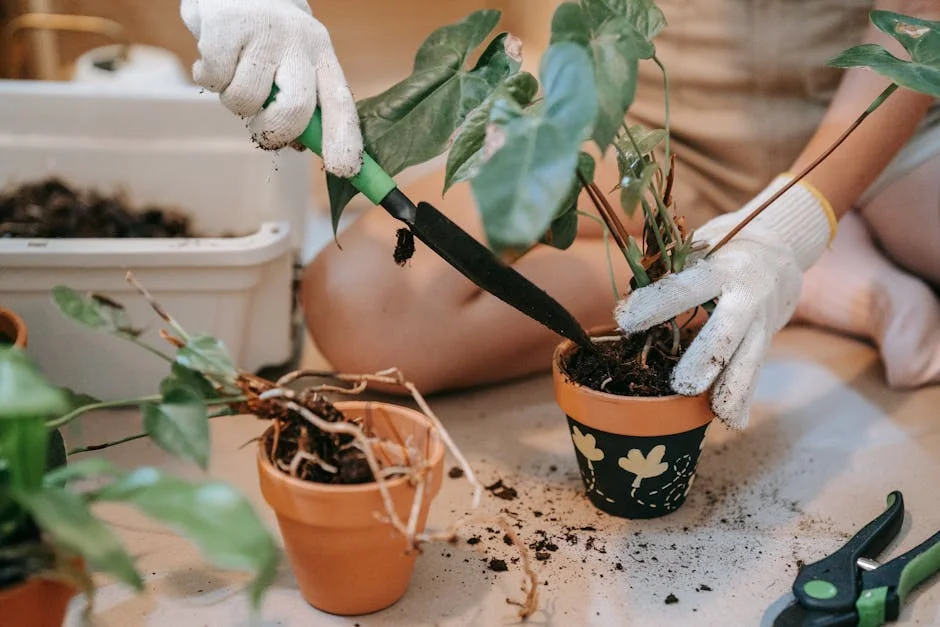
For plants like snake plants, ferns, or spider plants, division works well. Carefully remove the plant from its pot and gently separate root clumps or “rhizomes” using your hands or a clean knife.
Look for sections with both roots and leaves attached to ensure successful growth. Repot each division into fresh soil and containers with proper drainage.
Water the divisions lightly and keep them out of direct sunlight until they establish. This method rejuvenates older plants and allows you to multiply them quickly.
For more details on stem cutting techniques, you can explore Houseplant 101: How to Easily Propagate Houseplants.
Caring for Cuttings and New Plants
To help your cuttings develop into healthy plants, you need to focus on clear conditions for light, humidity, and watering. Keeping these factors balanced makes rooting smoother and growth stronger. Also, it’s important to watch for pests and diseases early to avoid setbacks.
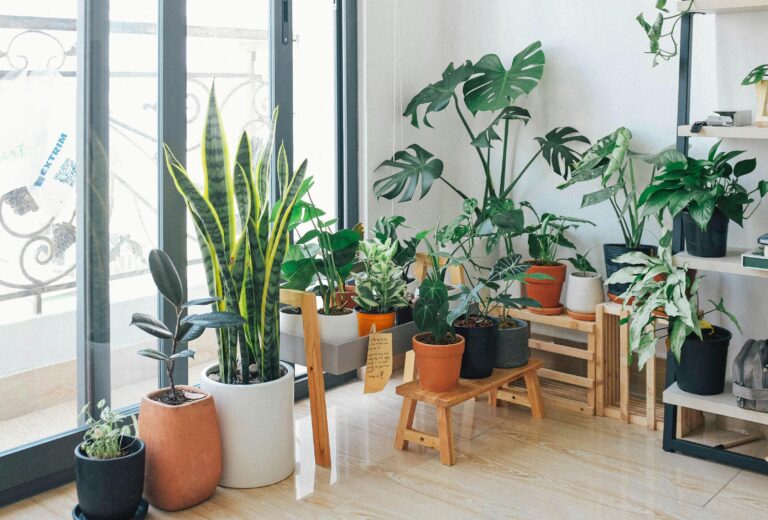
Optimizing Light and Humidity

Your cuttings do best in bright, indirect light. Direct sunlight can stress them and cause leaf burn. Position them near a window with filtered light or use a grow light if natural light is limited.
Humidity helps cuttings stay hydrated while developing roots. Aim for around 60% humidity. You can increase moisture by misting the leaves regularly or placing a clear plastic cover over the cutting to create a mini greenhouse. Just make sure to allow some air circulation to prevent mold.
If humidity is too low, leaves may dry out quickly. If it’s too high without ventilation, fungus issues can arise.
Proper Watering for Young Plants
Water is crucial but overwatering can kill your cuttings. Keep the water level just enough to cover the nodes if rooting in water. Change the water every 3-5 days with fresh, room temperature water to avoid bacterial buildup.
If you pot your cutting, use moist but not soggy soil. After planting the rooted cutting, thoroughly water the soil to keep it evenly moist. Water only when the top inch of soil feels dry to the touch.
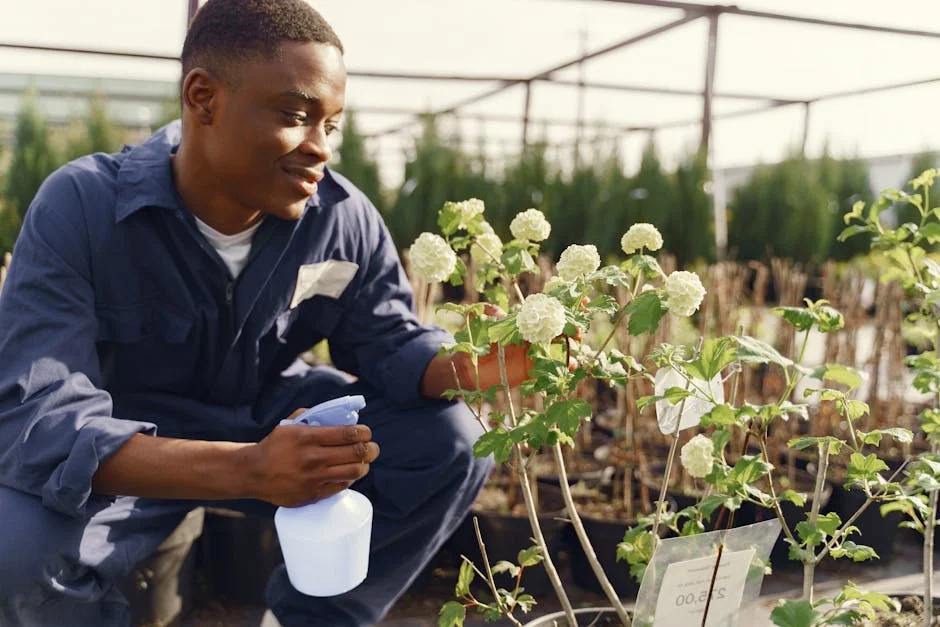
Using a spray bottle to mist soil surface can help maintain moisture without waterlogging. Avoid letting the soil dry out completely as cuttings have limited root systems at this stage.
Preventing Common Pests and Diseases
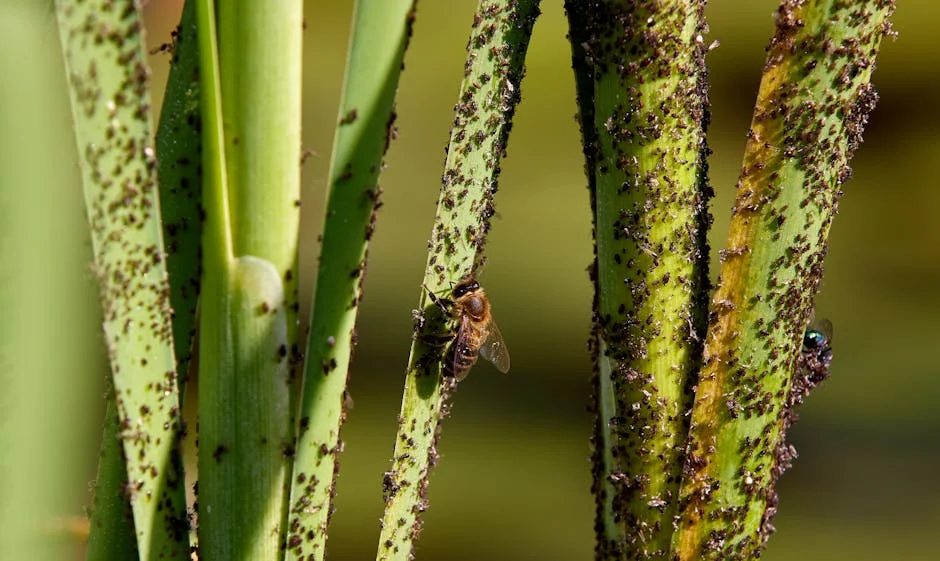
Young plants are vulnerable to pests like aphids, spider mites, and fungus gnats. Regularly inspect your cuttings and gently wipe leaves with a damp cloth to remove any pests.
To prevent mold or fungal infections, keep good airflow around your plants and avoid standing water in trays or saucers. Remove any yellowing or dead leaves quickly to reduce disease risk.
If pests appear, use mild insecticidal soap or neem oil spray on the affected areas. Always test on one leaf first to check plant sensitivity. Maintaining clean tools and containers also helps reduce contamination.
Using these simple habits, you’ll give your propagations the best chance to grow healthy and strong.
For practical water changing tips with cuttings, see how to root plant cuttings in water for propagation.
Troubleshooting Propagation Problems
When propagating plants, common issues like root rot and slow growth can hold you back. You can fix these by adjusting watering habits, improving soil conditions, and ensuring the right environment for your cuttings.
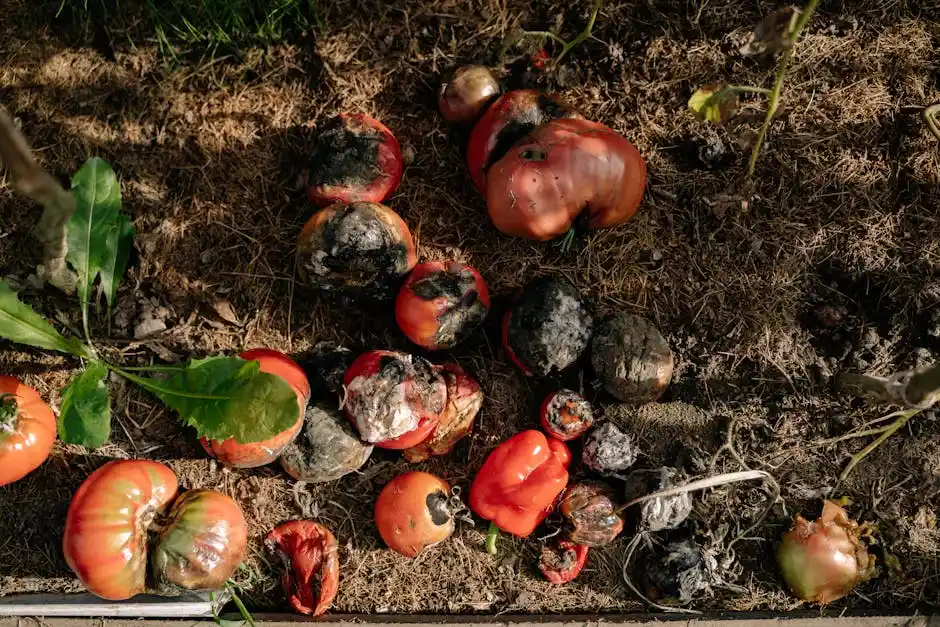
Addressing Root Rot and Wilting
Root rot usually happens when the soil stays too wet and doesn’t drain well. If you see black, mushy roots or wilting leaves, check your soil moisture first.
To fix root rot:
- Remove the cutting from soggy soil.
- Trim off any soft, dark roots.
- Repot in fresh, well-draining soil.
- Water sparingly and only when the top inch of soil feels dry.
Wilting can also come from overwatering or poor light. Make sure your cuttings get bright, indirect light but aren’t exposed to direct sun that can dry them out.
Using clean, sharp tools when cutting is crucial to prevent infections that cause rot. Avoid keeping cuttings in overly humid conditions without airflow.
Encouraging Growth in Slow Starters
If your cutting isn’t showing roots after a few weeks, don’t lose hope. Sometimes they just need a little help to get going.
Try these steps to boost growth:
- Ensure the cutting is taken just below a node, as this is where root cells develop.
- Use a rooting hormone to encourage root formation.
- Maintain consistent moisture—soil should be damp but not soggy.
- Keep the temperature warm, ideally around 70-75°F (21-24°C).
You can also cover cuttings with a plastic bag to retain humidity, but open it daily to avoid mold. Patience is key; some plants naturally root slower than others.
If progress stalls, check that the original plant was healthy and pest-free before taking cuttings. Unhealthy parents produce weaker cuttings that struggle to root.
For more tips on common propagation mistakes, visit Houseplant propagation mistakes: 11 common errors.