How to Start Seeds Indoors Before Spring for a Thriving Garden Kickoff
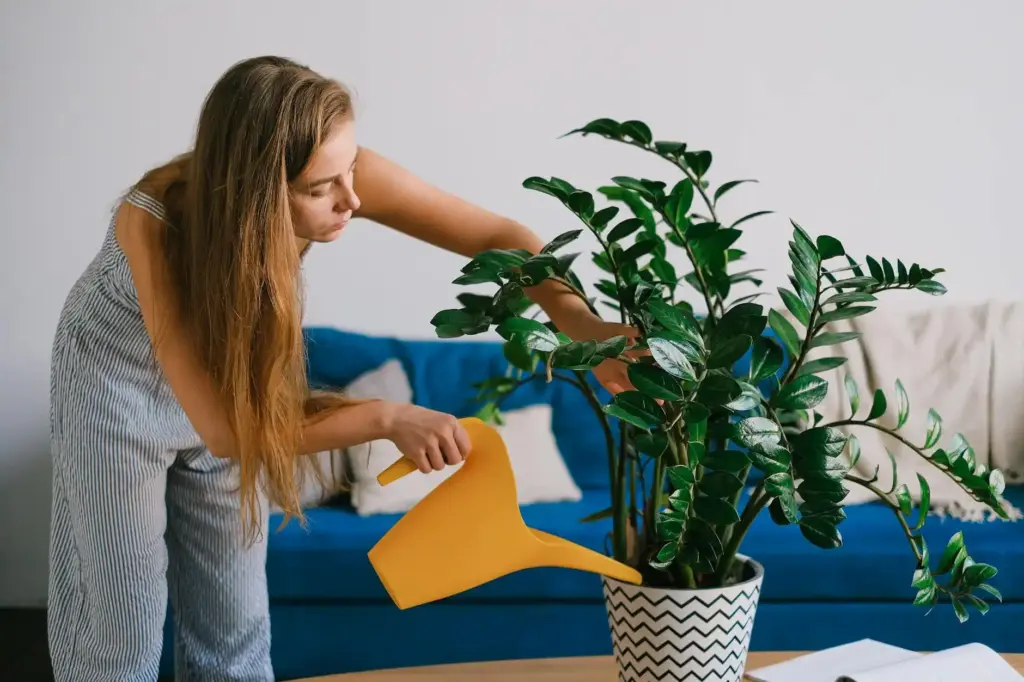
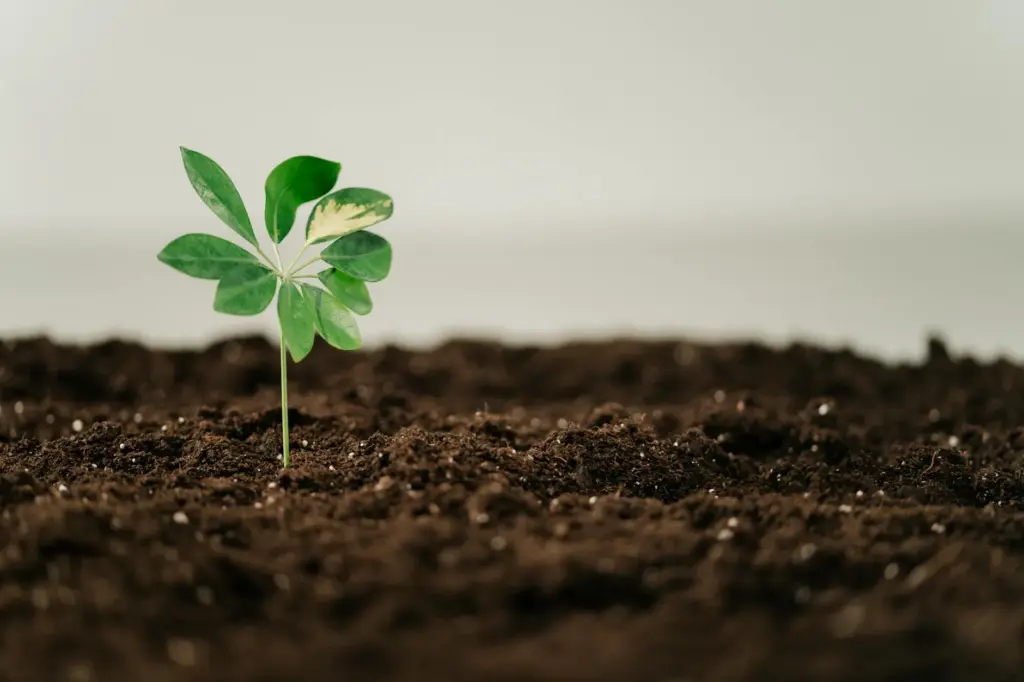
Starting seeds indoors before spring gives you a head start on the growing season and increases your chances of a healthy, productive garden. The key to success is providing the right environment: adequate light, warmth, and moisture, along with planting seeds at the proper depth. By taking these simple steps, you can ensure your seedlings develop strong roots and are ready to thrive once planted outside.
You’ll need some basic supplies like seed trays, a good seed starting mix, and a reliable light source. Understanding your last frost date and the specific needs of each plant helps you time everything just right. With a little preparation, you’ll enjoy watching your garden grow from tiny seeds indoors to flourishing plants outdoors.
If you’re new to seed starting or looking to improve your method, this guide will walk you through the essentials to get your seeds off to a great start. It’s easier than you might think, and the satisfaction of growing your own plants from scratch is well worth the effort. For more details on setting up your indoor seed garden, check out this indoor seed starting guide.
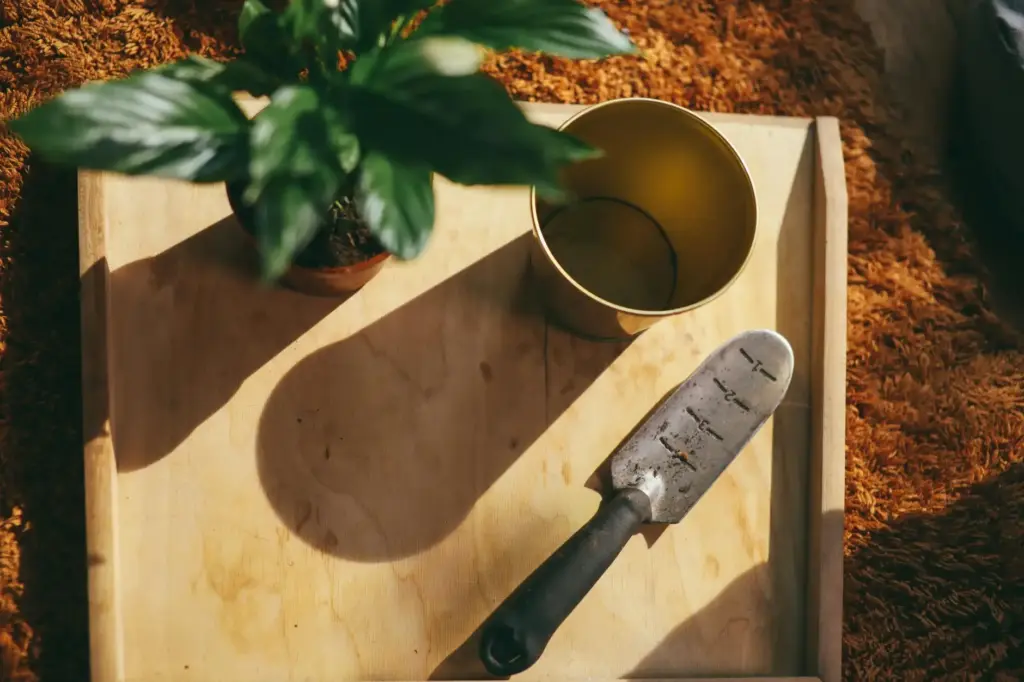
Choosing Seeds and Supplies
You’ll want to focus on seeds suited for indoor starting and gather supplies that create the right environment for your seedlings. Proper choice of containers, soil, and equipment will make your seed-starting experience smooth and successful.
Selecting the Right Seeds
Pick seeds that benefit from early indoor starting, such as tomatoes, peppers, and eggplants. Look at the seed packet for the recommended indoor start time, usually 6 to 8 weeks before your last frost date.
Choose seeds that are known for strong germination rates and good disease resistance. Avoid seeds that need complicated treatments like stratification or scarification unless you’re ready for that extra step.
Consider starting easy-to-grow herbs like basil or parsley indoors if you’re new to seed starting. Make sure to check the seed packets for light, temperature, and depth needs.
Essential Seed Starting Equipment
A seedling tray with individual cells helps keep plants organized and prevents overcrowding. If you don’t have trays, any small container with drainage holes works.
You’ll also need a humidity dome or clear plastic cover to keep moisture in while seeds sprout. A heating mat can speed up germination by maintaining soil temperatures between 65°F and 75°F.
Good lighting is crucial. Use fluorescent or LED grow lights placed about 2 to 4 inches above seedlings to mimic sunlight. Aim for 12-16 hours of light daily to prevent leggy plants.
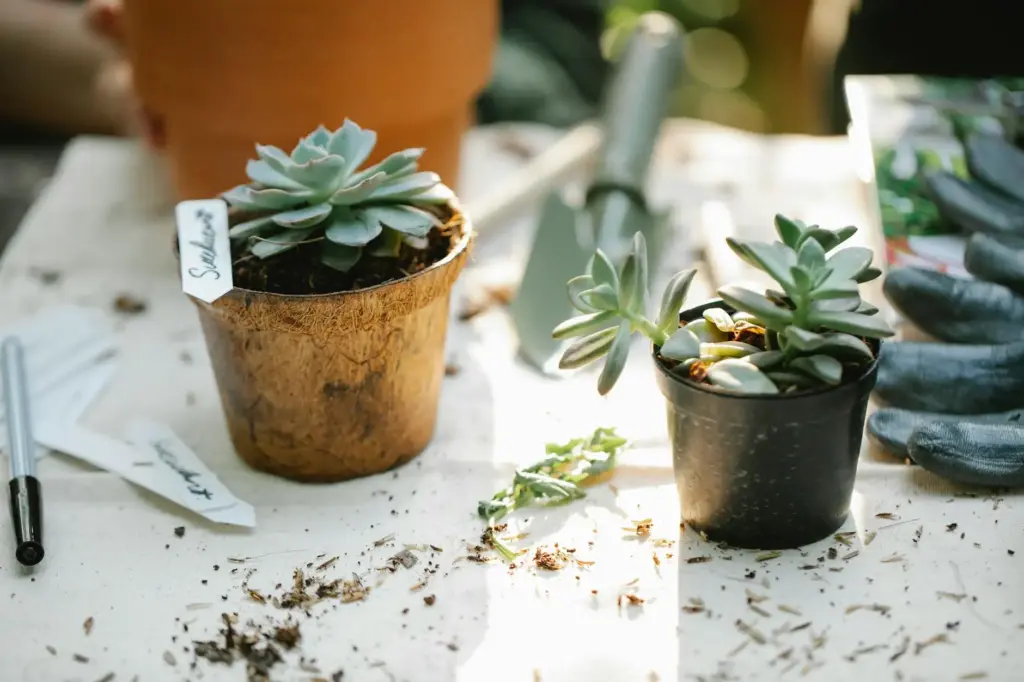
Picking Soil and Containers
Use a lightweight, sterile seed-starting mix rather than regular garden soil. These mixes drain well and reduce risk of disease.
Choose containers that hold moisture but allow excess water to drain. Avoid cups or trays without holes, as soggy soil can kill seedlings.
For seeds that like more space, consider biodegradable pots. They make transplanting easier, reducing root disturbance. Just keep an eye on moisture levels, as they dry out faster than plastic trays.
Preparing for Indoor Seed Starting
Getting ready to start seeds indoors means setting up the right conditions for strong growth, knowing exactly when to plant each type, and keeping track of what you’ve sown. This preparation helps you avoid common pitfalls and makes the process smoother overall.
Creating an Ideal Growing Environment
You need a warm, well-lit spot to give your seeds the best start. Most seeds need soil temperatures between 65°F and 75°F to germinate properly. If your home is cooler, consider using a heat mat designed for seed starting to keep the soil consistently warm.
Good drainage is crucial. Use containers with holes and a light seed-starting mix instead of regular potting soil, which can be too heavy. Place your seed trays or pots near a bright window or under grow lights for 12 to 16 hours daily to mimic sunlight.
Avoid the typical windowsill if it’s drafty or has fluctuating temperatures, as seeds prefer stable warmth and moisture. Keep the soil evenly moist but not soggy to prevent rot or fungus.
Understanding Timing for Different Plants
Each plant species has its own ideal indoor starting time, usually counted back from the last expected frost date in your area. For example, tomatoes and peppers generally start 6-8 weeks before outdoor planting, while lettuce and herbs might only need 4 weeks.
Check seed packets for guidelines and track your local frost dates. Starting too early can lead to overcrowded or leggy seedlings, while starting too late reduces the growing season.
Using a simple calendar or planting schedule helps you plan clearly. Mark the date to start seeds indoors and the date to transplant outdoors so you stay on track.
| Plant TypeStart Indoors (Weeks Before Last Frost) | |
|---|---|
| Tomatoes | 6-8 |
| Peppers | 8 |
| Lettuce | 4 |
| Herbs | 4-6 |
| Broccoli | 6-8 |
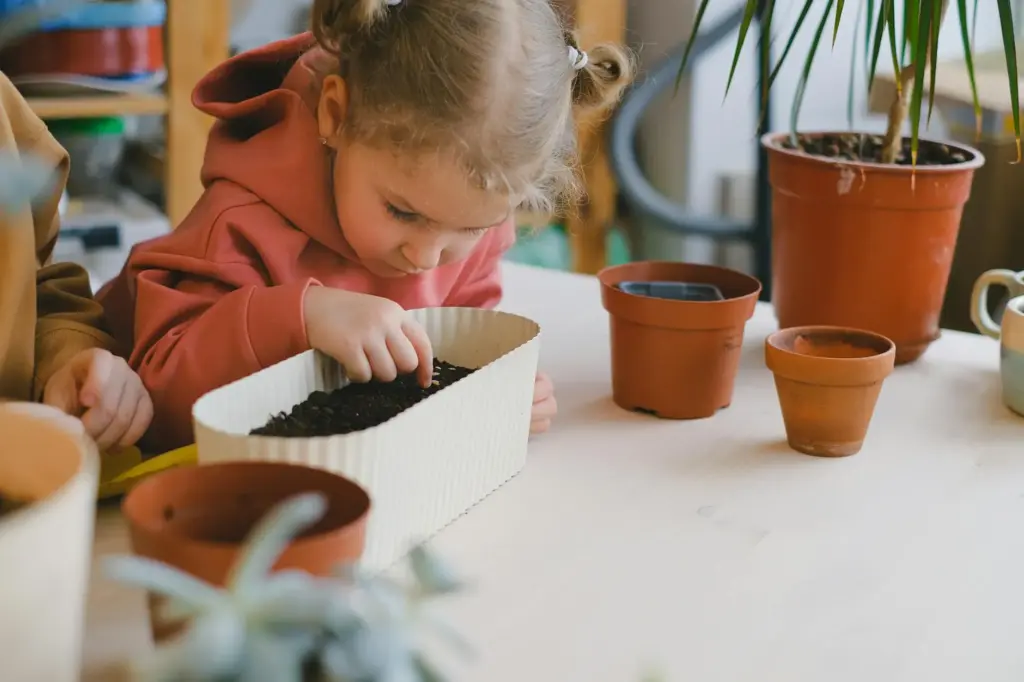
Labeling and Organizing Your Seeds
Labeling your seeds is key to avoid confusion as seedlings grow. Use waterproof markers on small stakes or tape on containers to write the plant name and planting date.
Organize your seed trays so seedlings with similar water and light needs are grouped together. This makes care easier and reduces stress on plants.
You can also keep a seed journal or spreadsheet with details like seed packet purchase date, germination time, and notes on success. This helps improve your seed starting skills year after year.
Staying organized prevents mix-ups and saves you time watering and caring for your indoor garden efficiently.
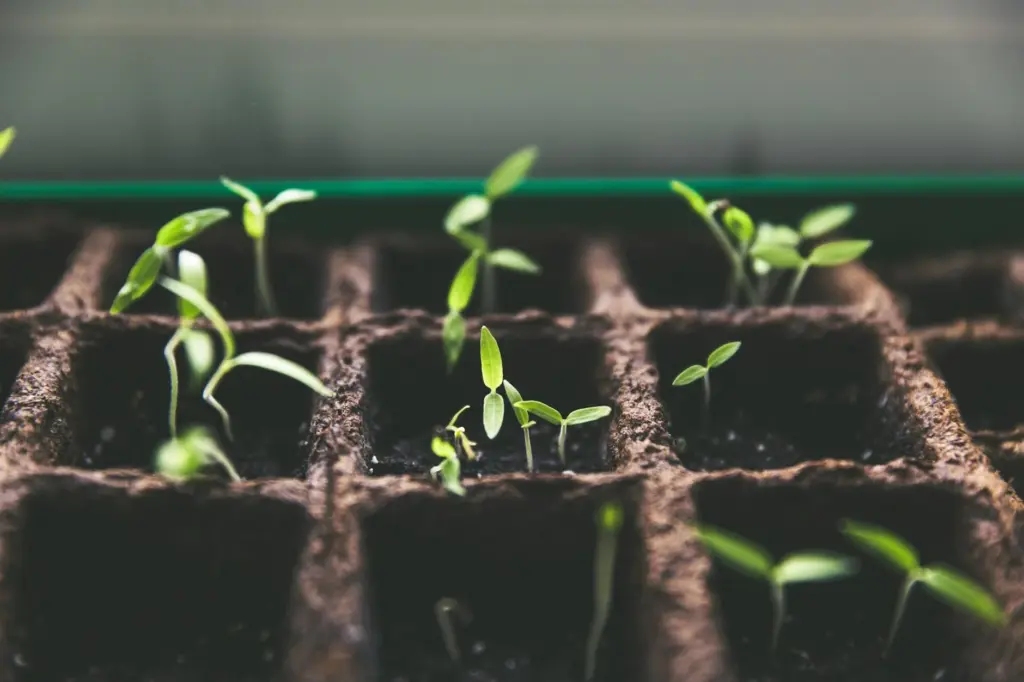
Planting Seeds Indoors
Starting seeds indoors requires careful attention to how you plant, water, and light them. These steps ensure the seeds have the right environment to sprout strong roots and healthy shoots.
Correct Planting Techniques
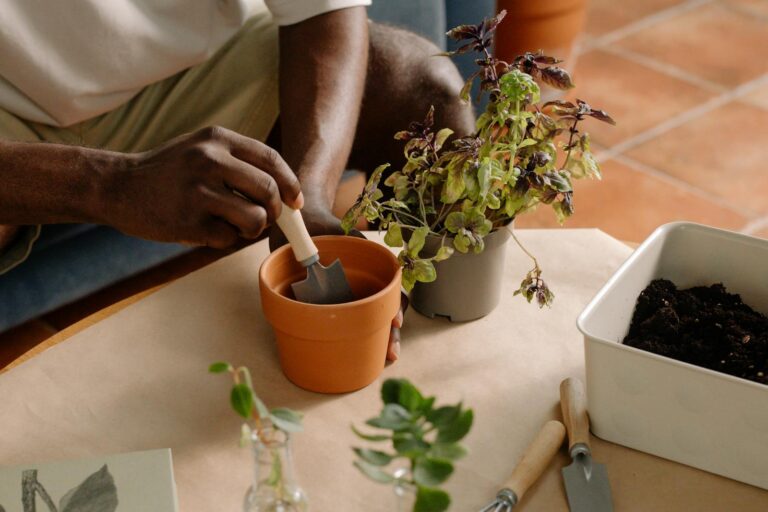
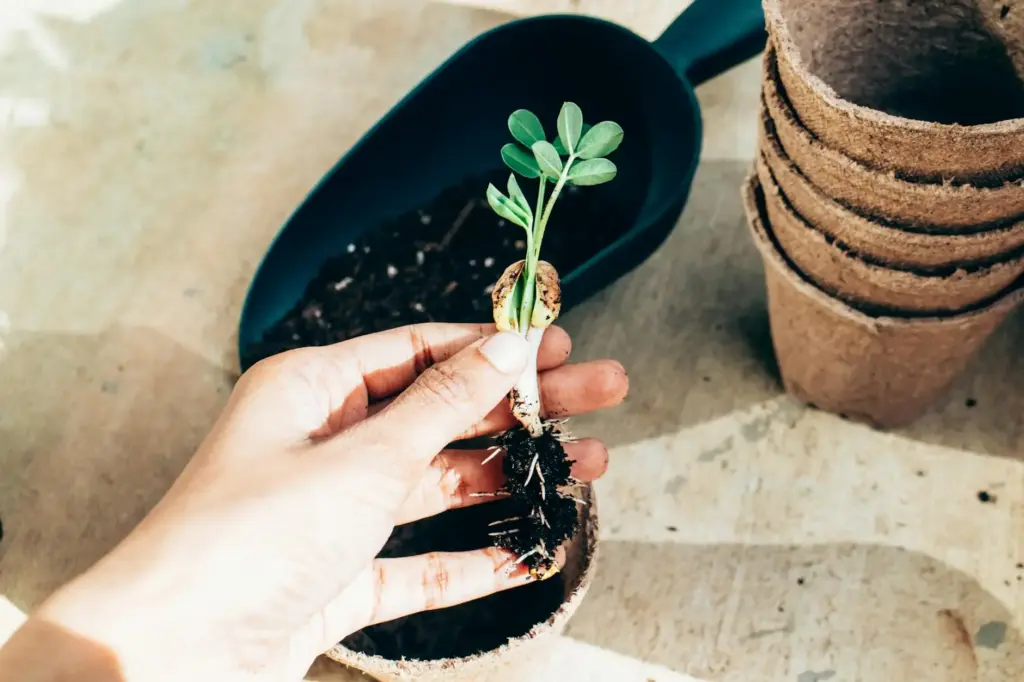
Begin by moistening your potting mix before filling your seed containers. Use a light, well-draining seed-starting mix designed for small seeds.
Plant seeds at the depth specified on the packet—usually about twice the seed’s diameter. Too deep can prevent sprouting, and too shallow may dry out the seeds.
For best results, use individual containers or divided trays to give each seedling room. Label your seedlings to track different plants. Avoid overpacking soil to let roots grow freely.
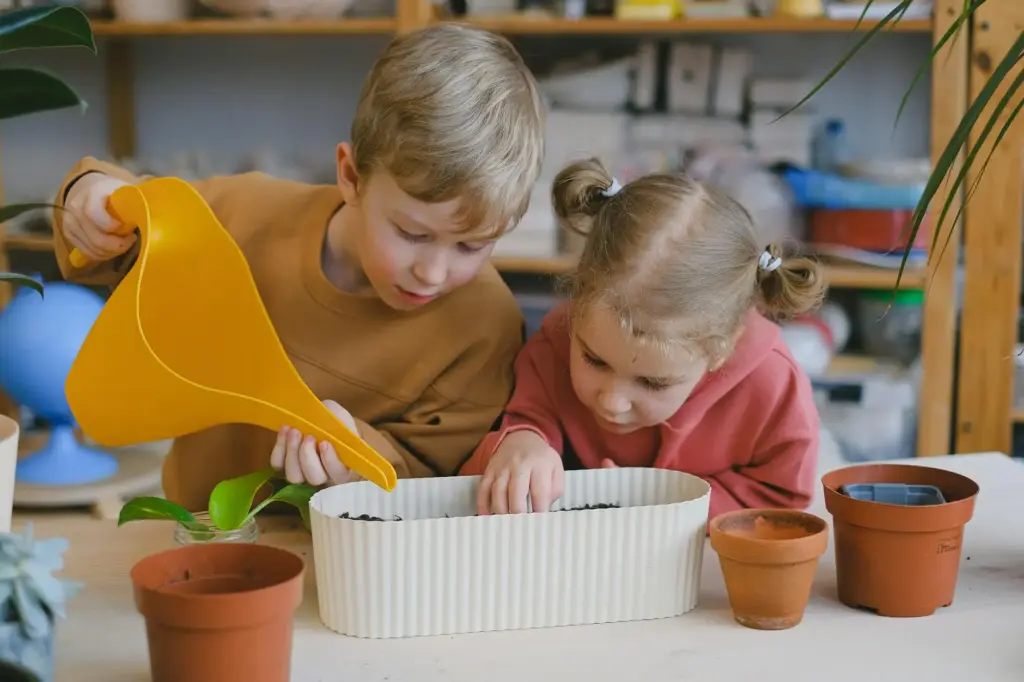
Watering and Moisture Management
Keep the soil consistently moist but not soaked. Water from the bottom by placing containers on a tray of water, allowing soil to wick moisture up. This helps prevent seed displacement and rot.
Monitor moisture daily because drying out can kill young seedlings quickly. Using a spray bottle delivers gentle, even water without washing away seeds.
Covering your seed trays with clear plastic or a humidity dome keeps moisture in but remove the cover once seedlings emerge to prevent mold and encourage air circulation.
Providing Proper Light for Growth
Seedlings need 12-16 hours of light daily to grow strong and avoid becoming leggy. Place your trays near a bright south-facing window or use grow lights set 2-4 inches above the plants.
If using grow lights, keep them on a timer for consistent light periods. Rotate seedlings regularly if using natural light to promote even growth.
Maintain a temperature between 65-75°F, as cooler temps slow growth and warmer can dry out soil. Proper light and warmth help your seedlings develop vibrant leaves and sturdy stems.
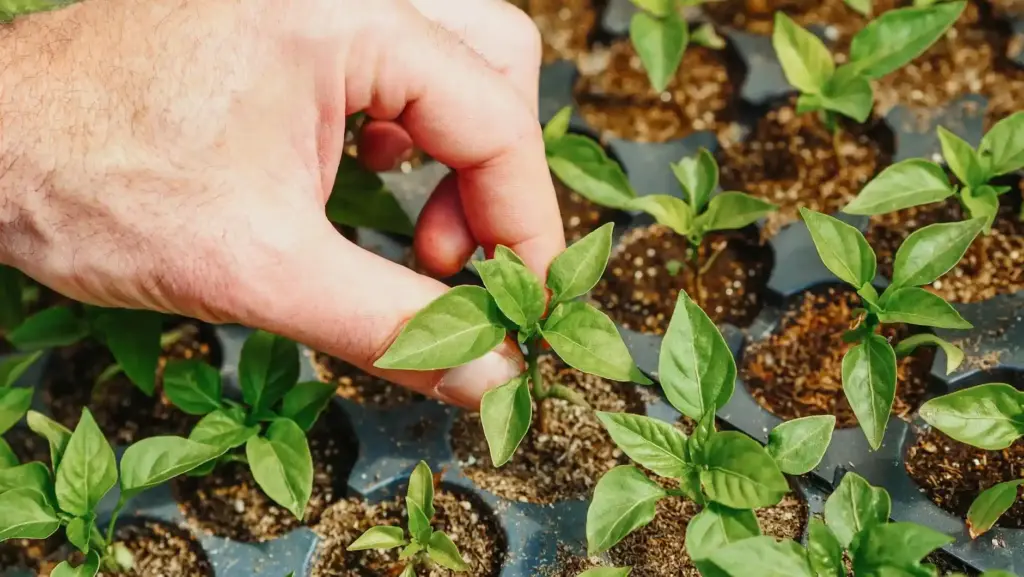
Caring for Seedlings
Once your seeds have sprouted, your focus shifts to supporting their growth and health. You’ll need to watch them closely, remove weaker seedlings, and provide gentle feeding to promote strong roots and sturdy stems.
Monitoring Growth and Health
Keep a daily eye on your seedlings. Look for signs of healthy green leaves and firm stems. If the seedlings are leggy—tall and spindly—they’re likely not getting enough light. Move them closer to a grow light or a bright window.
Check soil moisture regularly. Seedlings like consistently moist soil but not soggy. Overwatering can cause root rot, while dry soil stresses young plants. Use a spray bottle or gentle watering can to avoid disturbing roots.
Temperature matters too. Most seedlings thrive between 65–75°F. Avoid placing them near cold drafts or heating vents.
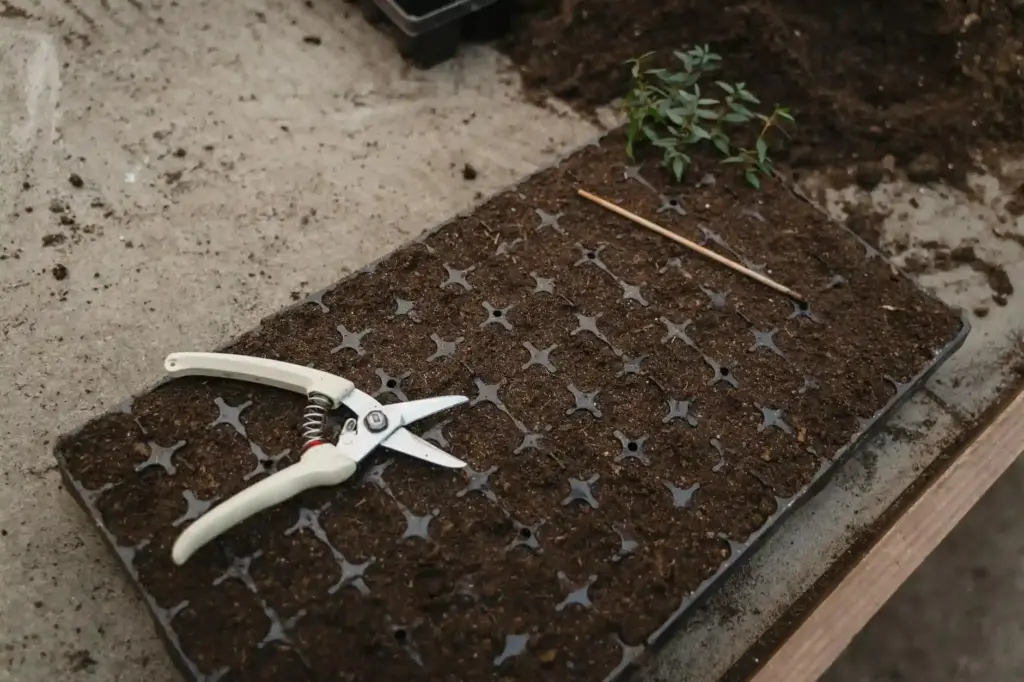
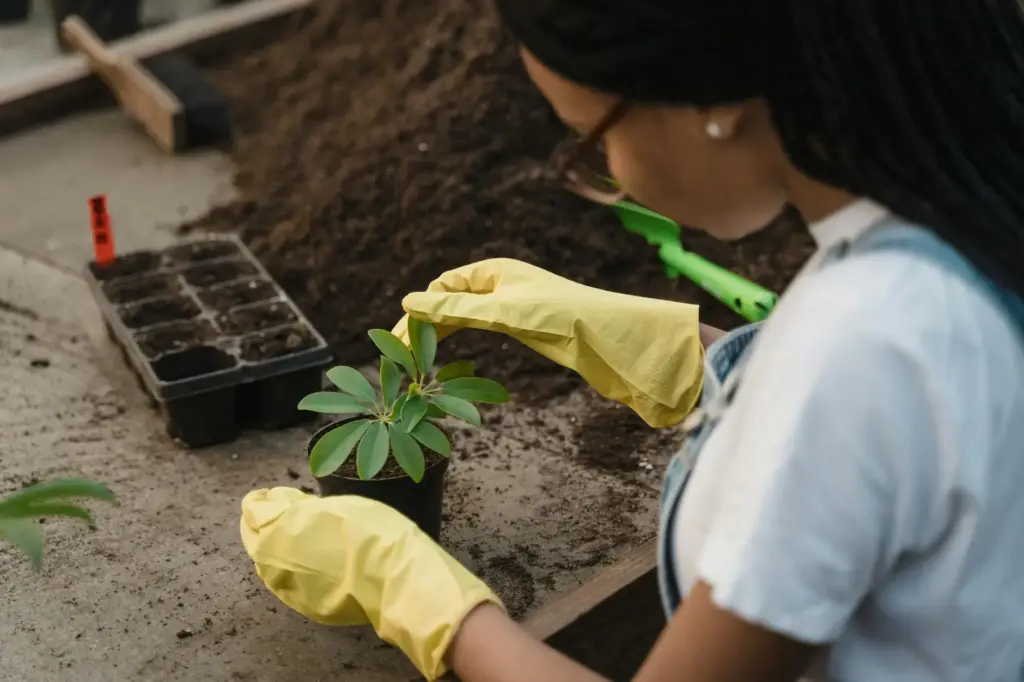
Thinning and Transplanting Seedlings
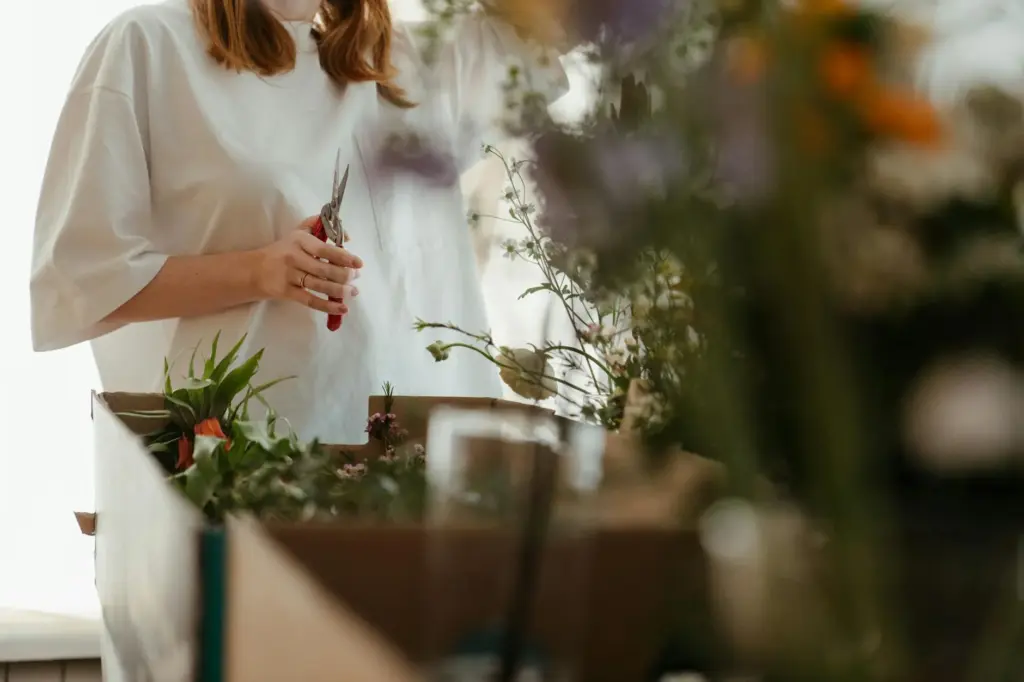
Once seedlings develop their first true leaves, it’s time to thin them out. Use scissors to snip weaker seedlings at soil level rather than pulling to avoid disturbing roots of the stronger plants. Leaving only the healthiest seedlings allows them more space and nutrients.
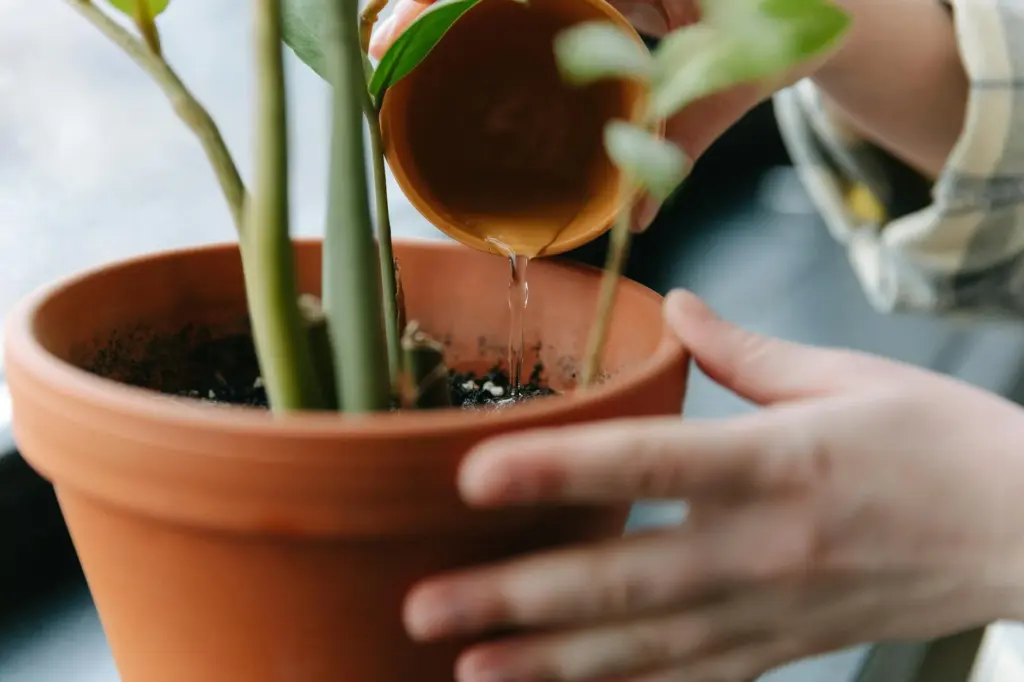
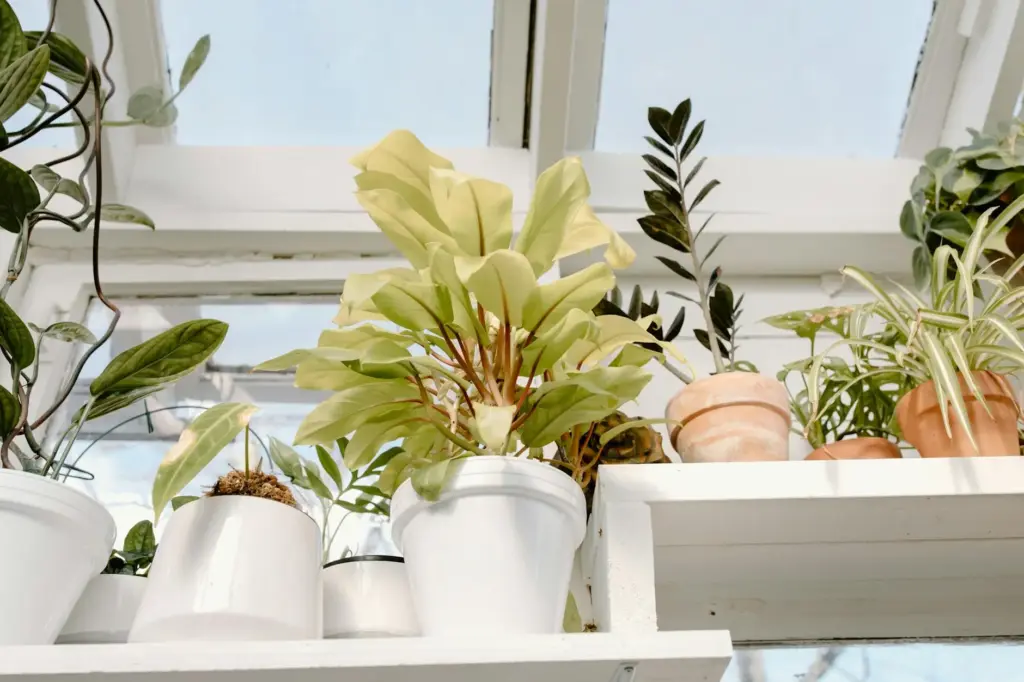
When your seedlings grow several inches tall and have a few sets of leaves, consider transplanting them into larger containers. This prevents overcrowding and allows roots more room to spread. Handle the seedlings gently by their leaves, not stems, to avoid damage.
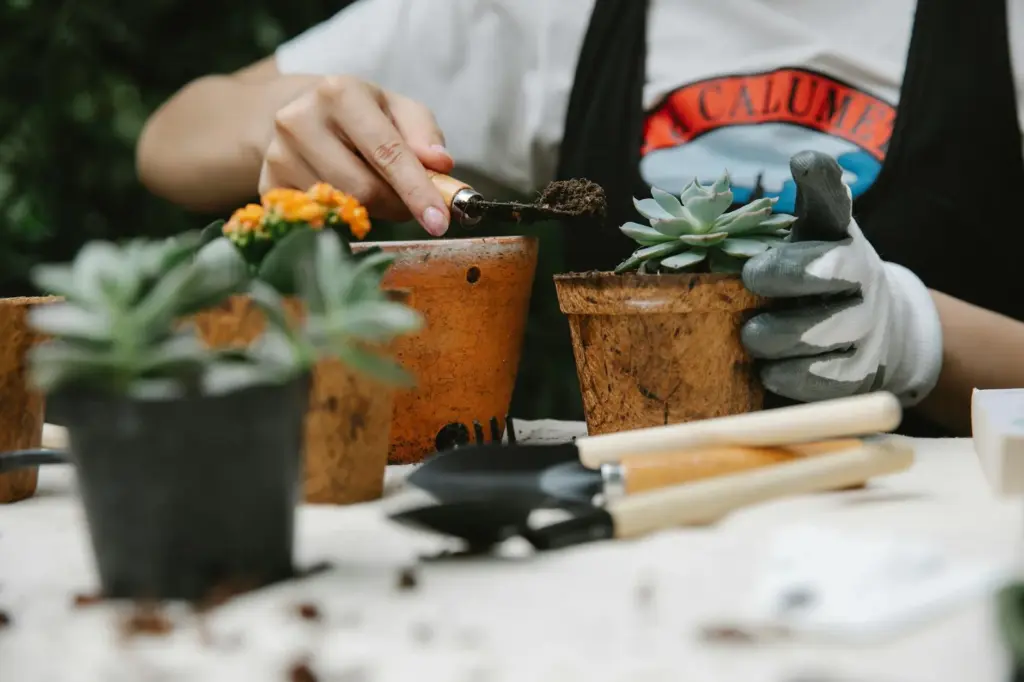
Prepare pots with a light, well-draining seed-starting mix. Water seedlings well after transplanting and place them back under adequate light.
Fertilizing Young Plants
Seedlings need extra nutrients once they develop their true leaves. Use a diluted, balanced fertilizer such as a 10-10-10 or 20-20-20 formula. Mix it to about one-quarter to half the recommended strength to avoid burning delicate roots.
Feed seedlings every 1-2 weeks. Use liquid fertilizer applied directly to the soil or as a foliar spray. This supports steady growth and strong root development.
Avoid fertilizing too early, as seeds contain enough nutrients for initial growth. Waiting until you see established leaves ensures the seedlings are ready to absorb supplements.
Transitioning Seedlings Outdoors
Moving your seedlings outside requires a careful approach to protect them from sudden changes. You’ll gradually expose them to outdoor conditions and choose the right moment to plant to ensure they thrive.
Hardening Off Your Seedlings
Hardening off means slowly getting your seedlings used to the outdoors. Start by placing them outside in a sheltered spot for just 1-2 hours on the first day. Each day, increase their time outdoors by 1-2 hours, making sure they avoid harsh midday sun and strong winds.
By day 4-7, your seedlings should spend about 6-8 hours outside, ideally in full sun for part of that time. Bring them inside at night or if the temperature drops below 50°F. This slow transition strengthens their stems and toughens their leaves, helping them handle outdoor conditions better.
Planting Outdoors at the Right Time
Only plant your seedlings outside after they are fully hardened off and when your local frost danger has passed. Check your area’s last frost date to know when it’s safe.
Choose a calm, sunny day with mild temperatures to transplant. Water your seedlings well before moving them and plant them at the same depth they were in their containers. Avoid deep planting unless you are working with tomatoes or similarly deep-rooting plants.
Gradually adjust your care after planting—monitor moisture and protect young plants from pests and extreme weather during their first weeks outdoors.