How to Start Seeds Indoors for a Head Start on Spring Gardening Success
Starting seeds indoors is a simple way to give your plants a jump on spring. You can control the environment, protect young plants from harsh weather, and extend the growing season. This method works well for many common garden vegetables and flowers.
By starting seeds indoors, you create optimal conditions for germination and early growth before you move your plants outside. This helps you save time and increases the chances of healthy plants when you transplant them. Growing from seed also offers more variety compared to buying seedlings.
Choose seeds suitable for indoor starting like tomatoes and peppers
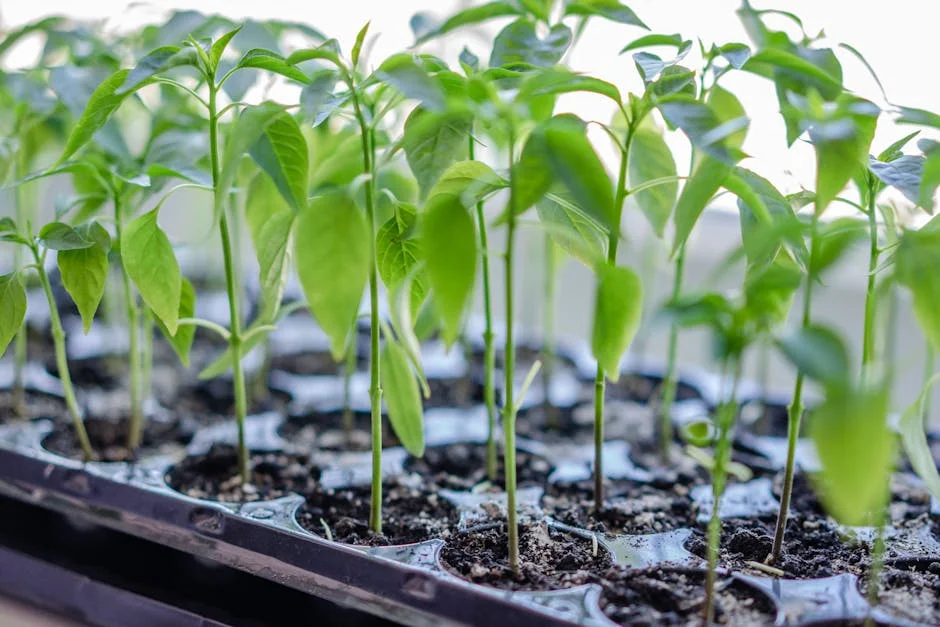
When selecting seeds to start indoors, focus on varieties that benefit from an early head start. Tomatoes and peppers are popular choices because they need a longer growing period than the outdoor season provides.
You’ll find that these plants respond well to indoor conditions and transplant easily once they’re strong enough. Other good options include lettuce and basil, which also thrive indoors.
Avoid root vegetables like carrots or radishes, as they usually don’t transplant well. Starting with the right seeds helps you get healthy seedlings ready to move outdoors when the weather warms up.
Check seed packets for recommended indoor sowing time
Your seed packets are a valuable guide for when to start seeds indoors. They usually tell you how many weeks before the last expected frost you should plant.
Most seeds need to be started between 4 to 12 weeks ahead of that date. This varies depending on the type of plant you want to grow.
Be sure to look for specific instructions on each packet. Following the timing helps your seedlings develop just right for transplanting outside.
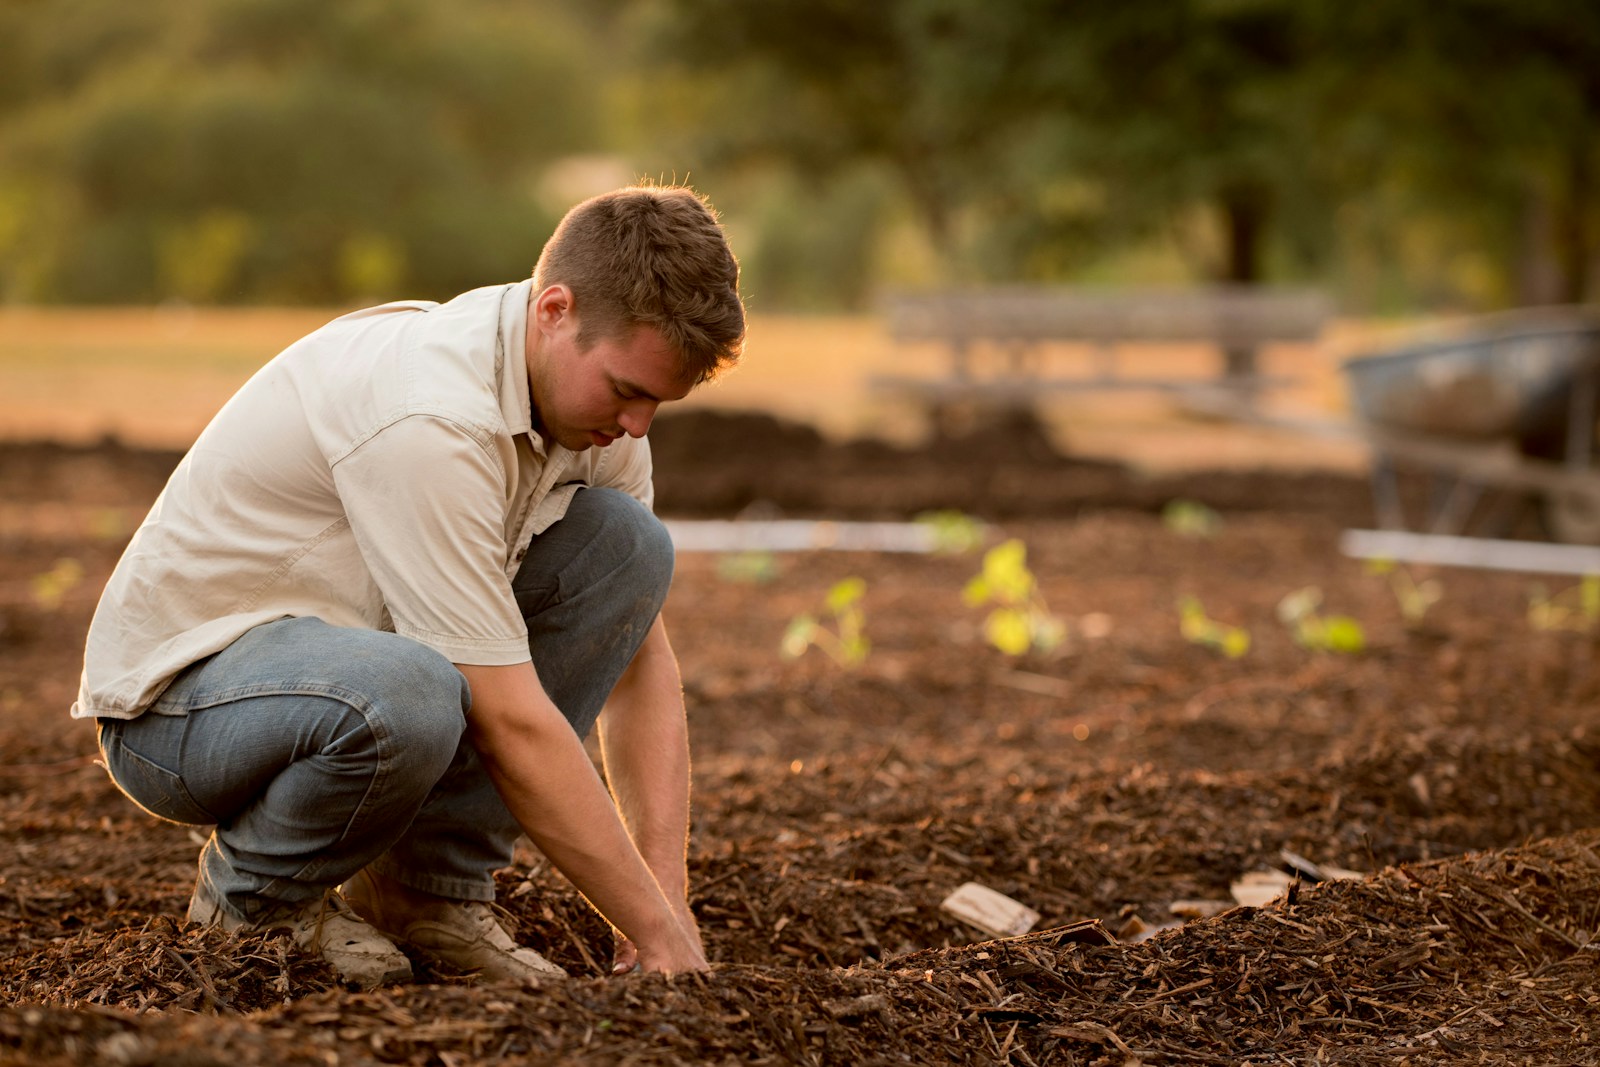
Start seeds 6-8 weeks before your area’s last spring frost
You should start your seeds indoors about 6 to 8 weeks before the last expected frost in your area. This timing gives your seedlings enough time to grow strong roots and healthy leaves.
Starting too early can lead to crowded or leggy plants. Too late, and your seedlings won’t be ready for transplanting.
Check local frost dates through weather websites or gardening centers. Adjust the timing based on the specific needs of the plants you are growing.
This window helps your plants get a good head start for a successful spring garden.
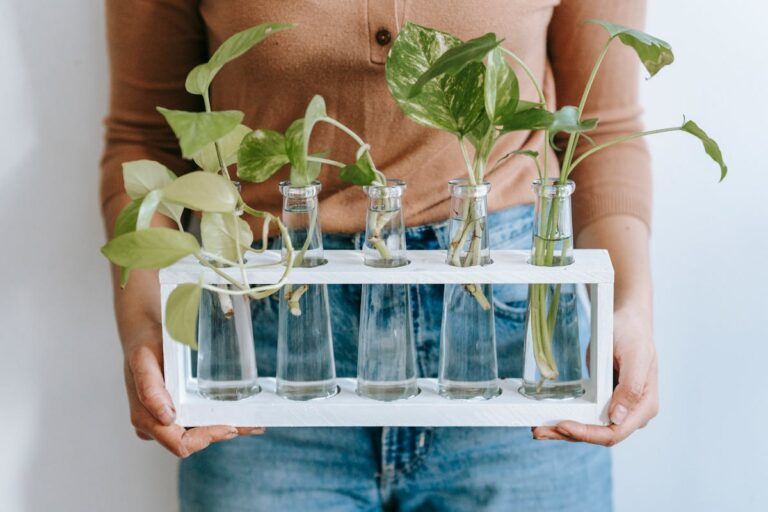
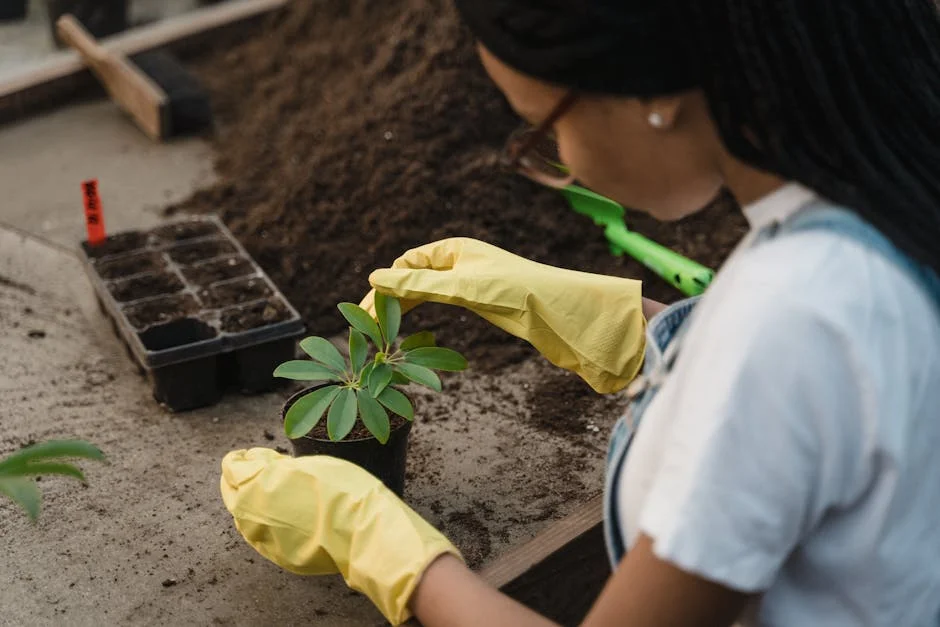
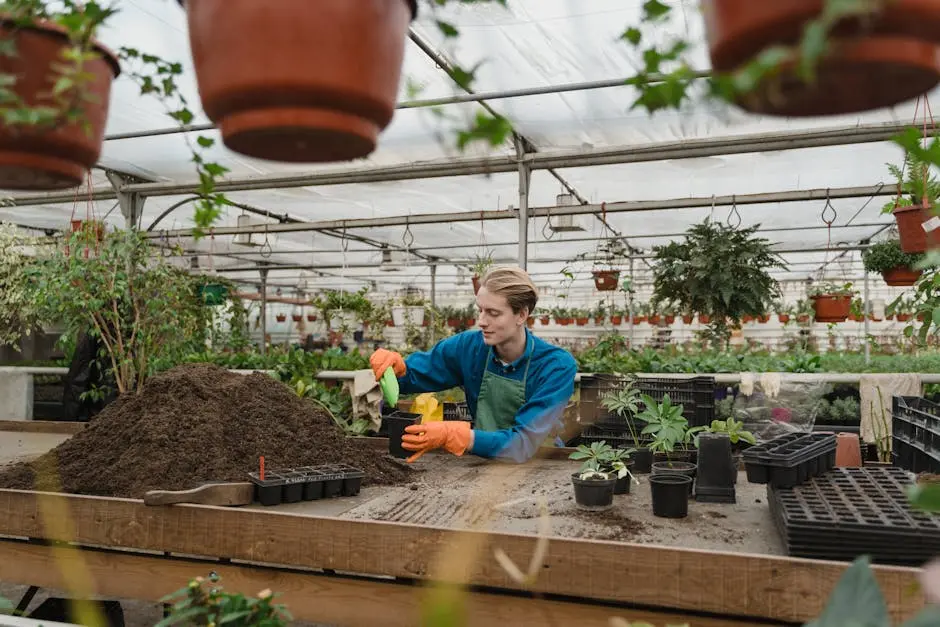
Use seed-starting mix instead of garden soil for better germination
When starting seeds indoors, choosing the right medium is key. Seed-starting mix is designed specifically for young plants, offering a fine texture that helps delicate roots grow easily.
Unlike garden soil, seed-starting mix is sterile, reducing risks of pests and diseases. It also retains moisture well while providing enough air for seeds to sprout strong.
Using a mix instead of regular soil creates a healthier environment for your seeds. This can lead to better germination rates and sturdier seedlings ready to grow into your spring garden.
Plant seeds at the depth specified on the seed packet
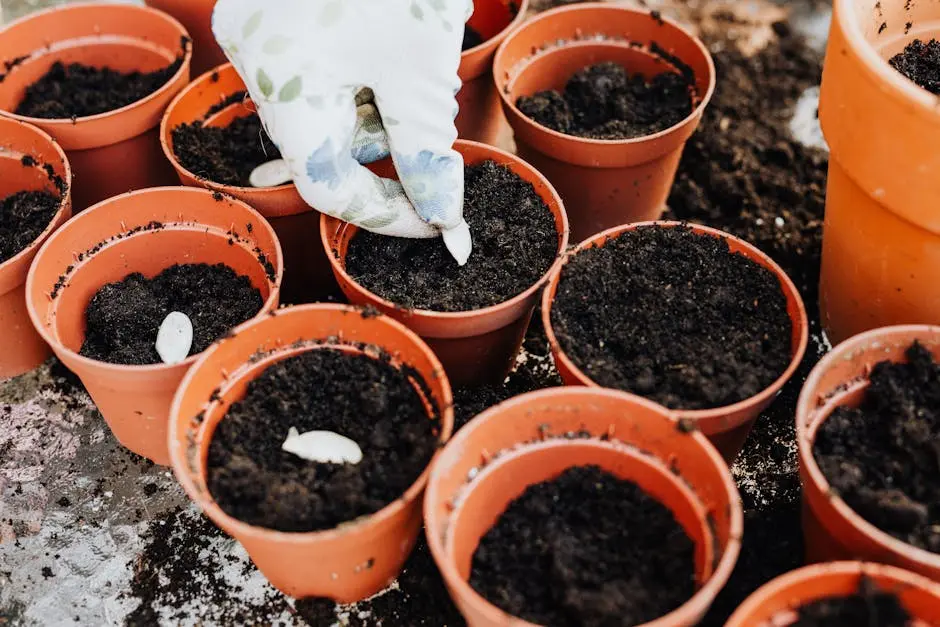
Always check your seed packet for the recommended planting depth. This information is tailored to each seed variety, helping ensure good germination.
If you don’t have the packet or it’s missing depth details, a simple rule is to plant seeds about two to three times as deep as their diameter. Small seeds need just a light covering, while larger seeds go deeper.
Planting at the right depth protects the seed and helps it access moisture and warmth evenly. Too shallow, and seeds may dry out; too deep, and they might struggle to sprout. Follow the instructions closely for the best start.
Keep seed trays in a warm spot around 70-75°F for optimal sprouting
You’ll want to keep your seed trays in a place that stays consistently warm, ideally between 70 and 75°F. This temperature range helps seeds germinate faster and more evenly.
If your home is cooler, consider using a seedling heat mat to maintain warmth. Avoid placing trays in areas that are too cold or drafty, as this can slow or prevent sprouting.
Keeping the soil warm encourages strong root growth and healthier seedlings. Once seedlings appear, you can slowly lower the temperature to avoid stretching.
Provide 12-16 hours of grow light daily to support seedling growth

You’ll want to give your seedlings 12 to 16 hours of light each day. This amount mimics natural daylight and helps them grow strong and healthy.
Use a timer to keep the light consistent. Turning the grow lights on early morning and off in the evening works well.
Keep the light close to your seedlings, but not so close that it overheats them. Adjust as they grow to avoid stretching.
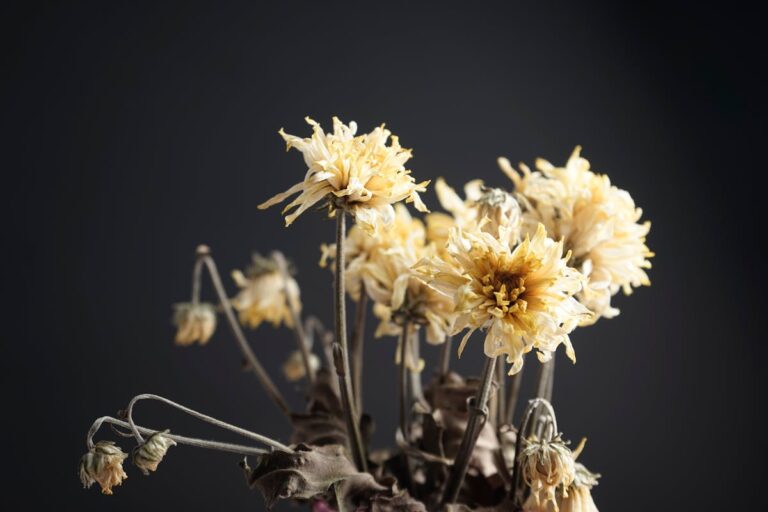
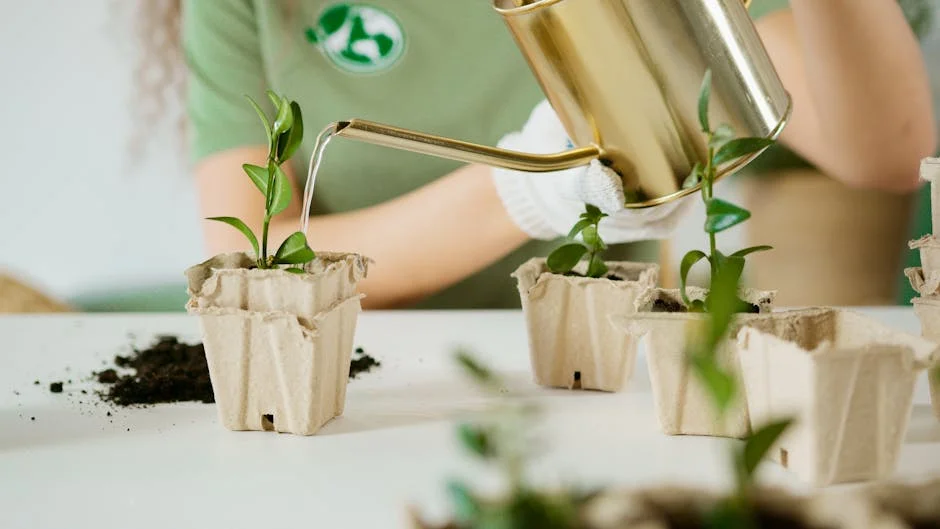
Maintain consistent moisture but avoid waterlogging the soil
When starting seeds indoors, keep the soil evenly moist. Use a gentle watering method like a mister or small watering can to avoid disturbing the seeds.
Too much water can fill soil spaces and block oxygen from reaching roots. This can stunt growth or cause seedling diseases.
Check the soil regularly. It should feel damp but not soggy. Adjust your watering frequency based on the soil’s dryness.
Good drainage in your seed trays is important. Make sure excess water can escape to prevent standing water.
By balancing moisture without flooding the soil, you help your seeds grow strong and ready for spring.
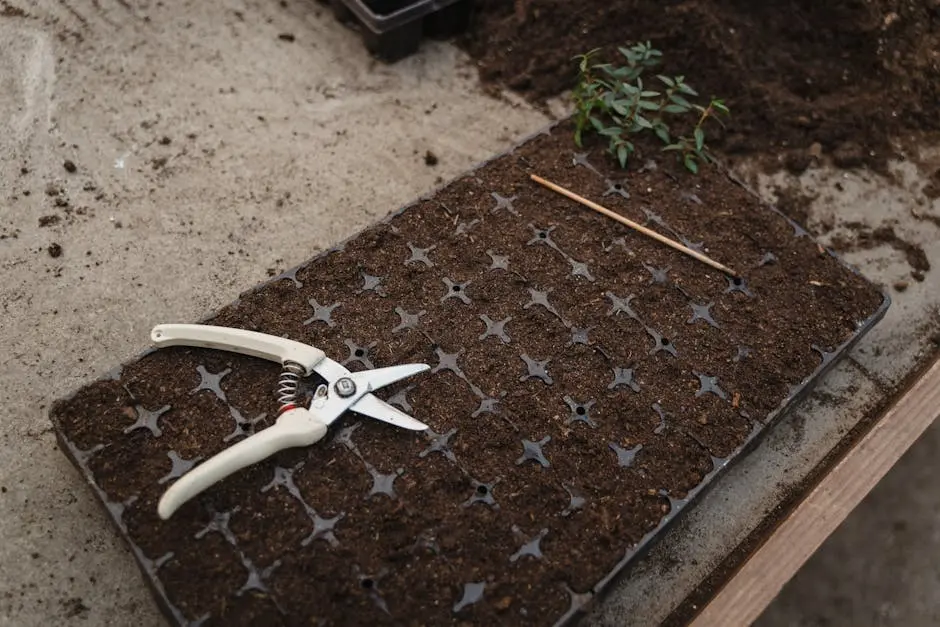
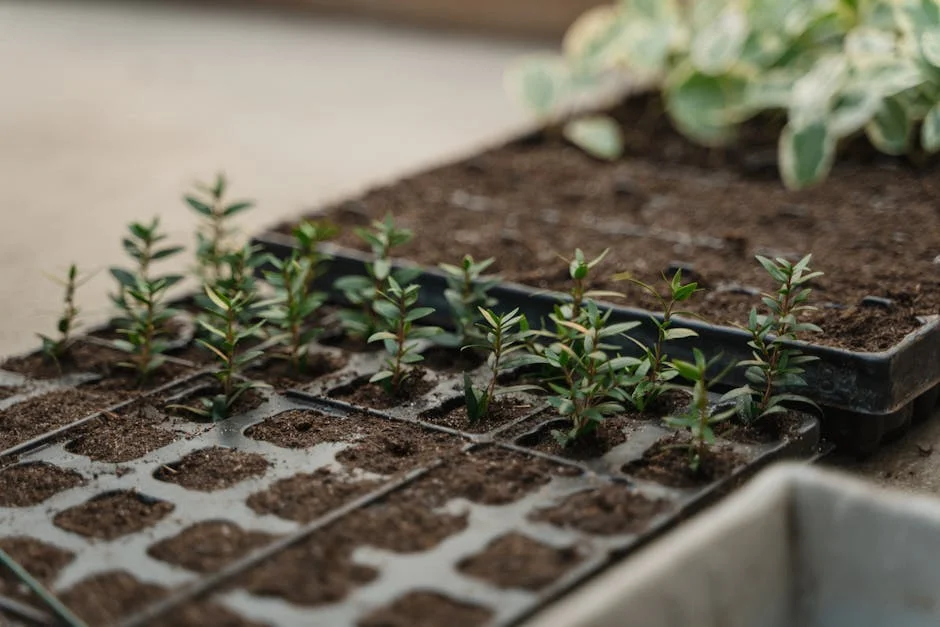
Thin seedlings by snipping weaker ones to allow stronger growth
When your seedlings develop their first true leaves, it’s time to thin them. Instead of pulling, use scissors to snip the weaker seedlings at the soil line. This method reduces disturbance to the roots of the remaining plants.
Thinning helps prevent overcrowding, giving the strongest seedlings enough space and nutrients to grow. You’ll notice healthier, sturdier plants that are better prepared for transplanting.
Be gentle during this process and only remove the smaller, weaker seedlings. This simple step gives your garden a better chance for success early on.
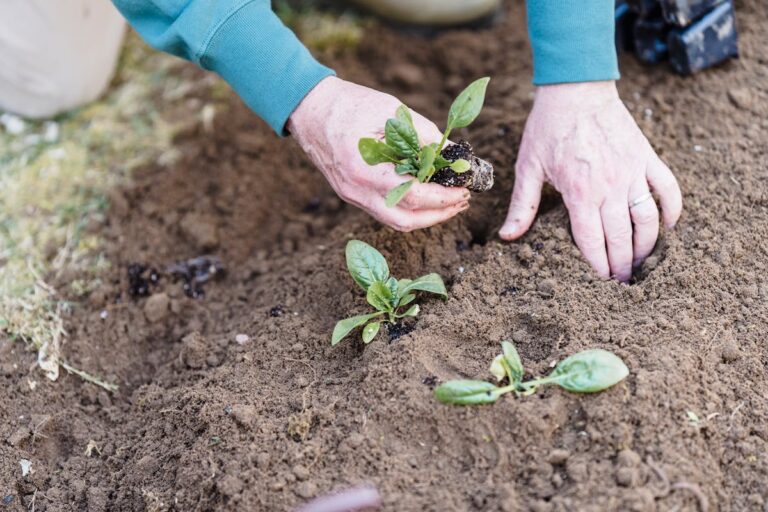
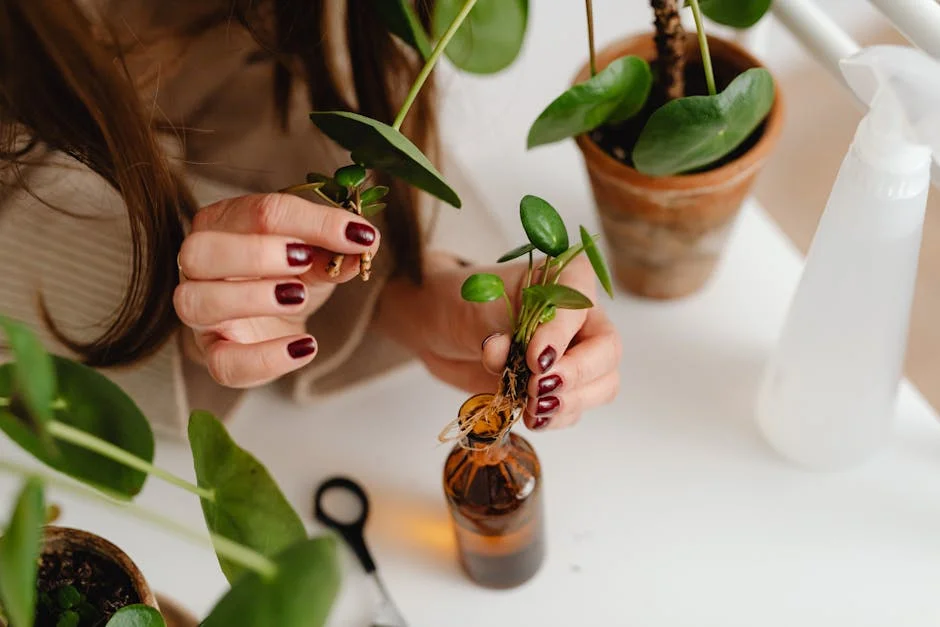
Harden off seedlings by gradually exposing them outdoors before transplanting
You need to help your seedlings adjust to the outdoor environment slowly. Start by placing them outside in a shaded, protected spot for a few hours each day. Gradually increase their exposure to sunlight and wind over 7 to 10 days.
This process, called hardening off, prevents shock and helps your plants handle temperature changes and weather. Avoid direct harsh sun or strong wind at first, as this can damage delicate seedlings.
By the end, your seedlings will be tougher and ready for permanent planting in your garden. This gentle introduction improves their chances of growing strong and healthy.