Master the Art of Seed Starting and Saving with Expert Tips from Gardeners
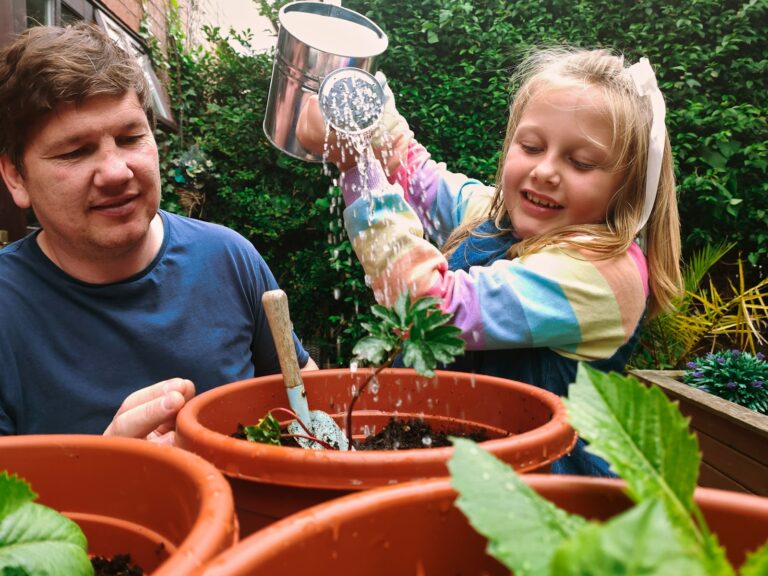
Starting a garden can be one of the most rewarding experiences for both novice and intermediate gardeners alike. It’s not just about planting flowers or vegetables; it’s about nurturing life and connecting with nature. One key skill that can enhance your gardening journey is the art of seed starting and saving. Learning from experienced gardeners can provide invaluable insights into this practice.
Getting Started with Seed Starting
Seed starting is the process of germinating seeds indoors before the outdoor planting season. This technique allows gardeners to get a head start on their growing season, especially in regions with shorter growing periods. Here are some essential steps to get you started:
1. Choose the Right Seeds: Select seeds that are well-suited for your local climate and growing conditions. Look for varieties that thrive in your USDA zone. For example, if you’re in a cooler climate, opt for cold-tolerant varieties like kale or peas. If you’re in a warmer zone, consider tomatoes or peppers.
2. Timing is Key: Start seeds indoors about 6 to 8 weeks before the last expected frost date in your area. This allows ample time for seedlings to grow strong enough to be transplanted outdoors. To find out your last frost date, consult local gardening resources or extension services.
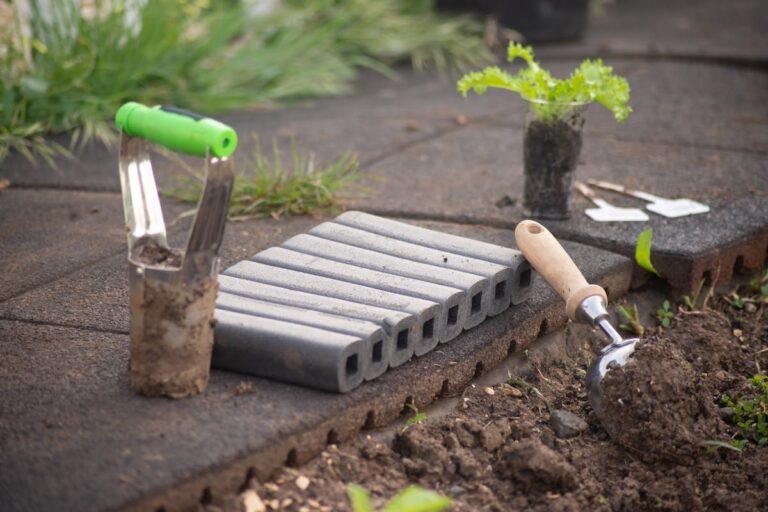
3. Gather Your Supplies: You’ll need seed trays or pots, a quality potting mix, a watering can, and a light source. Many gardeners use grow lights to ensure seedlings receive adequate light, especially in early spring when natural sunlight can be limited.
4. Planting Seeds: Fill your trays with potting mix, then gently press the soil down to eliminate air pockets. Follow the seed packet instructions for planting depth, as different seeds have varying depth requirements. After planting, lightly cover the seeds with soil and water them gently.
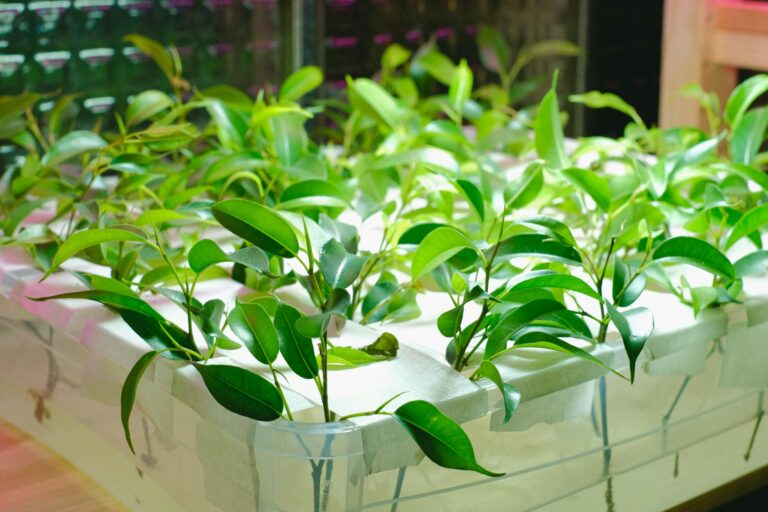
5. Provide Proper Care: Keep your seed trays in a warm area (around 70°F to 75°F) to encourage germination. Maintain moisture by covering the trays with plastic wrap or a humidity dome until the seeds sprout. Once seedlings appear, remove the cover and ensure they receive plenty of light—12 to 16 hours daily is ideal.
6. Transplanting Outdoors: When your seedlings are about 3 to 4 inches tall and have several true leaves, they’re ready for transplanting. Before moving them outdoors, harden them off by gradually exposing them to outdoor conditions over a week or two. Start with a couple of hours each day in a shaded area, gradually increasing their exposure to sunlight and outdoor temperatures.
Understanding Seed Saving
Seed saving is the practice of collecting seeds from your plants at the end of the growing season to use for future planting. This sustainable practice not only saves money but also allows you to cultivate plants that are well-adapted to your local environment. Here’s how to get started:
1. Choose the Right Plants: Not all plants are ideal for seed saving. Open-pollinated and heirloom varieties are preferred, as hybrids may not produce seeds that replicate the parent plants. Choose healthy plants that have demonstrated good growth and disease resistance.
2. Timing for Harvesting Seeds: The best time to collect seeds is when the fruits or flowers have fully matured. For pods and dried seeds, wait until they are brown and dry on the plant. For fruits, ensure they are ripe but not overly soft.
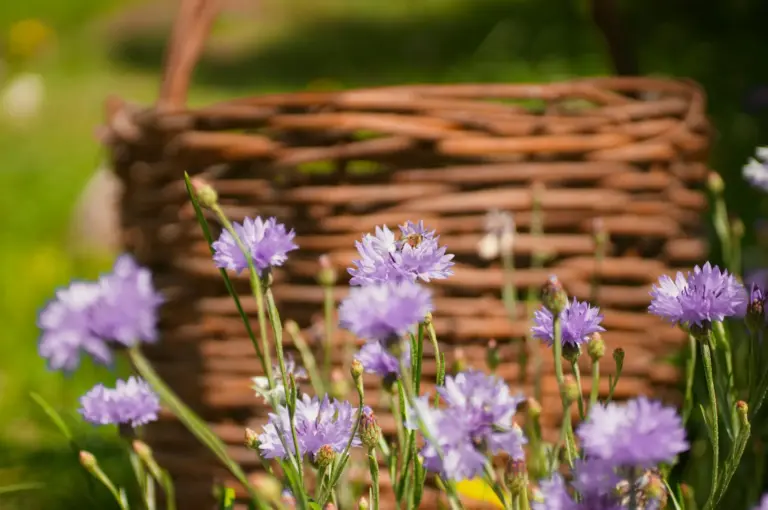
3. Collecting Seeds: For many plants, such as tomatoes or peppers, simply scoop out the seeds and rinse them to remove any pulp. For flowers, let the seed heads dry out on the plant, then collect the seeds by shaking or gently crushing the heads.
4. Cleaning and Drying Seeds: After collecting seeds, clean them thoroughly to remove any debris or moisture. Spread them out on a paper towel or screen in a cool, dry place for a few days to ensure they are completely dry before storing.
5. Storing Seeds: Use paper envelopes or glass jars to store seeds. Label each container with the plant name and the date of collection. Store them in a cool, dark, and dry place to maintain their viability. A refrigerator can be an excellent option for long-term storage, as it helps keep seeds cool and dry.
6. Testing Seed Viability: Before planting saved seeds, test their viability by placing a few seeds on a damp paper towel and keeping them in a warm spot. If they germinate within a week or two, they are likely good to go. If not, consider buying fresh seeds.
Common Mistakes to Avoid
Even seasoned gardeners can make missteps in seed starting and saving. Here are a few pitfalls to watch out for:
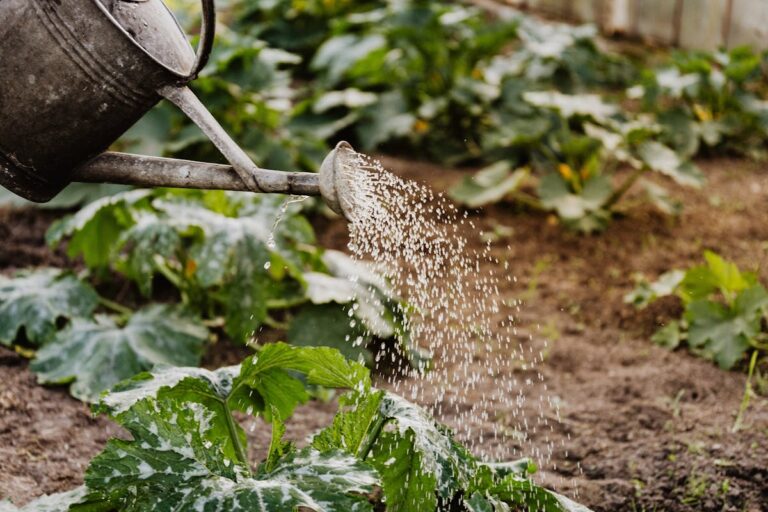
Overwatering: This is one of the most common mistakes. Ensure seedlings have adequate drainage and only water when the top inch of soil feels dry.
Neglecting Light Needs: Insufficient light can lead to leggy, weak seedlings. If you’re using grow lights, keep them about 2-4 inches above the plants and adjust as they grow.
Ignoring Hardening Off: Jumping straight from indoors to the garden can shock seedlings. Always harden them off gradually to help them acclimate.
By mastering seed starting and saving, you can cultivate a thriving garden while enjoying the satisfaction of growing your plants from seed. Whether you’re starting with a few herbs on a windowsill or planning a full vegetable garden, these skills will empower you to create a flourishing outdoor space. Happy gardening!