The Best DIY Winter Sowing Containers You Already Have at Home
Ever find yourself staring at all those empty containers piling up in your kitchen and wondering if they could be useful? Turns out, your recycling bin is full of hidden treasures for gardeners.
Winter sowing is a clever way to start seeds outside, even when it’s cold. You don’t need any fancy gadgets, just a few containers you already have can help your seeds sprout and thrive.
Using things like milk jugs, plastic tubs, or clear containers means you can recycle while saving money. Everyday items can become perfect homes for your winter seeds.
Plastic milk jugs with handles for easy watering

If you have plastic milk jugs at home, they make fantastic watering containers for your winter sowing setup. The built-in handles make it easy to carry and pour water right where you need it.
Poke small holes in the cap to control the flow, so your seedlings get just enough moisture. The lightweight design lets you reach every corner of your garden bed without hassle.
Reusing milk jugs helps reduce waste and saves you from buying new tools. It’s a simple way to keep your plants hydrated during winter sowing.
2-liter soda bottles cut in half as mini greenhouses
Empty 2-liter soda bottles can be transformed into mini greenhouses. Cut the bottle in half and place the top over your seed trays or pots to trap heat and moisture.
These clear covers let in light and keep the environment humid, helping seeds sprout. If needed, poke holes in the top for ventilation.
Cutting the bottles is easy with scissors or a knife. Once your seedlings outgrow them, just remove the tops or transplant outdoors.
Repurposing soda bottles is an eco-friendly and budget-friendly way to help your garden get a head start.
Clear plastic takeout containers with lids
Clear plastic takeout containers are everywhere and work great for winter sowing. Their transparent lids let sunlight in, which is just what your seeds need.
These containers act as small greenhouses, trapping warmth and moisture. Their compact size makes them ideal for starting a variety of seeds without taking up much space.
Clean them well and poke holes in the bottom for drainage. Fill with soil, plant your seeds, and label each container to stay organized.
Using takeout containers is a smart way to recycle and get your garden growing early.
Large plastic buckets with holes for drainage
Big plastic buckets can be perfect for winter sowing, especially for larger seeds or plants. Their size gives your seedlings plenty of room to grow.
Make sure to add drainage holes at the bottom to prevent water from pooling. You can use a drill or a heated tool for this.
Buckets are sturdy and offer good protection from the elements. Reusing them means you don’t have to buy special pots.
If needed, cut off the top and create a lid from plastic to trap warmth inside. Arrange buckets in your garden to save space and keep things organized.
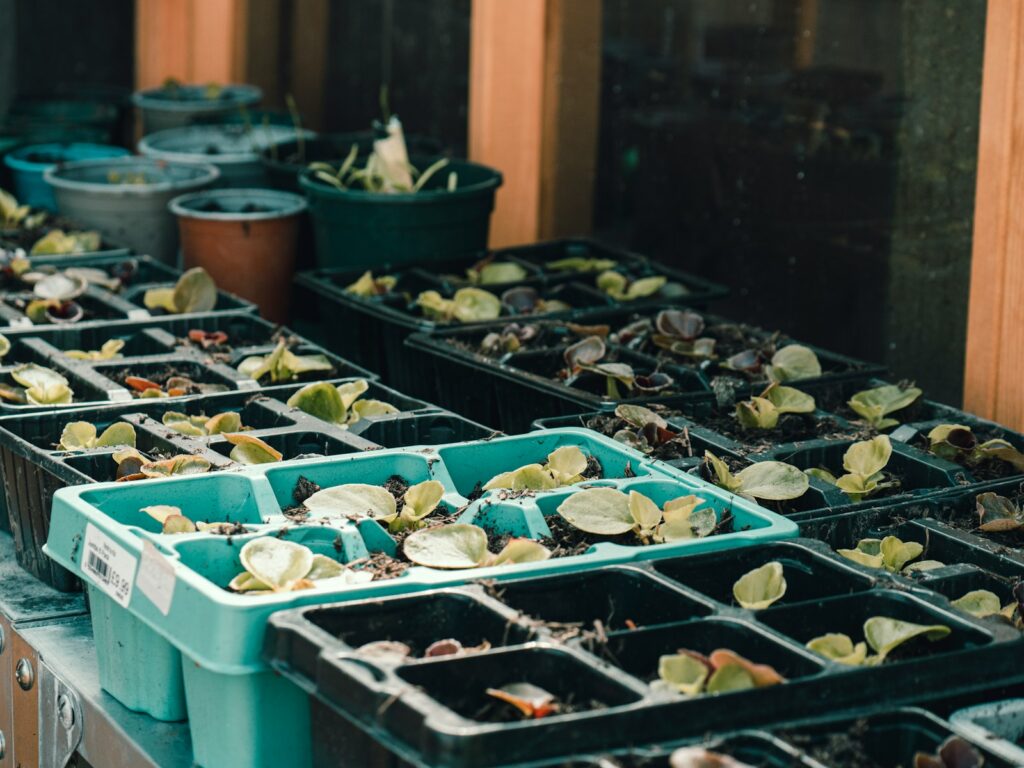
Disposable salad containers repurposed for seed trays
Disposable salad containers are clear and often come with lids, making them ideal mini-greenhouses. Your seeds get the light and warmth they need to sprout.
Close the lid to keep moisture in and create a humid environment. This helps your seedlings grow strong.
Poke holes in the bottom for drainage before filling with soil and planting seeds. Place outside where they’ll get sunlight but be sheltered from harsh weather.
When seedlings get bigger, open the lid a bit for airflow. It’s a straightforward way to start seeds using what you already have.
Used yogurt tubs with lids for insulation
Empty yogurt tubs with lids can be excellent for winter sowing. The lids help keep warmth and moisture inside, giving your seeds a cozy start.
Yogurt tubs are sturdy and let in enough light for seeds to grow. You can easily check on your seedlings through the clear plastic.
The insulation from the tub helps keep seeds warm during cold nights. Just poke some holes for drainage and you’re ready to plant.
Reusing yogurt tubs cuts down on waste and gives your seeds a great environment to start growing.
Clear clamshell fruit containers
Clear clamshell fruit containers can be perfect for starting seeds. They let in plenty of light and act like mini greenhouses by trapping heat and moisture.
Most clamshell containers already have drainage holes, which keeps your seeds from getting too wet. You can easily open the top to give your plants fresh air.
Their size makes them easy to stack or move around your garden or windowsill. It’s a simple way to recycle and help your seeds thrive.
Empty butter tubs with cut-out windows
Empty butter tubs can be turned into mini-greenhouses for your seedlings. Cut a window in the side or top and leave part of the lid attached for easy access.
The window lets you control airflow and moisture while still protecting your seeds. Butter tubs are a good size for small seed trays and keep cold wind out.
Using butter tubs is a great way to reuse plastic and give your seeds a safe place to grow.
Half-gallon juice containers with top vents
Half-gallon juice containers are just the right size for winter sowing. The clear sides let you keep an eye on your seeds without opening them.
Many juice containers have lids you can modify. Cut small holes or slits in the top for ventilation while keeping moisture in.
These containers are sturdy and reusable. Clean them well before planting, and use the tight lids to protect your seeds from the weather.
Juice containers make winter sowing easy and cost-effective.
Empty produce boxes lined with plastic wrap
Empty produce boxes can be repurposed for winter sowing with a little plastic wrap. Line the inside to help keep moisture in and protect your seeds from the cold.
The plastic wrap creates a greenhouse effect, holding in warmth and humidity. It’s easy to remove for watering or adding fresh air.
Poke small holes in the plastic for drainage. These containers are lightweight and easy to move, making them a practical choice for early seed starting.
Why Winter Sowing Works Wonders
Winter sowing lets you start seeds outside using containers you already have. The containers shield seeds from harsh weather and give them the right conditions to grow.
This method gets your seeds growing strong before the season starts.
Benefits of DIY Containers
DIY containers like milk jugs, buckets, or soda bottles save you money and reduce waste. Clear containers act as small greenhouses, keeping seeds warm and moist.
They also protect seeds from birds, pests, and wind. You can cut holes for drainage and ventilation to prevent mold and rot.
No need to buy special equipment, just grab a marker, some soil, and your seeds.
How Microclimates Help Your Seeds
Your containers create small microclimates that protect seeds from big temperature swings. Sunlight warms the soil during the day, and the container holds in heat at night.
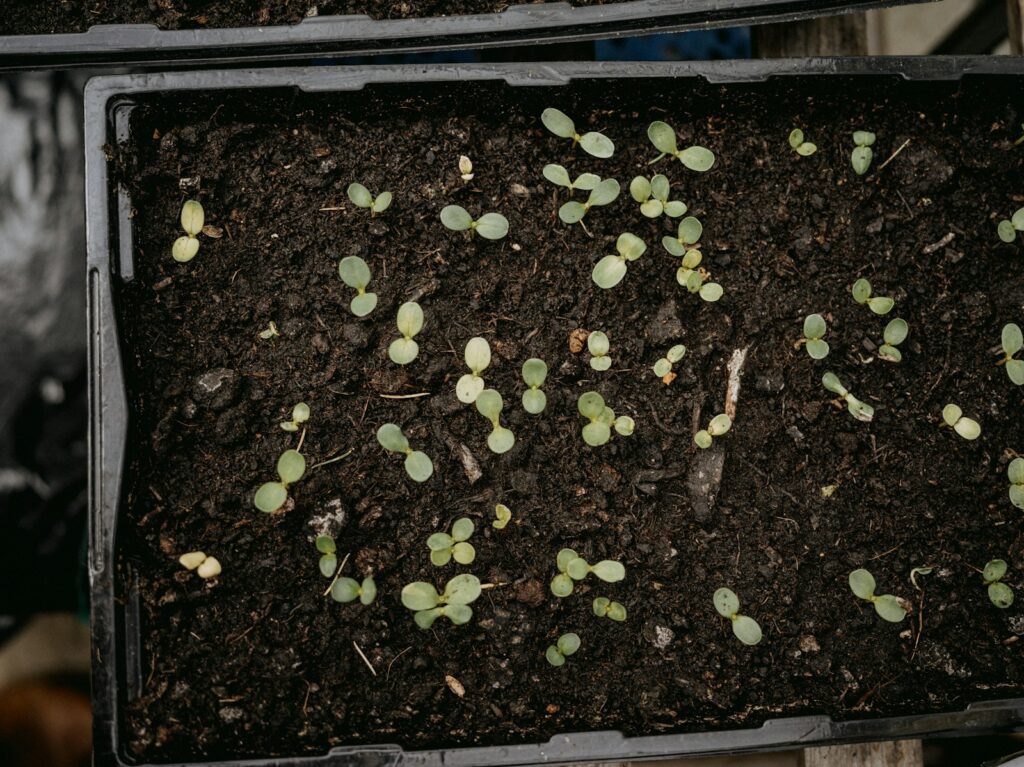
This freeze-thaw cycle helps seeds break dormancy and start growing. Seeds started this way become hardier and ready for the garden as soon as spring arrives.
Getting Creative: Prepping Your Recycled Containers
Before planting, make sure your containers are clean and have proper drainage. This helps keep your seeds healthy and gives them the best chance to grow.
Cleaning and Sterilizing Step-by-Step
Wash containers with warm, soapy water and scrub every corner. Rinse well to remove any soap residue.
Sterilize by soaking in a solution of one part bleach to nine parts water for about ten minutes. Rinse thoroughly with clean water.
Let containers dry completely before filling with soil and seeds. This keeps your seedlings safe from disease.
Best Drainage Practices for Healthy Seedlings
Have you ever wondered why some seedlings just don’t make it? Often, the problem starts with poor drainage.
Drill or poke holes evenly on the bottom of your container to help water escape. Smaller containers may only need two or three holes.
Larger containers might need five or more. If your container has a lid, cut or poke a few holes in it too.
This helps air circulate and keeps mold from growing inside. You can also add a layer of small rocks or gravel at the bottom to help water drain faster.
Make sure the holes are not too big or soil will escape. Place a small piece of mesh or a coffee filter over the holes to keep dirt in while water drains out.