The Costly Potting Soil Error That Could Be Harming Your Prized Houseplants
When it comes to nurturing your beloved houseplants, every choice counts. From the watering schedule to the type of fertilizer, each decision can significantly impact their health and growth. Among these choices, potting soil might seem like a straightforward decision. However, many home gardeners make a common yet costly mistake—opting for the cheapest potting soil available. This $6 potting soil mistake could be the reason your expensive houseplants are struggling. Let’s explore why the right soil matters and how to choose the best option for your green companions.
Understanding Potting Soil
Potting soil, often referred to as potting mix, is specifically formulated to provide the ideal environment for container-grown plants. Unlike garden soil, potting soil is lighter, drains well, and is typically free from pests and diseases. However, not all potting soils are created equal. The ingredients, quality, and formulation can vary widely between products, which can greatly influence the health of your plants.
The Problem with Cheap Potting Soil
While it may be tempting to grab the cheapest bag of potting soil on the shelf, this decision can lead to several problems:
1. Poor Drainage: Many low-cost potting mixes are made with fillers like peat moss and wood chips that can become compacted over time. This compaction restricts airflow to the roots and retains too much water, leading to root rot and other issues.
2. Lack of Nutrients: Inexpensive potting soils often skimp on essential nutrients. Without proper fertilization, your plants may show signs of nutrient deficiency, such as yellowing leaves or stunted growth.
3. Inconsistent Quality: Cheaper products may contain inconsistent materials that vary from batch to batch, making it difficult to predict how well they will perform.
4. Pests and Diseases: Some low-cost potting soils might contain pathogens or pests that can harm your plants. Investing in higher-quality soil can minimize these risks.
Choosing the Right Potting Soil
When selecting potting soil, consider the following factors to ensure you’re making the best choice for your houseplants:
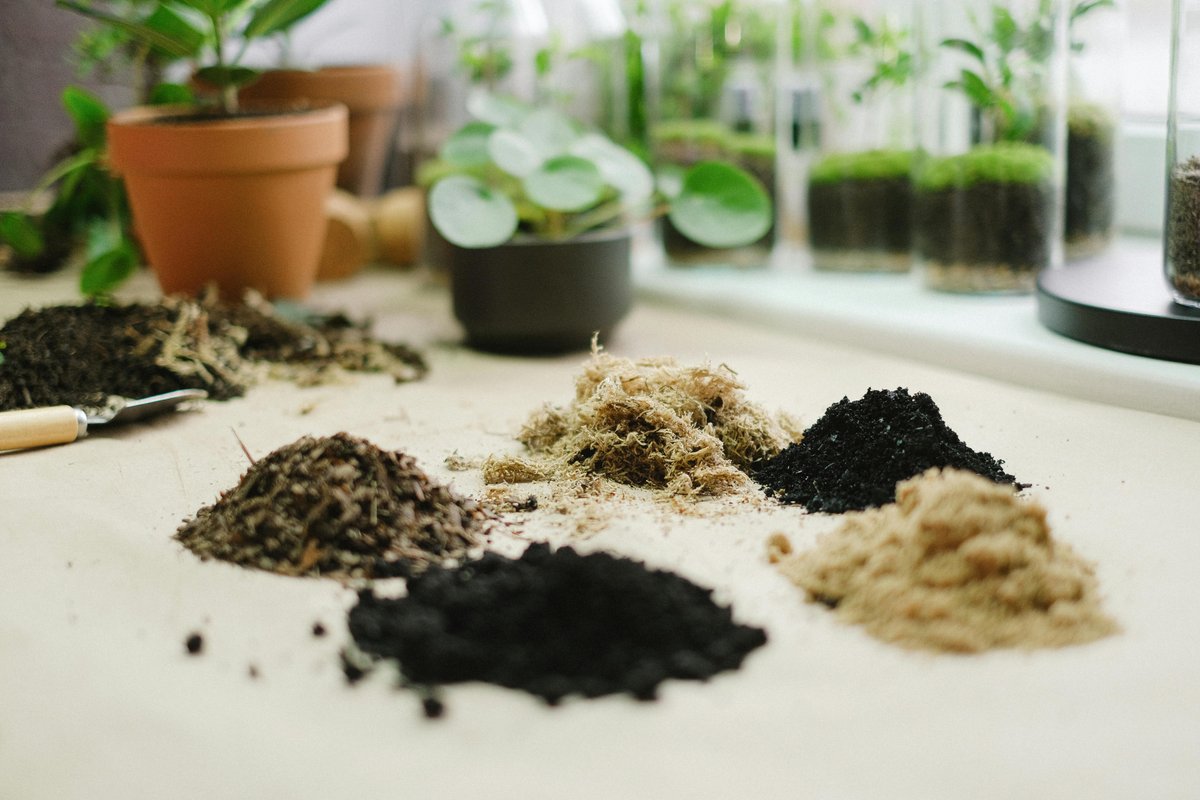
1. Ingredients: Look for a potting mix that contains high-quality organic materials, such as compost, coconut coir, perlite, or vermiculite. These ingredients promote aeration and drainage while retaining moisture.
2. Specific Formulations: Some plants have specific soil needs. For example, succulents and cacti thrive in sandy, well-draining mixes, while tropical plants may prefer a richer, moisture-retentive blend. Research the requirements of your houseplants to find a suitable mix.
3. pH Level: Most houseplants prefer a slightly acidic to neutral pH (between 6.0 and 7.0). Check the packaging for pH information or look for products designed for specific types of plants.
4. Nutrient Content: High-quality potting soils often contain slow-release fertilizers or beneficial microorganisms to support plant growth. Look for labels indicating the presence of these nutrients.
5. Brand Reputation: Sometimes, it pays to invest in well-known brands that have a proven track record. Read reviews or ask fellow gardeners for recommendations on reliable potting soil.
Signs You Need to Re-pot
Even with the best potting mix, houseplants can outgrow their containers or deplete the nutrients in the soil over time. Here are some signs that it might be time to repot:
Root Bound: If you notice roots growing out of the drainage holes or circling the top of the soil, it’s time for a larger pot with fresh soil.
Stunted Growth: If your plant isn’t growing as vigorously as it used to, it may be lacking nutrients or space.
Water Drainage Issues: If the water sits on top of the soil instead of draining through, it could indicate compaction or depletion of the soil’s structure.
Yellowing Leaves: This can signal a nutrient deficiency or overwatering due to poor drainage.
How to Repot Your Houseplants
If you determine that it’s time to repot your houseplants, follow these steps for a successful transition:
1. Choose the Right Time: Spring is generally the best time to repot houseplants, as they are coming out of dormancy and ready to grow.
2. Select a New Pot: Choose a pot that is 1-2 inches larger in diameter than the current one. Ensure it has drainage holes to prevent waterlogging.
3. Prepare the New Soil: Mix your new potting soil with any necessary amendments, such as perlite for drainage or compost for added nutrients.
4. Remove the Plant: Gently slide the plant out of its current pot, taking care not to damage the roots. If it’s root-bound, you may need to loosen the roots with your fingers.
5. Add Soil: Place a layer of fresh potting soil at the bottom of the new pot, then position the plant in the center. Fill around the sides with more soil, ensuring the plant sits at the same depth as before.
6. Water Thoroughly: After repotting, give your plant a good drink of water to help settle the soil and eliminate air pockets.
7. Monitor for Stress: After repotting, keep an eye on your plant for signs of stress, such as drooping or discoloration. This is normal and should resolve as the plant acclimates to its new home.
In Summary
Investing in high-quality potting soil is crucial for the health and longevity of your houseplants. While it may be tempting to save a few dollars on cheaper options, the potential for harm outweighs the short-term savings. By choosing the right potting mix and understanding your plants’ needs, you can ensure that your expensive houseplants thrive in their indoor oasis. Happy gardening!