“The Top Seed Starting Mistake: What Every Gardener Should Avoid”
Starting seeds indoors is often heralded as a rite of passage for gardeners, a way to get a jump on the growing season and nurture new life from scratch. However, what seems like a straightforward process can quickly become frustrating when you encounter a common yet easily avoidable mistake. In this article, we’ll dive into the most significant error gardeners make when starting seeds and how to sidestep it for a thriving garden.
Understanding the Basics of Seed Starting
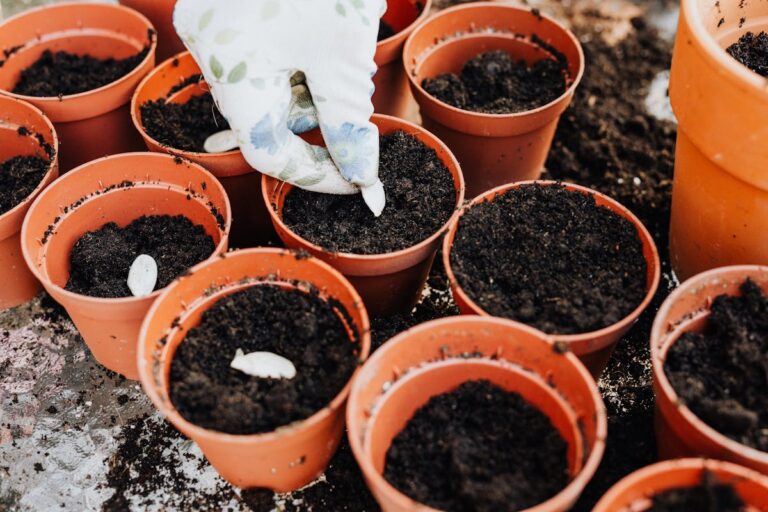
Before we tackle the mistake, let’s cover the essentials of seed starting. The process involves several key steps: selecting seeds, preparing containers, using the right soil, providing adequate light, and ensuring proper watering. Each of these components works together to give your seeds the best chance of germinating and thriving.
Timing is critical in seed starting. Most gardeners begin the process indoors about 6 to 8 weeks before the last expected frost date for their area. This varies by region, so you’ll want to check your local gardening resources to determine the best timing for your USDA zone.
The Common Mistake: Overwatering
Now, let’s discuss the top mistake that can sabotage your seed starting efforts: overwatering. It’s easy to assume that more water means better growth, but this couldn’t be further from the truth. Overwatering is the leading cause of seedling failure, as it leads to root rot and other diseases that can kill tender shoots before they have a chance to thrive.
Why Overwatering Happens
Many novice gardeners are hesitant to let their soil dry out, fearing that their seeds will dry up and die. This leads to a cycle of over-watering, where the soil remains constantly soggy instead of staying moist but well-drained. Other factors contributing to overwatering include:
1. Choosing the wrong soil: Some potting mixes retain too much water, which can exacerbate the issue.
2. Using improper containers: Containers without drainage holes can cause water to pool at the bottom, leading to root rot.
3. Ignoring environmental conditions: High humidity or low light conditions can slow down evaporation, meaning that even if you think you’re watering correctly, the soil may remain too wet.
Signs of Overwatering
It’s crucial to recognize the signs of overwatering early. Look for:
Wilting leaves that appear yellow or mushy
Soil that feels consistently soggy
Fungi or mold growing on the surface of the soil
Stunted growth or seedlings that seem to be “damping off,” which refers to seedlings collapsing at the soil line.
Tips to Avoid Overwatering
Now that you know the dangers of overwatering, here are practical tips to ensure your seedlings stay healthy and happy:
1. Choose the Right Soil: Use a seed-starting mix designed for optimal drainage. These mixes are typically lighter and allow for good air circulation around the roots.
2. Use Containers with Drainage: Always select pots or trays that have drainage holes. If you’re using recycled containers, be sure to poke holes in the bottom to allow excess water to escape.
3. Check Soil Moisture: Before watering, stick your finger about an inch into the soil. If it feels dry, it’s time to water. If it’s still moist, wait a few more days before checking again.
4. Water Gently: Use a spray bottle or a watering can with a fine spout to water your seedlings. This helps avoid displacing the seeds and ensures even moisture distribution.
5. Monitor Environmental Conditions: If you’re growing in a warm, humid environment, your seedlings may require less frequent watering. Conversely, in dry conditions, you may need to check more often.
6. Use a Humidity Dome: If you’re starting seeds in a tray, consider using a humidity dome to maintain moisture levels without over-saturating the soil. Be sure to remove the dome once the seeds germinate to allow airflow.
7. Fertilize Wisely: If you do decide to fertilize your seedlings, wait until they develop their first true leaves. Use a diluted, balanced fertilizer and avoid over-fertilizing, which can also lead to root damage.
Adjusting Your Approach Based on Seed Types
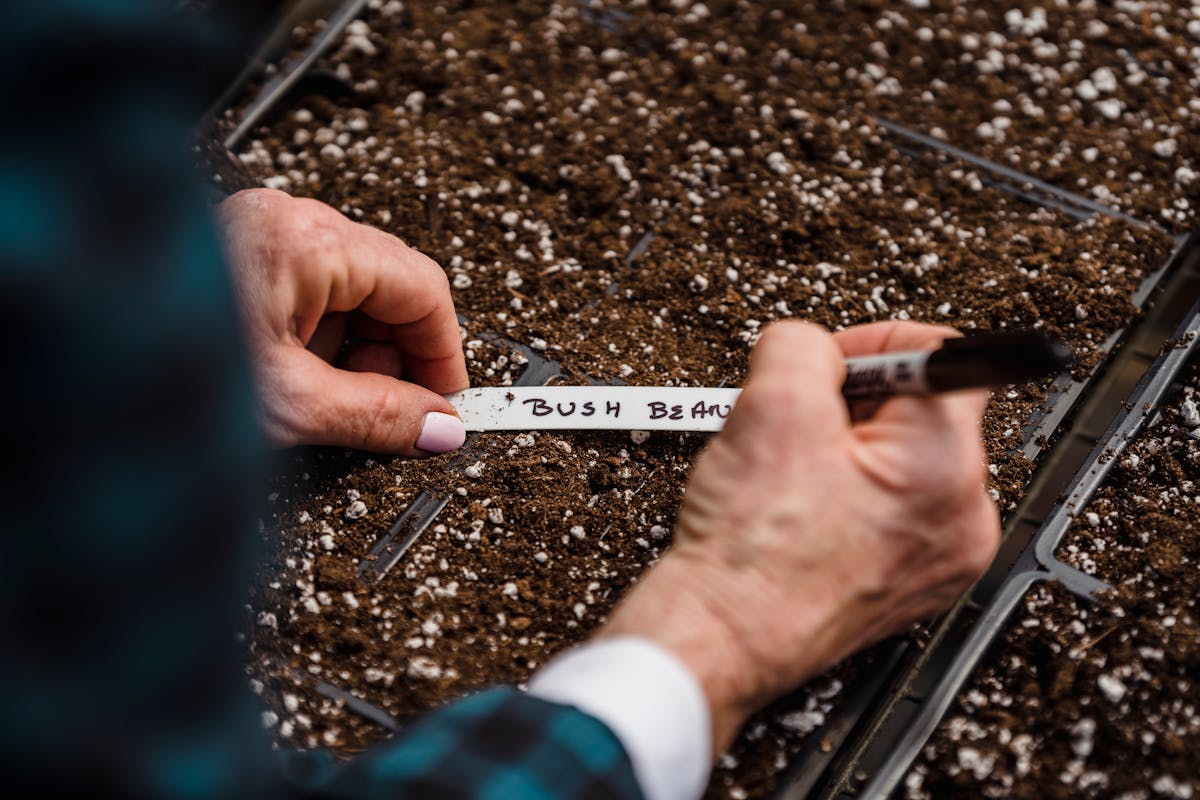
Different seeds have varying moisture requirements. For instance, larger seeds like tomatoes and peppers might require a little more water during germination than tiny seeds like lettuce. Always check the specific needs for the seeds you’re starting to tailor your approach accordingly.
Moving Seedlings Outdoors
Once your seedlings are big enough and have developed several true leaves, it’s time to consider moving them outdoors. This process, known as hardening off, helps acclimate your young plants to the outdoor environment. Start by placing them outdoors for a few hours each day, gradually increasing their exposure to sunlight and wind over the course of a week or two.
Keep a close eye on their moisture needs during this time, as outdoor conditions can vary widely. Remember, too much water can still pose a risk even after you’ve moved them outside.
Final Thoughts
Seed starting can be a fulfilling and rewarding experience when done correctly. By avoiding the pitfall of overwatering and following the best practices outlined in this article, you’ll give your seedlings the best chance to thrive. Remember, patience is key, and with a little care, you’ll be well on your way to a flourishing garden come planting season. Happy gardening!