Uncovering Root Issues: What to Check Before Repotting Your Plants This Spring
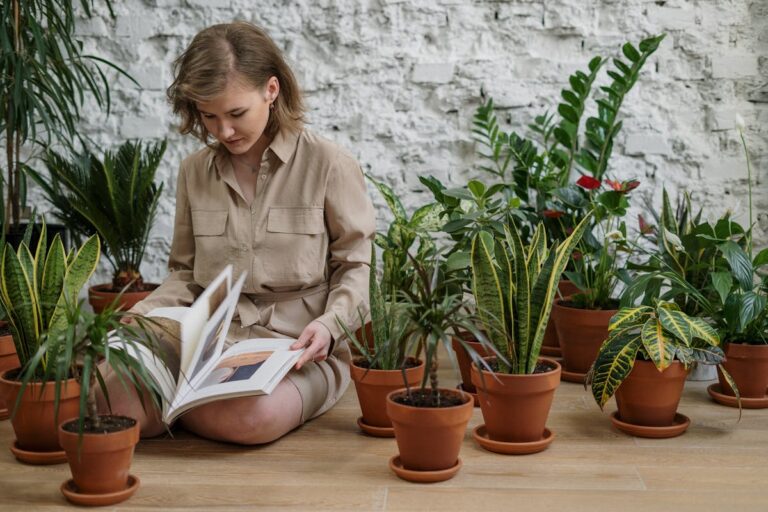
As spring approaches, many home gardeners find themselves eager to refresh their indoor and outdoor plants by repotting. It’s a great time to give your beloved greenery a boost, but before you dive in, it’s crucial to check for a hidden root problem that could hinder your plants’ health. This article will guide you through the signs of root issues and provide practical tips on how to address them effectively.
Understanding Root Health
Roots are the lifeblood of any plant, absorbing water and nutrients from the soil. A healthy root system supports vigorous growth and resilience against pests and diseases. However, root problems can go unnoticed until it’s too late, leading to stunted growth or even plant decline. Common root issues include root rot, circling roots, and restricted growth due to being root-bound.
Signs of Root Problems
Before you repot, take a moment to inspect your plants closely. Look for these signs that could indicate underlying root issues:
1. Wilting or Yellowing Leaves: If your plant is wilting or developing yellow leaves despite regular watering, this could signal root rot or a lack of oxygen to the roots.
2. Slow Growth: If your plant seems to be growing more slowly than usual, check the roots. A root-bound plant may not have enough space to expand, leading to nutrient deficiencies.
3. Foul Odor: A musty smell coming from the soil can indicate root rot, typically caused by overwatering and poor drainage.
4. Visible Roots: If roots are growing out of the drainage holes or the top of the soil, it’s a clear sign that your plant is root-bound and ready for repotting.
5. Mushy Roots: If you do take the plant out of its pot and notice mushy, dark roots, it’s a sign of rot, which often requires immediate action.
Timing Your Repotting
Spring is generally the best time to repot most plants, as they are coming out of dormancy and are ready to grow. However, keep in mind that some plants, particularly specific tropical and flowering varieties, may have different optimal times for repotting. Always research your specific plant type to ensure you’re repotting at the right moment.
Choosing the Right Potting Mix
When repotting, selecting the right potting mix is crucial for healthy root growth. A well-draining mix is essential, especially for plants prone to root rot. For general houseplants, consider a mix that contains peat, perlite, and vermiculite. For succulents and cacti, look for a mix designed specifically for those types of plants, which will provide excellent drainage.
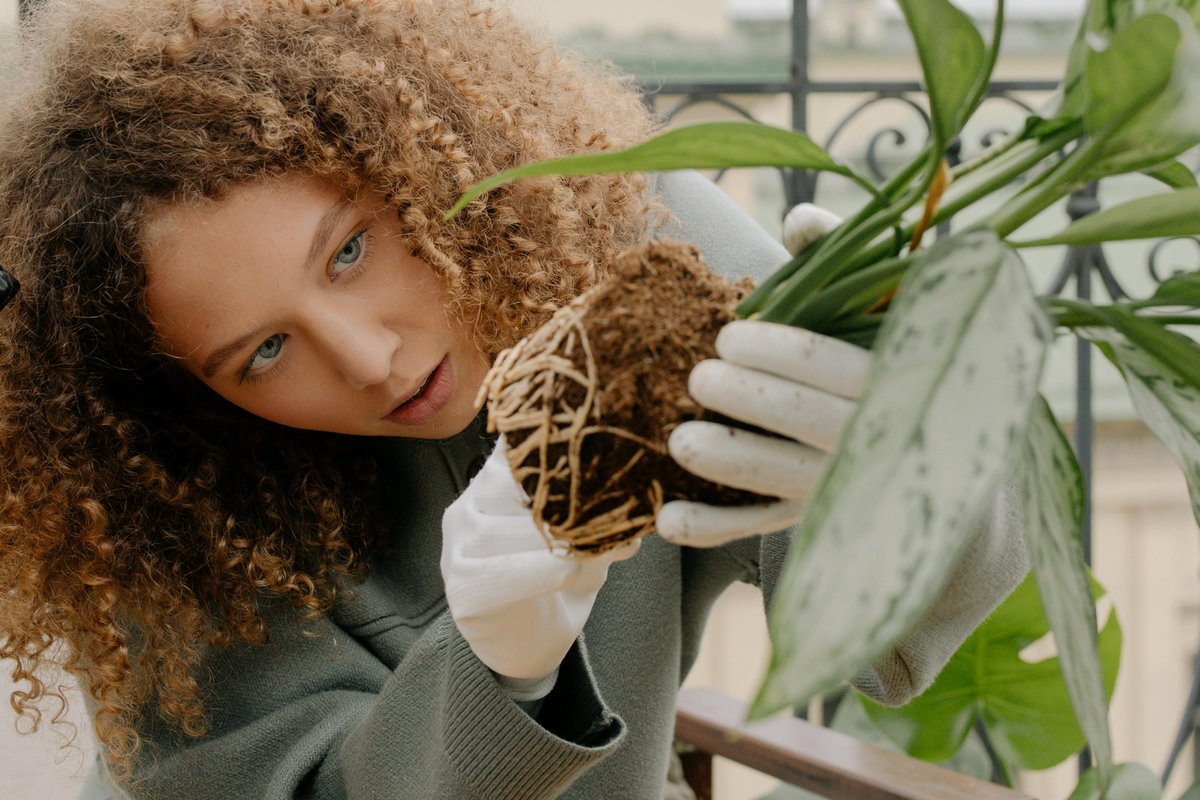
Inspecting and Preparing Roots
Once you’ve determined that your plant needs repotting, it’s time to prepare the roots:
1. Gently Remove the Plant: Carefully take the plant out of its current pot, tapping the sides if necessary to loosen the soil.
2. Examine the Roots: Look for any signs of rot or damage. Healthy roots should be firm and white. Trim away any brown or mushy roots with clean, sharp scissors.
3. Loosen Bound Roots: If the roots are circling around the root ball, gently untangle them. This encourages them to grow outward into the new soil rather than continuing to circle.
4. Rinse if Necessary: If you suspect root rot, rinsing the roots gently with water can help remove old soil and allow you to better assess the health of the roots.
Repotting Process
Now that you’ve prepared the roots, it’s time to repot your plant:
1. Choose a New Pot: Select a pot that is one size larger than the current one. The new pot should have drainage holes to prevent water from accumulating.
2. Add Potting Mix: Place a layer of fresh potting mix at the bottom of the new pot. Position the plant in the center and fill in around the sides with more potting mix, gently pressing down to eliminate air pockets.
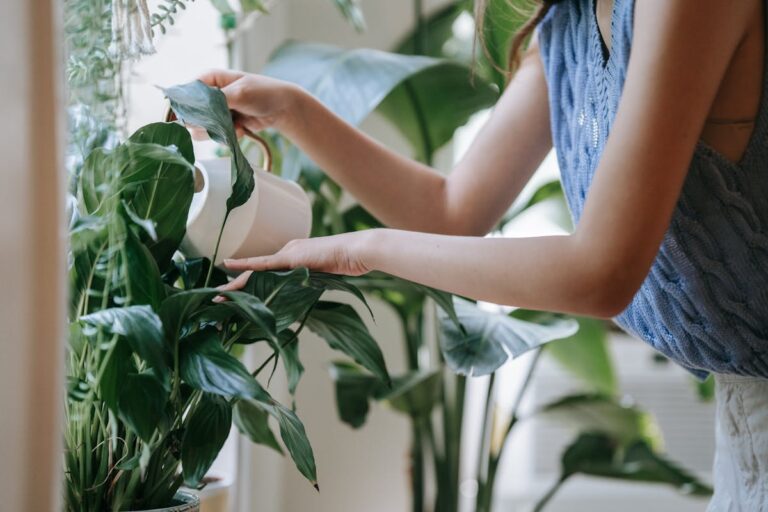
3. Water Thoroughly: After repotting, water the plant thoroughly until water drains out of the bottom. This helps settle the soil and ensures that the roots are in contact with the new potting mix.
4. Provide Proper Care: After repotting, place the plant in a location with appropriate light and avoid overwatering for the first few weeks while the roots re-establish.
Common Mistakes to Avoid
Repotting can be a straightforward process, but there are some common pitfalls to watch out for:
Repotting Too Often: Only repot when necessary. Over-repotting can stress the plant and lead to slow growth.
Ignoring Drainage: Always ensure that your new pot has proper drainage. Poor drainage is a leading cause of root rot.
Using Old Soil: Reusing old potting mix without refreshing it can introduce pests and diseases. Always use fresh soil for repotting.
Not Watering Properly: After repotting, many gardeners forget to water thoroughly. This step is crucial for helping the plant adjust to its new environment.
By taking the time to inspect your plant’s roots and follow these guidelines, you can ensure a successful repotting process that leads to vibrant, healthy growth in the coming months. Happy gardening!