Unlock Your Garden’s Potential: A Simple Soil Test to Boost Growth
Soil is the foundation of any garden, and yet many gardeners overlook its crucial role in plant health. If you’ve been scratching your head as to why your plants aren’t thriving, it might be time to take a closer look at your soil. Fortunately, assessing its quality doesn’t have to be a daunting task. In fact, with a simple soil test, you can gain valuable insights into the nutrients your garden needs to flourish. Let’s dive into how you can perform this test and what to do with the results.
Understanding Soil Composition
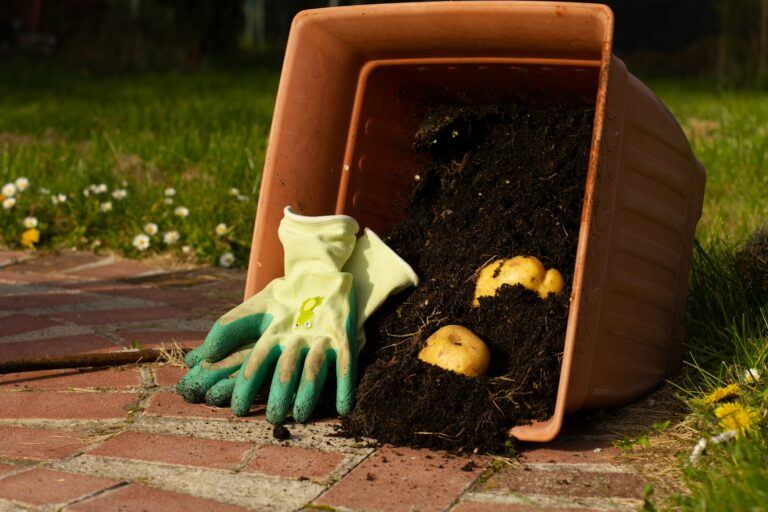
Before we get into the testing process, it’s important to understand what soil is made of. Good garden soil is a mix of sand, silt, clay, and organic matter. This combination affects drainage, nutrient retention, and the overall health of your plants. Here’s a quick breakdown:
Sand: Provides good drainage but doesn’t hold nutrients well.
Silt: Holds moisture and nutrients better than sand.
Clay: Retains nutrients but can become compacted and poorly drained if present in excess.
Organic Matter: Improves soil structure, provides nutrients, and supports beneficial microorganisms.
Knowing the balance of these components in your soil is critical for growing healthy plants.
Why Test Your Soil?
Testing your soil can reveal its pH level, nutrient content, and organic matter percentage. Each of these factors plays a crucial role in the health of your garden. Here are some reasons why you should consider testing your soil:
1. Nutrient Deficiency: Certain plants require specific nutrients to thrive. A soil test can identify deficiencies in nitrogen, phosphorus, potassium, and other essential elements.
2. pH Balance: The pH level of your soil affects nutrient availability. Most plants prefer a pH between 6.0 and 7.5. If your soil is too acidic or alkaline, it can hinder plant growth.
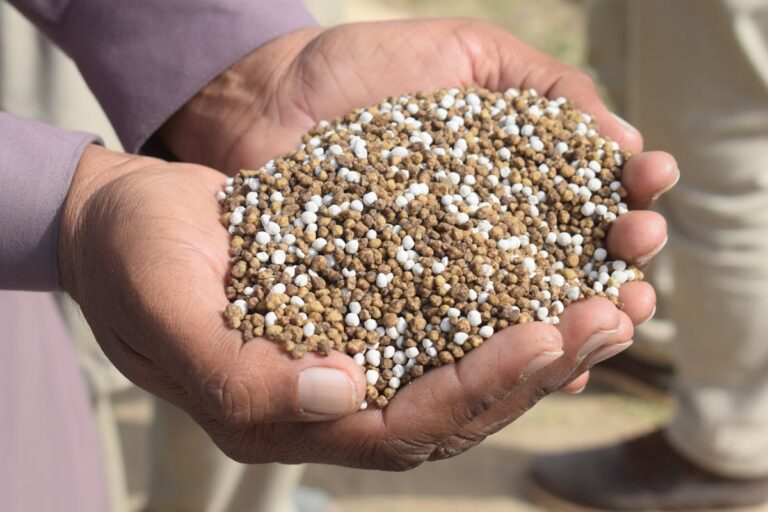
3. Amending Soil: Understanding your soil composition allows you to make informed decisions about amendments and fertilizers, leading to healthier plants and better yields.
How to Conduct a Simple Soil Test
Testing your soil can be done through various methods, but the simplest way is to purchase a home soil test kit from a garden center or online. Here’s a step-by-step guide to conducting your test:
1. Gather Your Tools: You’ll need a soil test kit, a shovel or trowel, a clean container, and water.
2. Collect Soil Samples:
Choose several spots in your garden to get a representative sample. Aim for at least 5-10 different areas to ensure accuracy.
Remove any debris like leaves or mulch from the surface.
Dig down about 6-8 inches to collect soil. This depth is where most plant roots will be found.
Place the collected soil in your container.
3. Mix the Samples: Combine the soil from all the spots into one container and mix thoroughly. This will give you a more accurate representation of your garden’s soil quality.
4. Follow Instructions: Each soil test kit will have specific instructions, so be sure to follow them carefully. Generally, you’ll need to fill a test vial with soil, add the provided chemicals, and shake or mix according to the directions.
5. Analyze Results: Once you’ve completed the test, compare your results with the provided color charts or reference guide. Pay attention to pH levels and nutrient concentrations.
Interpreting Your Soil Test Results
Once you have your test results, you may feel a little overwhelmed by the numbers and terms. Here’s a quick guide to help you interpret what you find:
pH Level:
6.0–7.5: Ideal for most plants.
Below 6.0: Consider adding lime to raise the pH or consult with local extension services for specific plants that prefer acidic soils.
Above 7.5: You may need to add sulfur or organic matter to lower the pH.
Nutrient Levels:
If your soil is low in nitrogen (N), consider adding compost, aged manure, or a balanced fertilizer.
Low phosphorus (P) can be improved with bone meal or rock phosphate.
Low potassium (K) can be supplemented with greensand or wood ash.
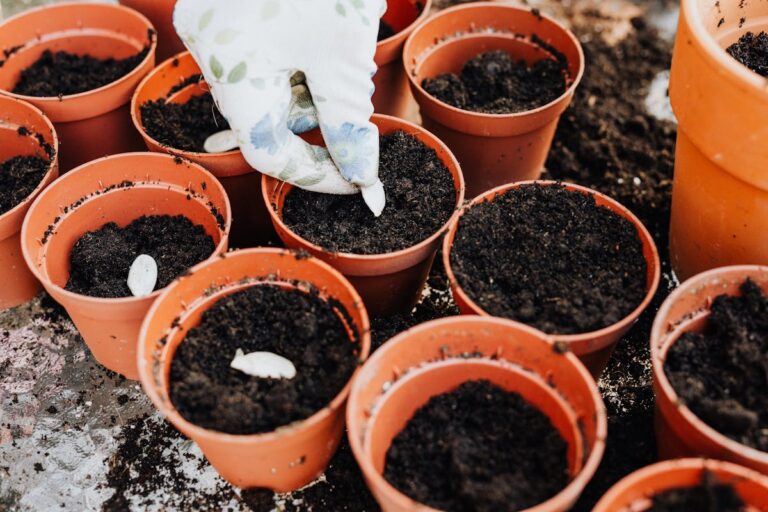
Organic Matter: Aim for at least 5% organic matter. If your results are lower, consider adding compost, mulch, or cover crops to improve soil structure and nutrient content.
Common Mistakes to Avoid
1. Ignoring Soil Health: Many gardeners focus solely on plants without considering their soil. Regular testing can prevent issues before they arise.
2. Over-fertilizing: It’s easy to assume that more fertilizer equals better growth. However, excess nutrients can harm plants and leach into waterways.
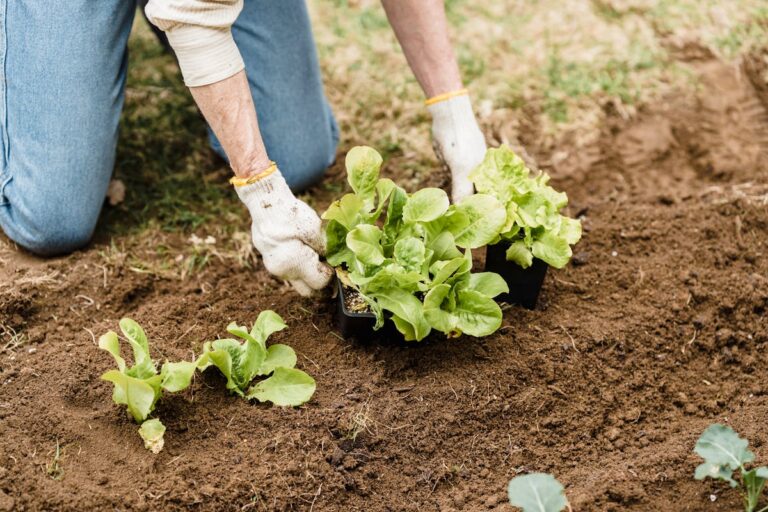
3. Neglecting Amendments: Not amending your soil based on test results can lead to poor plant performance. Always use your results to guide your soil improvement efforts.
4. Testing at the Wrong Time: The best time to test soil is in early spring or fall, as this allows you to make amendments before planting.
5. Not Testing Regularly: Soil composition can change over time due to plant growth, weather, and management practices. Aim to test every few years or if you notice changes in plant health.
Final Thoughts
Understanding and improving your soil can dramatically affect your garden’s health and productivity. By conducting a simple soil test, you can identify any deficiencies and take the necessary steps to create a thriving environment for your plants. So grab that test kit, and start unlocking the potential of your garden today!