Unlocking the Secrets of Seed-Starting: A Budget-Friendly Guide to Growing Success
Starting your own seeds can be one of the most rewarding experiences for a gardener, yet the initial investment in fancy seed-starting kits can deter many home gardeners. The good news is that you don’t need to break the bank to successfully start seeds at home. With a few inexpensive items and some creativity, you can create a seed-starting setup that rivals the more expensive kits on the market. In this article, we’ll guide you through the essential components and steps to establish a practical, budget-friendly seed-starting setup.
Understanding the Basics of Seed Starting
Before diving into the setup, let’s briefly review the basics of seed starting. Seeds require warmth, moisture, and light to germinate and grow. Your setup needs to provide these key elements to ensure healthy seedlings ready for transplanting outdoors when the time is right.
Essential Supplies for Your Seed-Starting Setup
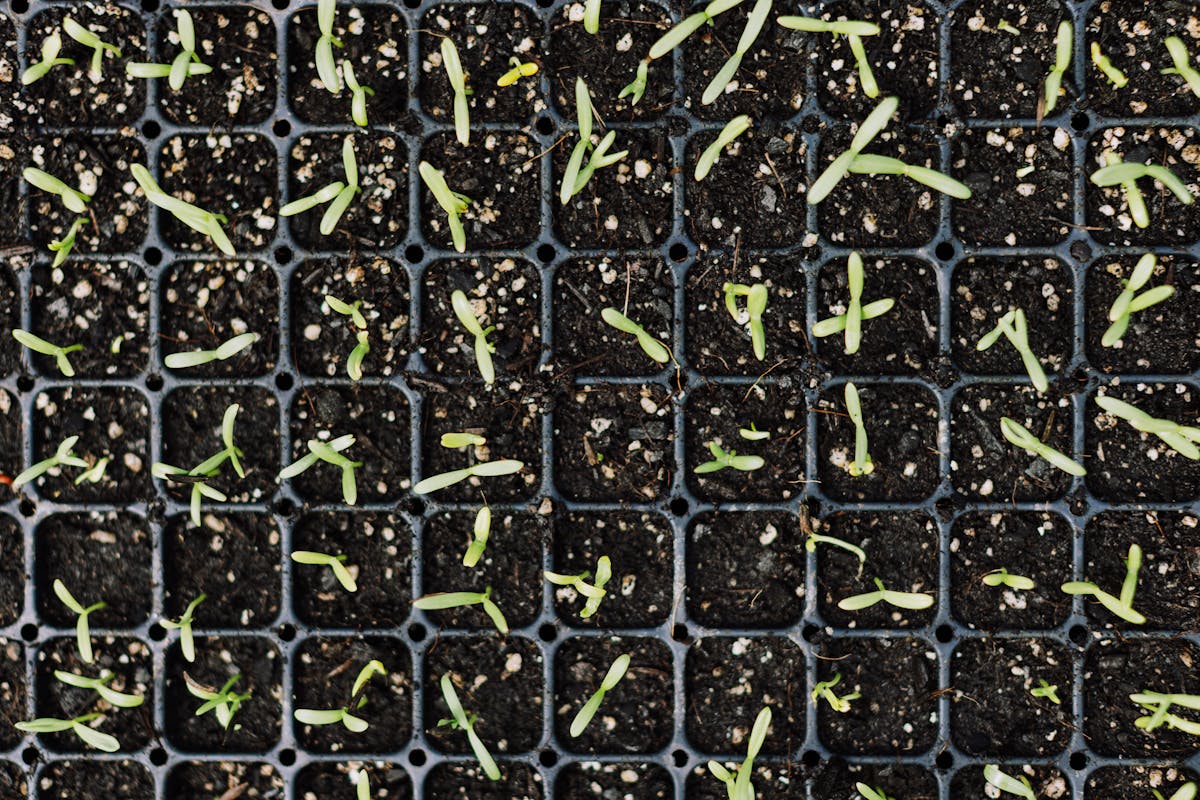
1. Seed-Starting Containers: Instead of purchasing expensive seed trays, you can repurpose common household items. Egg cartons, yogurt cups, or even toilet paper rolls can serve as excellent seed-starting containers. Just ensure they have drainage holes to prevent waterlogging.
2. Seed-Starting Mix: A high-quality seed-starting mix is crucial for healthy seedlings. This mix is typically lighter than regular potting soil, allowing for better drainage and aeration. You can make your own by combining equal parts of peat moss, vermiculite, and perlite. This homemade mixture not only saves money but also lets you customize ingredients based on your needs.
3. Light Source: Light is essential for the healthy growth of seedlings. If you have a sunny windowsill, that’s great! However, if natural light is limited, consider investing in fluorescent grow lights. They are relatively inexpensive and can be hung above your seedlings to provide the necessary light. Position the lights about 2-4 inches above the seedlings and adjust as they grow.
4. Heat Mat: Some seeds, especially those from warm-climate plants, benefit from a little extra warmth during germination. A heat mat can be purchased for around $20-30, but if that’s outside your budget, placing your seed trays on top of an appliance like a refrigerator can provide similar warmth.
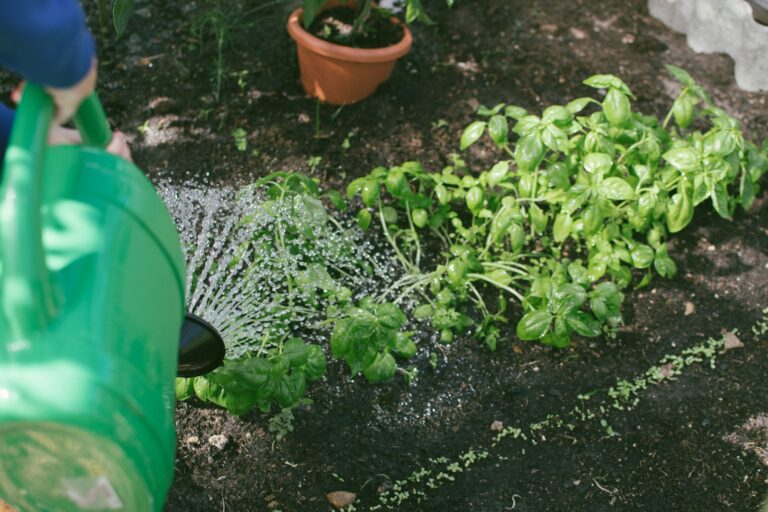
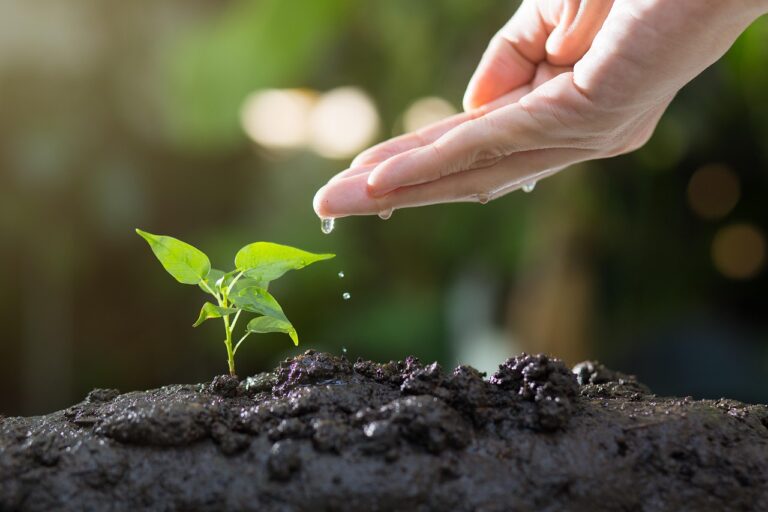
5. Watering Tools: A spray bottle or a watering can with a fine spout works well for keeping your soil moist without overwatering. Maintaining moisture is crucial, especially in the early stages of seedling development.
Creating Your Seed-Starting Setup
Now that you have your supplies gathered, here’s how to set up your seed-starting station:
1. Choose Your Location: Find a spot in your home that maintains a consistent temperature (ideally between 65°F and 75°F). A kitchen counter or a dedicated shelf in a warm room can work well.
2. Prepare Containers: Fill your chosen seed-starting containers with your seed-starting mix. Leave about a half-inch space at the top for watering. Moisten the mix beforehand to ensure it’s damp but not soggy.
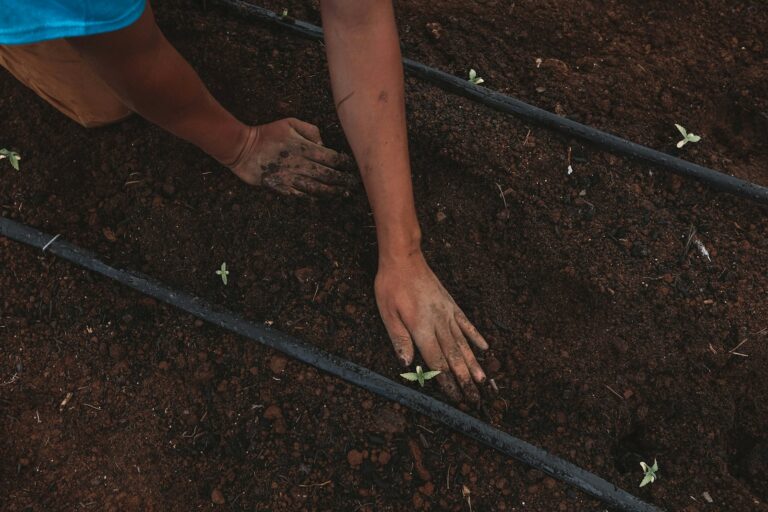
3. Plant Seeds: Follow the seed packet instructions for planting depth and spacing. Generally, a good rule of thumb is to plant seeds at a depth of about twice their diameter. Label each container with the plant name and date for easy identification.
4. Water Gently: Use your spray bottle or watering can to moisten the soil after planting. Be careful not to displace the seeds. Keep the soil consistently moist but not overly wet.
5. Provide Light and Heat: If you’re using grow lights, turn them on for about 12-16 hours a day. If using a sunny window, rotate your containers every few days to ensure even light exposure. If you’re using a heat mat, place it under the containers to give seeds a warm environment.
Monitoring and Caring for Your Seedlings
Once your seeds start germinating, typically within a week or two depending on the variety, it’s time to shift your focus to caring for your seedlings:
1. Thinning: If multiple seeds germinate in one container, thin them out to avoid overcrowding. This means snipping the weaker seedlings at the soil line, leaving the strongest to grow.
2. Watering: Continue to monitor moisture levels, watering as needed. As seedlings grow, they will require more water. Ensure your containers are draining well to avoid damping off, a fungal disease that can kill seedlings.
3. Fertilization: After your seedlings develop their first true leaves, you can start fertilizing them with a diluted liquid fertilizer every couple of weeks. This will provide the nutrients needed for robust growth.
4. Hardening Off: Before transplanting your seedlings outdoors, they need to acclimate to outdoor conditions. This process, known as hardening off, involves gradually exposing seedlings to outdoor conditions over a week or two. Start with a few hours of shade and gradually introduce them to direct sunlight and wind.
Common Mistakes to Avoid
Starting seeds at home can be straightforward, but there are pitfalls to watch for:
Overwatering: This is one of the most common mistakes. Ensure your containers have drainage and monitor moisture levels.
Insufficient Light: If seedlings become leggy (tall and spindly), they’re likely not getting enough light. Adjust your light source or move them to a sunnier location.
Ignoring Temperature: Sudden temperature fluctuations can stress seedlings. Keep them in a stable environment.
By following these guidelines, you can create a cost-effective seed-starting setup that produces healthy plants. With a little patience and creativity, you’ll save money while enjoying the process of growing your own garden from seed. Happy planting!