Why Plant Cuttings Rot in Water (And How to Prevent It)
Cutting propagation is a favorite technique among home gardeners looking to expand their plant collections without breaking the bank. However, a common issue that many beginners face is the frustrating problem of cuttings rotting in water before they have a chance to root. If you’ve experienced this disappointment, you’re not alone. The number one reason cuttings rot in water is often tied to the conditions in which they are placed. Let’s explore this issue further and learn how to successfully propagate your plants.
Understanding the Basics of Water Propagation
Water propagation is an appealing method to clone plants because it’s simple and requires minimal materials. To start, you’ll need healthy cuttings from a parent plant, a clean container filled with water, and a bright location out of direct sunlight. While this method is effective for many houseplants and some outdoor varieties, it’s crucial to understand the environmental factors affecting your cuttings’ health.
The #1 Reason for Rotting Cuttings: Bacterial Contamination
The primary reason cuttings rot in water is due to bacterial contamination. When you take a cutting, it can carry bacteria from the parent plant or from the cutting surface itself. If the cutting is submerged in water, the bacteria can multiply quickly, leading to rot. Additionally, stagnant water can become a breeding ground for harmful bacteria.
To combat this issue, it’s essential to take a few precautions:
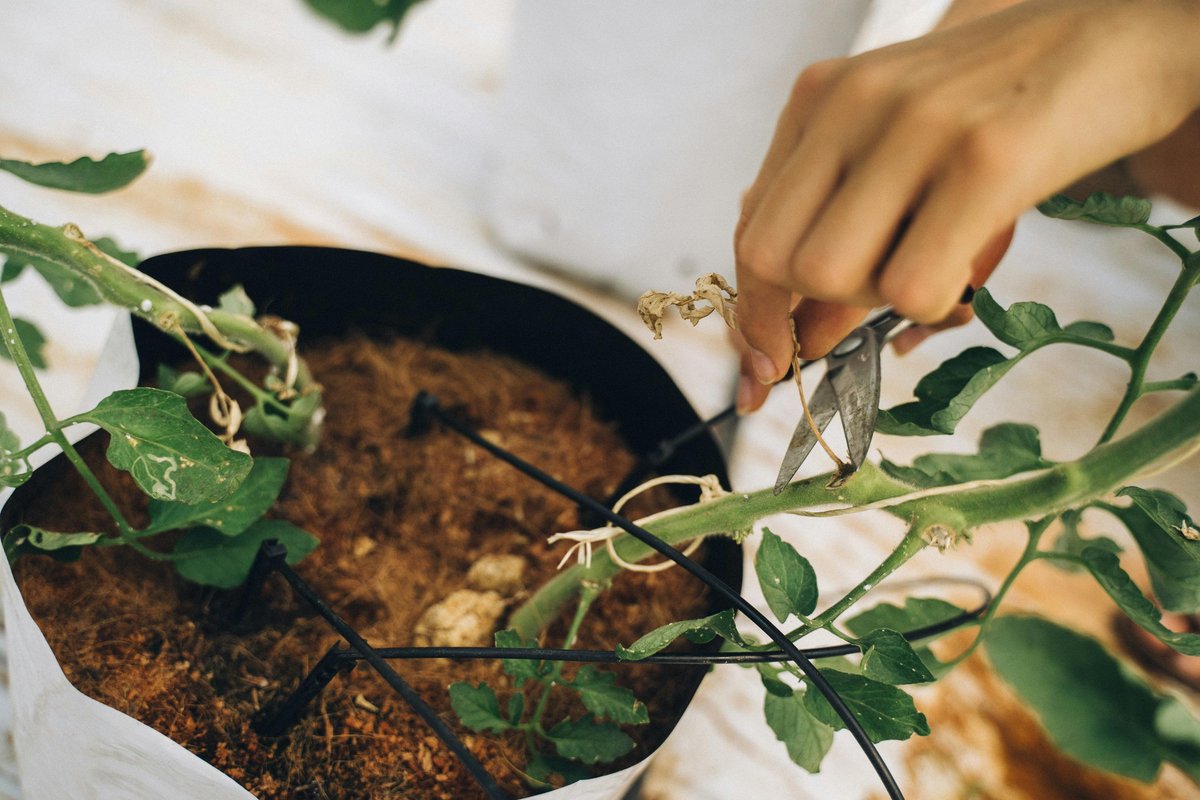
1. Use Clean Tools: Always use sterilized scissors or pruners when taking cuttings. Wipe the blades with rubbing alcohol to minimize the risk of introducing bacteria.
2. Select Healthy Cuttings: Choose cuttings from healthy plants that are free from disease and pests. Ideally, select stems that are firm and green, avoiding any that show signs of wilting or discoloration.
3. Trim Properly: Cut just below a node (the bump on the stem where leaves attach) since this is where roots will typically emerge. Remove any leaves that would be submerged in water, as they can decay and contribute to bacterial growth.
4. Change the Water Regularly: To prevent rot, change the water every few days. This keeps the water fresh and reduces the chance of bacterial growth. Always refill with room temperature water to avoid shocking the cuttings.
5. Limit Water Depth: Ensure that only the lower part of the cutting is submerged in water. This prevents leaf rot and minimizes the surface area where bacteria can grow.
Creating the Ideal Environment for Rooting
In addition to maintaining cleanliness, the environment plays a significant role in a cutting’s success. Light, temperature, and humidity can all impact how well your cuttings root:
Light: Place your cuttings in a bright spot, but avoid direct sunlight, which can cause overheating and stress. Indirect light is ideal for encouraging growth without the risk of burning the delicate cuttings.
Temperature: Most cuttings thrive in temperatures between 65°F and 75°F (18°C to 24°C). If your home is cooler, consider placing your cuttings in a warm location, like near a window or a heat mat, but ensure they are not exposed to drafts.
Humidity: High humidity can help cuttings retain moisture, reducing stress and encouraging root development. Consider using a humidity dome or covering the cuttings with a clear plastic bag (making sure not to touch the leaves) to maintain moisture. Just remember to ventilate occasionally to prevent mold growth.
Signs Your Cuttings Are Healthy
As your cuttings develop, watch for positive signs that they are rooting successfully. Healthy cuttings will begin to develop small roots within a few weeks, depending on the plant type. You may also notice new leaf growth. If you see these indicators, it’s a good sign that your cuttings are thriving.
However, if you notice wilting, yellowing, or mushy stems, it’s crucial to act quickly. Remove the affected cutting from the water and evaluate the situation. If the cutting looks salvageable, trim away the rotted parts and place it in fresh water.
When to Transition to Soil
Once your cuttings have developed a robust root system (typically around 2-4 inches long), it’s time to transition them to soil. This is an important step, as cuttings can struggle to thrive in water long-term. Select a well-draining potting mix and a pot with drainage holes. Water the soil thoroughly before planting, and then create a hole to gently place the cutting. Cover the roots with soil, ensuring the cutting is stable.
After planting, give your new plants some time to acclimate. Keep them in a warm, bright location and monitor their moisture levels. Water only when the top inch of soil feels dry to the touch. This will help your cuttings transition smoothly from the water environment to soil.
Final Thoughts on Successful Water Propagation
Water propagation can be a rewarding and cost-effective way to expand your gardening endeavors. By avoiding bacterial contamination, maintaining proper environmental conditions, and knowing when to transition your cuttings to soil, you can significantly increase your chances of success. Remember that patience is key—rooting can take time, but with a little care and attention, you’ll be rewarded with healthy new plants to enjoy in your garden or home. Happy propagating!