Why Skipping Soil Testing Could Be Sabotaging Your Garden’s Root Development
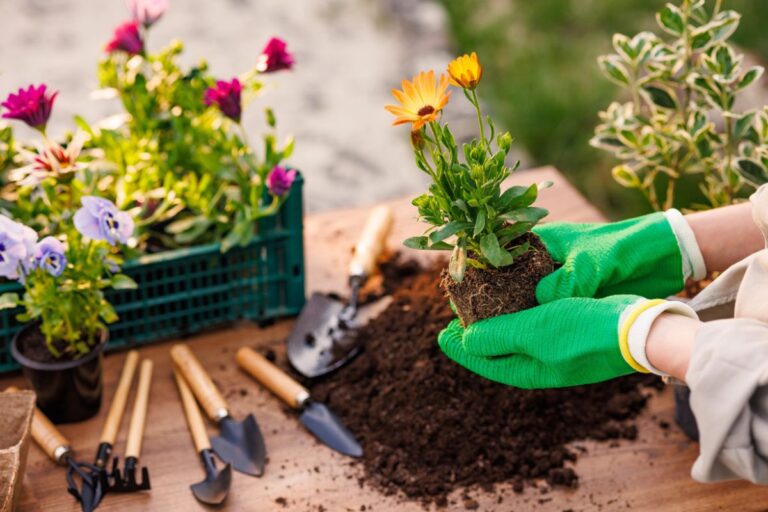
Soil is the foundation of any successful garden. It’s where your plants draw their nutrients, anchor their roots, and establish a thriving ecosystem. Yet, many home gardeners make the common mistake of skipping soil testing, opting for quick fixes or shortcuts. While these may seem convenient, they can quietly undermine root growth, leading to stunted plants and disappointing harvests. Let’s explore why understanding your soil is crucial and how to set your garden up for success.
Understanding Your Soil
Soil is a complex mixture of minerals, organic matter, air, and water. It’s teeming with life—bacteria, fungi, and insects all play pivotal roles in nutrient cycling and plant health. However, not all soil is created equal. Its composition can vary greatly depending on location, climate, and previous land use. For example, clay soils retain moisture but can become compacted, while sandy soils drain quickly but may lack essential nutrients.
Why Soil Testing Matters
One of the most significant mistakes gardeners make is assuming that store-bought fertilizers and amendments will solve all their soil problems. However, without knowing the specific nutrient levels and pH of your soil, you might be applying products that don’t benefit your plants and could even harm them.
Here’s why soil testing is essential:
1. Nutrient Deficiencies: A soil test reveals the nutrient levels in your garden, helping you understand what your plants need. For instance, if your soil is low in nitrogen, adding a nitrogen-rich fertilizer can promote healthy leaf growth.
2. pH Levels: The pH level of your soil can significantly impact nutrient availability. Most plants thrive in a slightly acidic to neutral pH (around 6.0 to 7.0). If your soil is too acidic or alkaline, certain nutrients can become locked away, making them unavailable to your plants.
3. Soil Texture and Drainage: Understanding your soil’s texture (the ratio of sand, silt, and clay) can inform your watering practices and plant selections. For example, heavy clay soils may require different watering techniques compared to sandy soils.
4. Microbial Activity: Healthy soils are alive with beneficial microbes. A soil test can help you understand the biological health of your soil, which is crucial for robust root development.
How to Test Your Soil
Testing your soil doesn’t have to be complicated or expensive. Here’s a simple guide on how to do it:
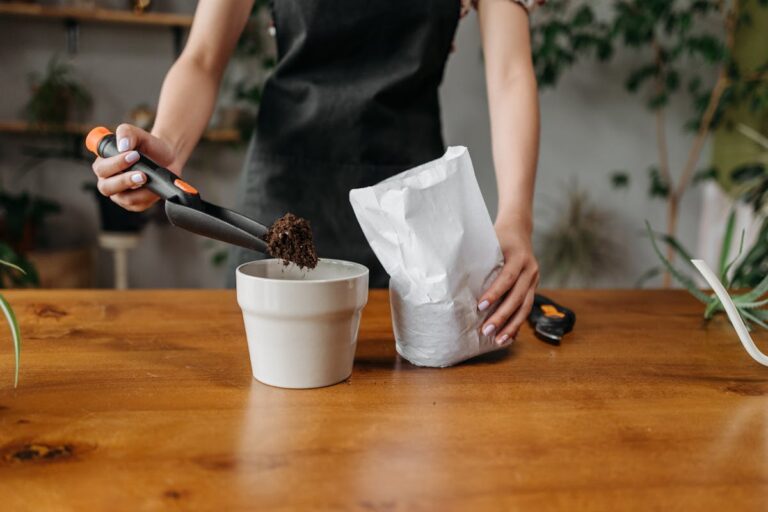
1. Gather Supplies: You’ll need a clean container, a trowel or spade, and a soil testing kit (available at garden centers or online).
2. Collect Soil Samples: Choose several spots in your garden (at least 5-10) to get a representative sample. Use your trowel to dig down about 6-8 inches and remove any debris. Place the soil in your container.
3. Mix and Dry: Once you have samples from multiple locations, mix them thoroughly in the container. If your soil is very wet, allow it to dry before sending it to the lab or using your home testing kit.
4. Follow Instructions: If you’re using a home testing kit, follow the manufacturer’s instructions for testing pH, nitrogen, phosphorus, and potassium levels. For more comprehensive testing, consider sending your sample to a local extension office or soil testing lab.
Interpreting the Results
Once you receive your soil test results, it’s time to take action. Here’s how to interpret the information:
1. Nutrient Levels: Look at the levels of nitrogen (N), phosphorus (P), and potassium (K). Most gardens benefit from a balanced fertilizer, but if one nutrient is particularly low, consider adding a targeted amendment.
2. pH Level: If your pH is outside the ideal range, you can amend your soil. To raise pH, consider adding lime; to lower it, elemental sulfur or organic matter can help.
3. Recommendations: Most soil testing labs provide recommendations based on your results. Follow these guidelines to amend your soil appropriately.
Common Mistakes to Avoid
1. Ignoring Soil Structure: Even if you have the right nutrients, poor soil structure can impede root growth. Incorporate organic matter like compost to improve aeration and drainage.
2. Over-Fertilizing: More isn’t always better. Over-fertilizing can lead to nutrient burn and harm beneficial soil organisms. Stick to recommended amounts based on your soil test results.
3. Neglecting Organic Matter: Many gardeners overlook the importance of organic matter in maintaining healthy soil. Regularly add compost or well-rotted manure to boost soil health and fertility.
4. Skipping Regular Testing: Soil health can change over time due to planting, weather, and other factors. Make soil testing a regular part of your gardening routine—ideally every 2-3 years.
Building a Strong Foundation
Healthy roots are essential for thriving plants, and understanding your soil is the first step toward achieving that. By investing time in soil testing and making informed amendments, you can create an environment where your plants can flourish. So, before you reach for that all-purpose fertilizer, take a moment to dig deeper into what your soil truly needs. Your garden will thank you with vibrant blooms and bountiful harvests. Happy gardening!