Why Your Weed Barrier Might Be Backfiring: Common Mistakes That Fuel Weeds
Weeds can be a gardener’s worst nightmare, taking over well-tended beds and competing with your prized plants for nutrients and water. In the quest for a weed-free garden, many homeowners invest in weed barriers, thinking they’ve found the ultimate solution. However, not all weed barriers are created equal, and improperly using them can actually make the situation worse. Here’s what you need to know about common weed barrier mistakes and how to avoid them.
Understanding Weed Barriers
Weed barriers, often made of fabric, plastic, or biodegradable materials, are designed to suppress weed growth by blocking sunlight and preventing weed seeds from germinating. While they can be effective when used correctly, improper installation or choice can lead to a host of problems.
Common Mistakes with Weed Barriers
1. Choosing the Wrong Material
Not all weed barriers are suited for every garden environment. Some materials, like plastic, can trap moisture and create a perfect breeding ground for mold and mildew, which can harm your plants. Others, such as non-woven fabric, may allow weeds to grow through them if they are not thick enough or have a low-quality weave. It’s important to select a barrier that matches your garden’s specific needs, considering factors like drainage and soil type.
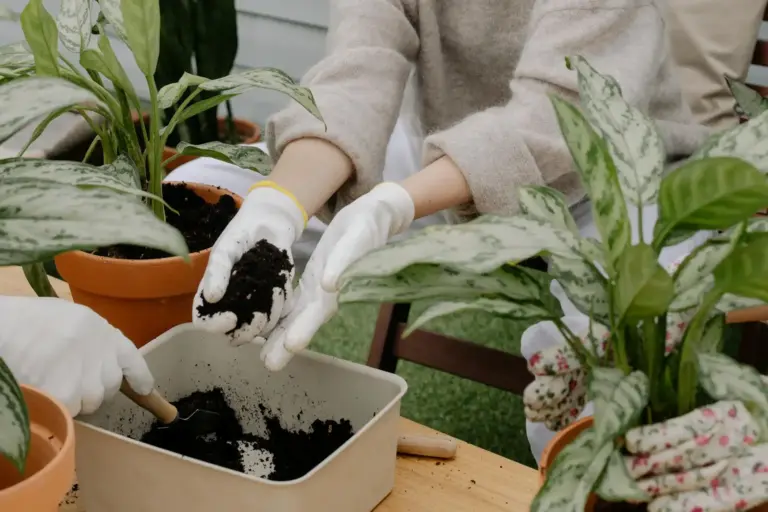
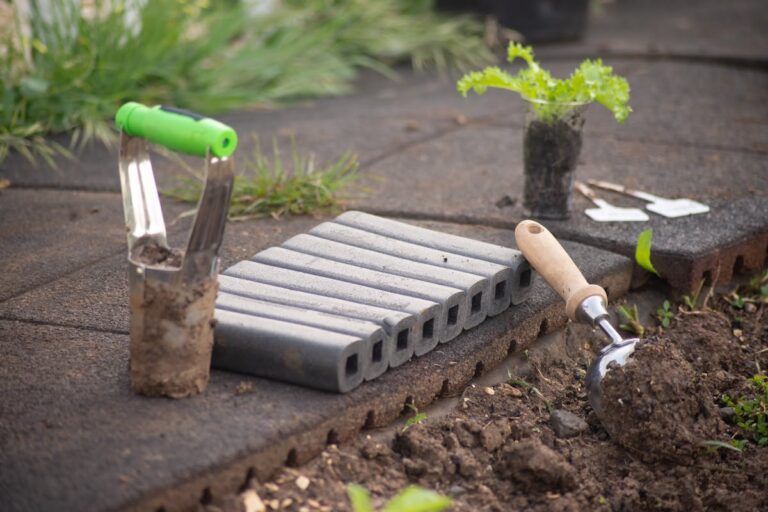
2. Skipping Soil Preparation
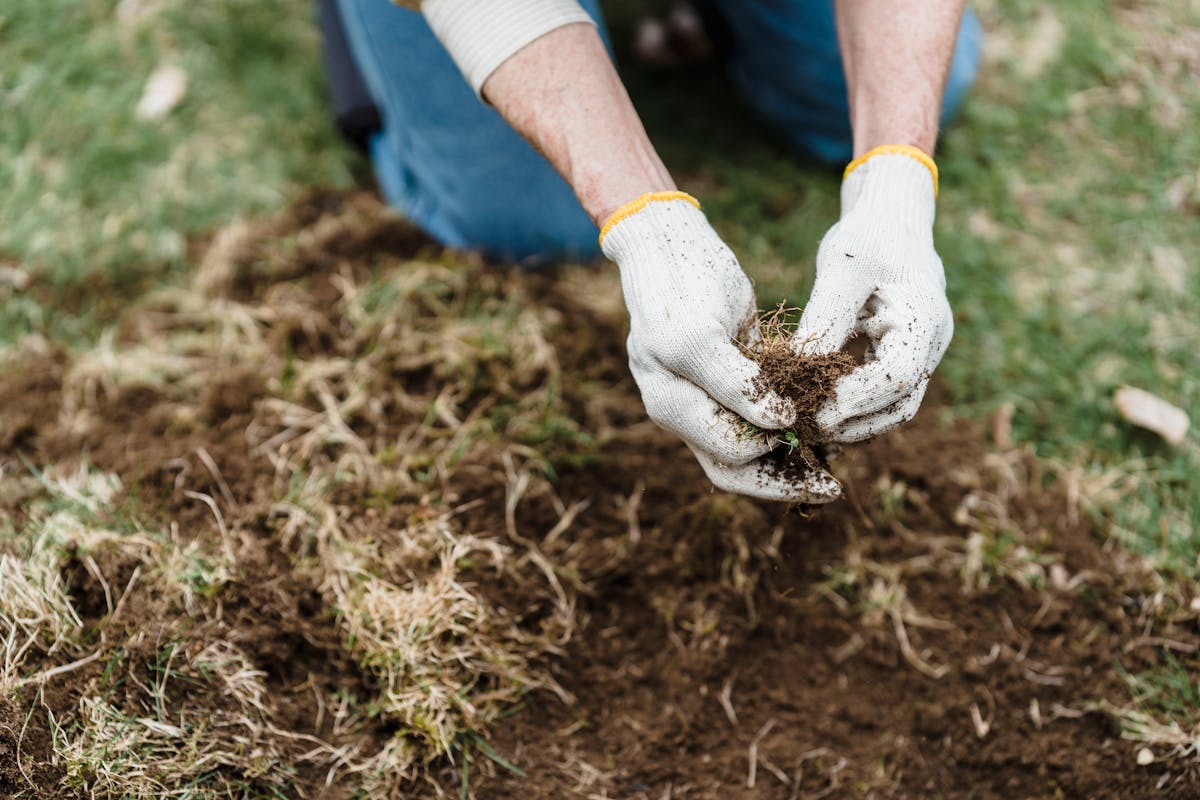
A common misconception is that laying down a weed barrier can replace the need for proper soil preparation. Before installing a weed barrier, it’s crucial to thoroughly remove existing weeds and their roots. This may involve hand-pulling, hoeing, or using an organic herbicide. If not, the weeds can grow underneath the barrier and push through, often resulting in a more vigorous weed problem that’s harder to manage.
3. Incorrect Installation
The effectiveness of a weed barrier greatly depends on how it is installed. Common installation errors include:
Insufficient Overlap: When laying multiple sheets of weed barrier, they should overlap by at least 12 inches. If the sheets don’t overlap, weeds can sneak through the gaps.
Not Securing the Edges: If the edges of the barrier are not adequately secured with soil or landscape staples, they can lift over time, allowing weeds to invade.
Too Loose or Too Tight: The fabric should be taut enough to prevent weeds from growing underneath, but not so tight that it tears. Proper tension is key to its longevity and effectiveness.
4. Ignoring Drainage Needs
Weed barriers can also hinder water drainage if not installed with care. If water cannot penetrate through the barrier, it can pool on top, creating damp conditions that encourage weed growth and can harm your plants. Always ensure that your barrier has adequate holes or slits for water to escape. Consider using a permeable fabric that allows water to pass through while still blocking sunlight.
5. Neglecting Maintenance
Even the best weed barrier will require some level of maintenance. Over time, organic matter can accumulate on top of the barrier, creating a nutrient-rich environment where weeds can thrive. Regularly check your weed barrier and clear any debris, leaves, or organic matter that may settle on top. Additionally, inspect for any tears or lifting edges that need to be repaired.
6. Using a Barrier in All Areas
Some gardeners mistakenly believe that weed barriers should be used in every part of the garden. While they can be effective in certain areas, such as pathways or around perennial beds, they may not be suitable for vegetable gardens or areas where seedlings are starting to emerge. In these cases, mulching can be a better alternative, as it can naturally break down and improve soil quality while suppressing weeds.
7. Timing of Installation
The timing of when you install your weed barrier can also affect its success. The best time to lay down a weed barrier is in the spring before planting. This allows you to eliminate early germinating weeds while preventing new ones from sprouting. If you install it too late in the season, you may find that it has little effect on already established weeds.
How to Properly Use Weed Barriers
To effectively use a weed barrier in your gardening efforts, follow these steps:
1. Plan Your Garden Layout: Before installation, plan the layout of your plants and ensure you’re using the right type of weed barrier for each area.
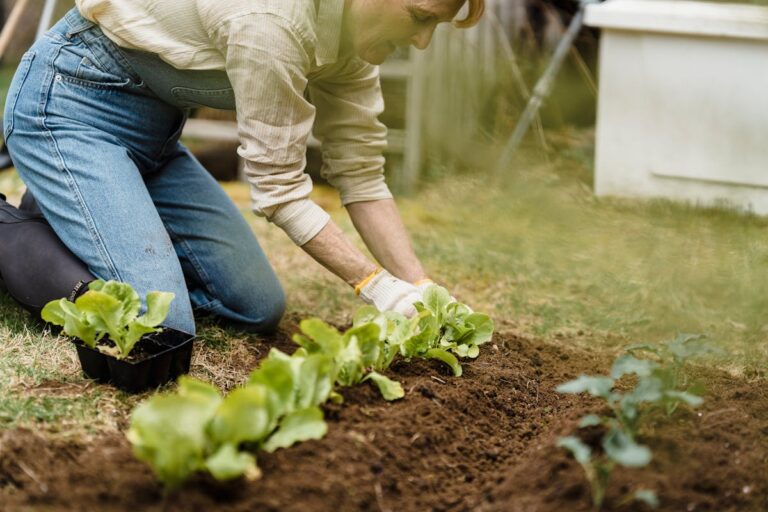
2. Prepare the Soil: Remove all existing weeds and debris. Consider tilling the soil to improve aeration.
3. Install the Barrier: Lay the weed barrier over the prepared soil, ensuring it overlaps and is secured at the edges.
4. Cut Holes for Plants: If planting through the barrier, cut X-shaped slits for each plant, making sure to follow the spacing recommendations for the specific plants you are using.
5. Add Mulch: Cover the barrier with a layer of mulch to help with moisture retention, improve aesthetics, and provide additional weed suppression.
6. Monitor Regularly: Keep an eye on your weed barrier throughout the growing season. Clear away any debris, check for tears, and ensure that it remains secure.
By avoiding these common weed barrier mistakes and employing the right techniques, you can create a more successful, weed-free garden. Remember, every garden is unique, so take the time to evaluate what works best for your specific environment and plant selection. Happy gardening!